
Setting up
Last time, we covered the unboxing experience of this new M3 Max 16-inch MacBook Pro. Today, we look at what happens during the set-up phase. I have taken pictures with my iPhone because one cannot capture the screen during the boot’s process (easily).
This model, like the one introduced in 2016 that I used before, boots up as soon as you lift the lid, producing its signature F-sharp major chord (based on a lower frequency A, ca. 435 Hz). I immediately noticed the quality of the audio system, with a powerful and well-rounded sound.
Language & Region
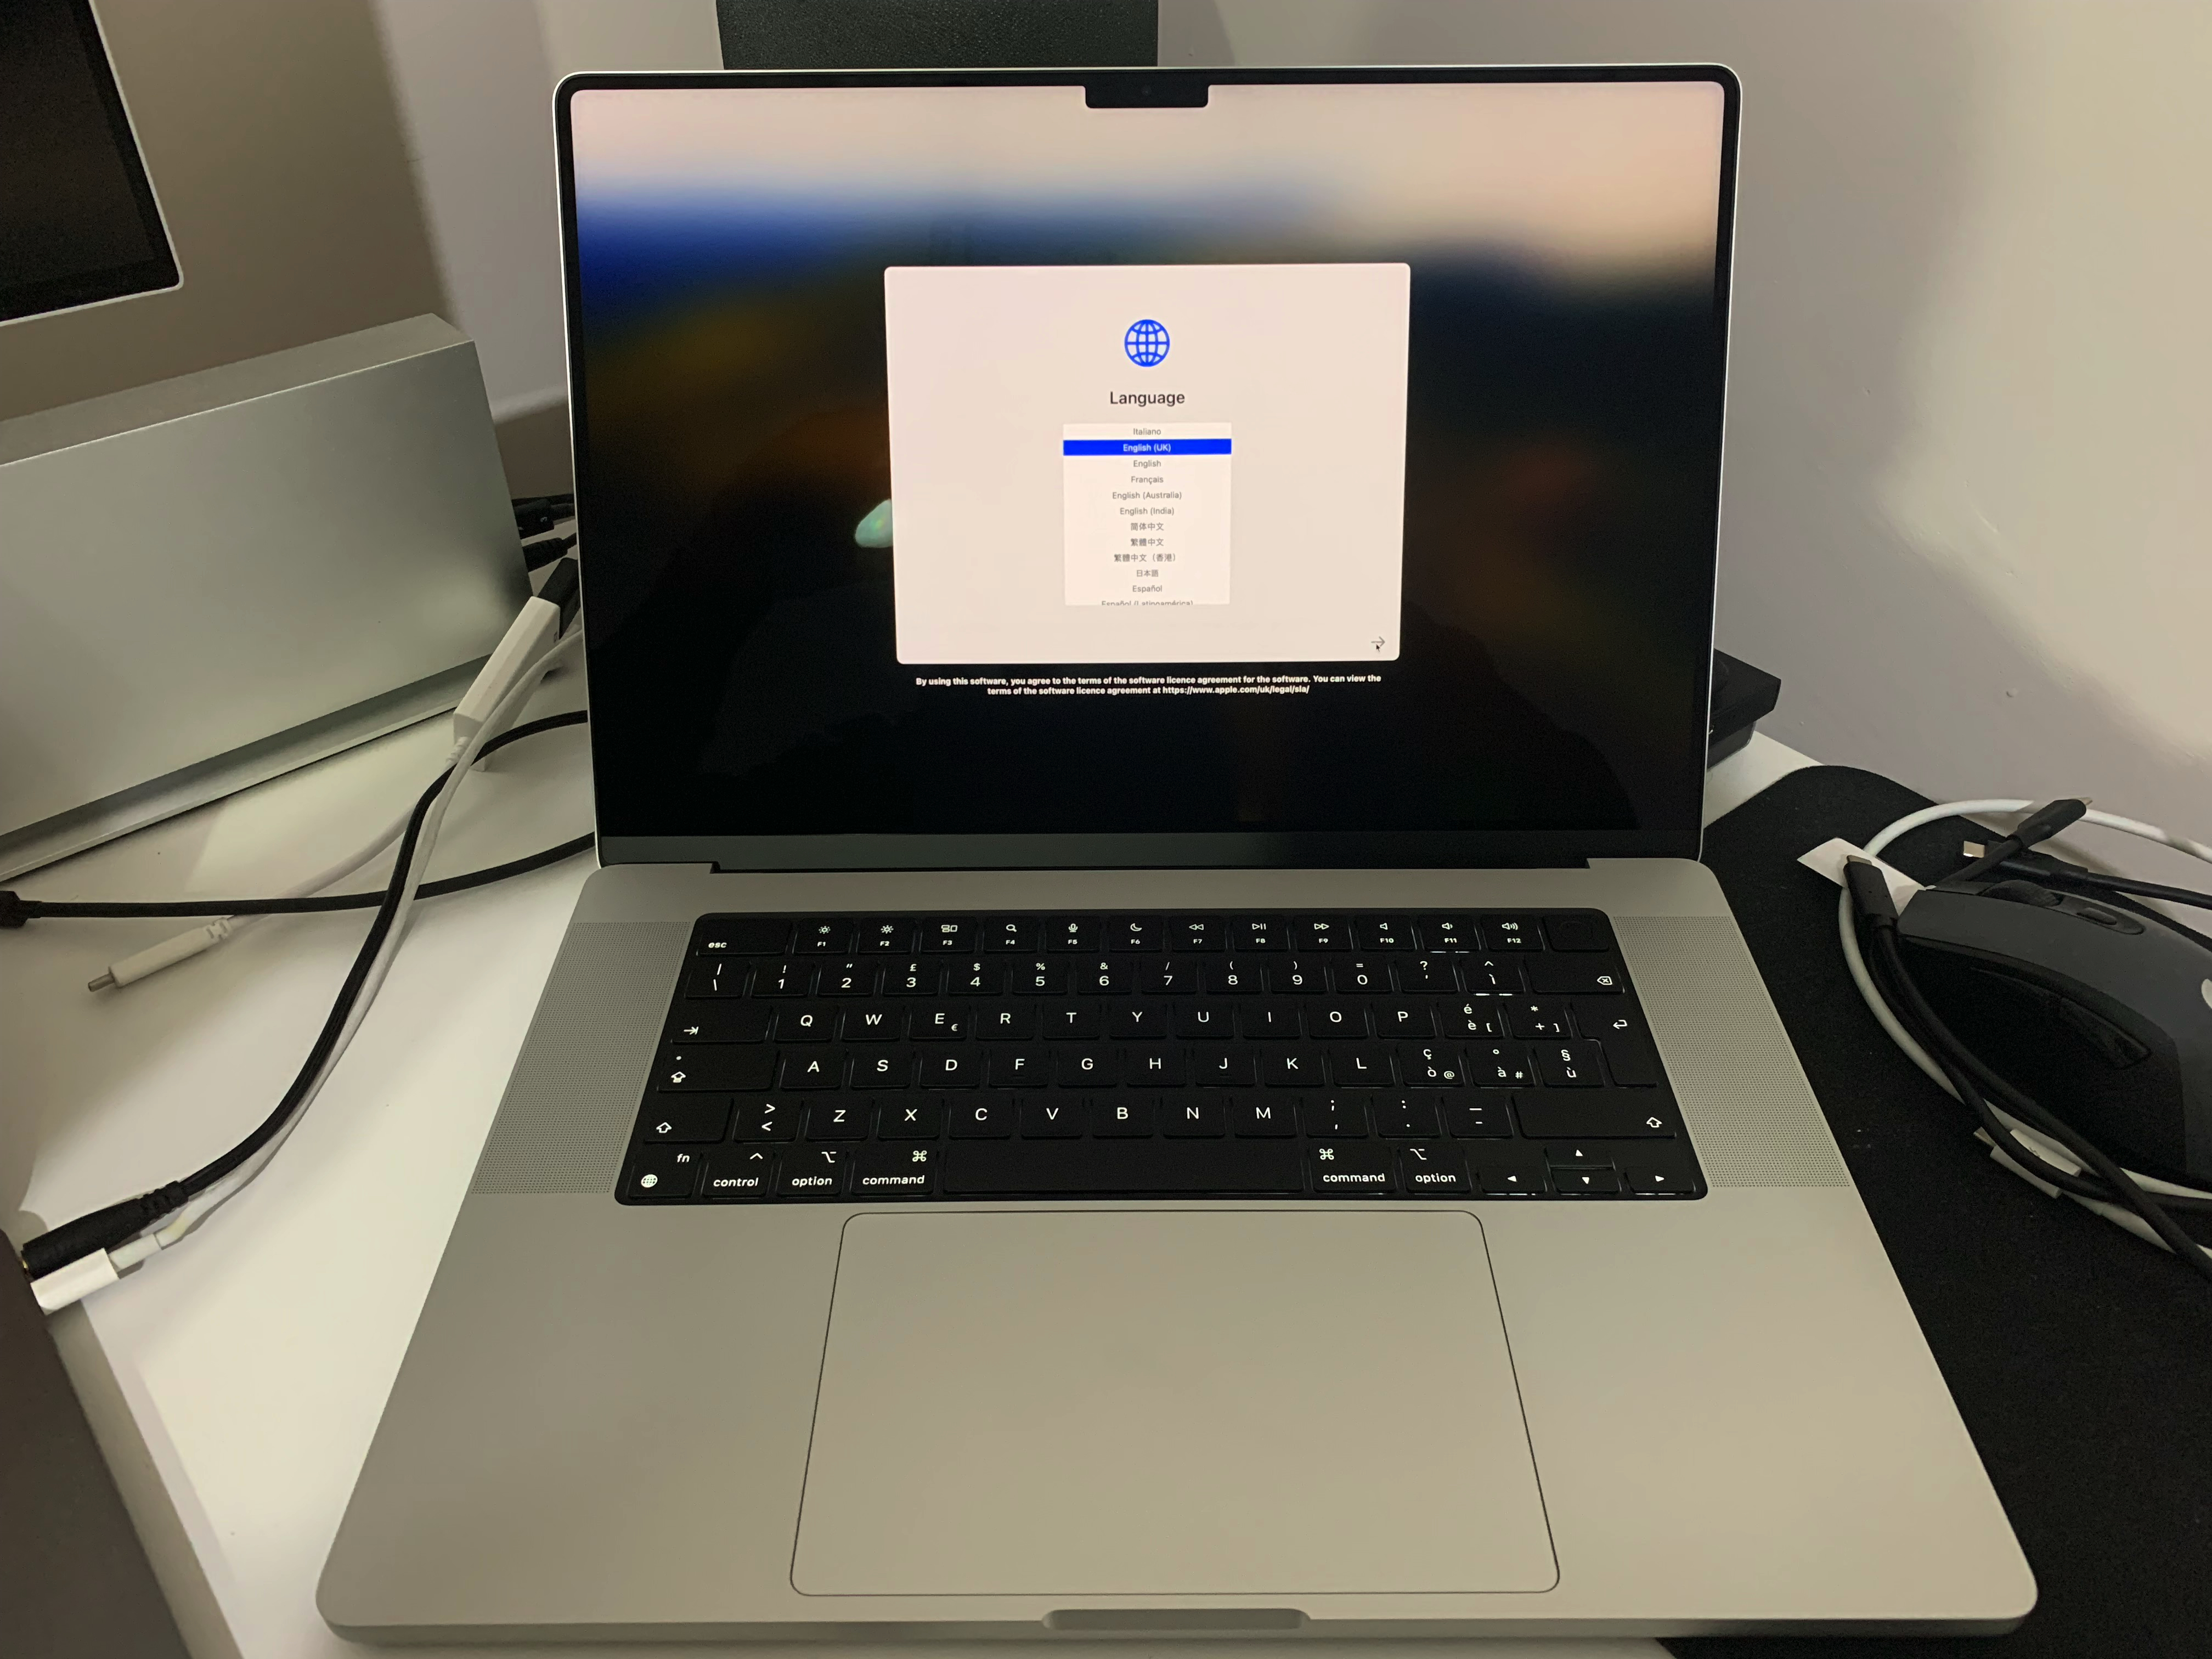
The first thing one sees is the language choice menu. As done already in the past, I chose “English (UK)”, even if I’m based in Italy. This is due to the disparity in help resources availability between the two languages. There is a nice small print at the bottom:
By using this software, you agree to the terms of the software licence agreement for the software. You can view the terms of the software licence agreement at https://www.apple.com/uk/legal/sla/.
Have you ever read everything in there? What if one didn’t agree with something?

The next screen required me to specify my region, which I set to Italy. Below this window is a double prompt:
Press the Escape key to hear how to set up your Mac with VoiceOver.
Triple-click Touch ID to view accessibility options.
This allows sight-impaired users to just press the top leftmost button of the keyboard and be guided through the configuration via VoiceOver, one of the outstanding accessibility tools Apple baked into its software.

The next screen summarises our choices, suggesting that the following languages are commonly used in our region. We can then set up our Mac to use these settings or customise them individually via the Customise Settings… button at the bottom left.
Accessibility Settings
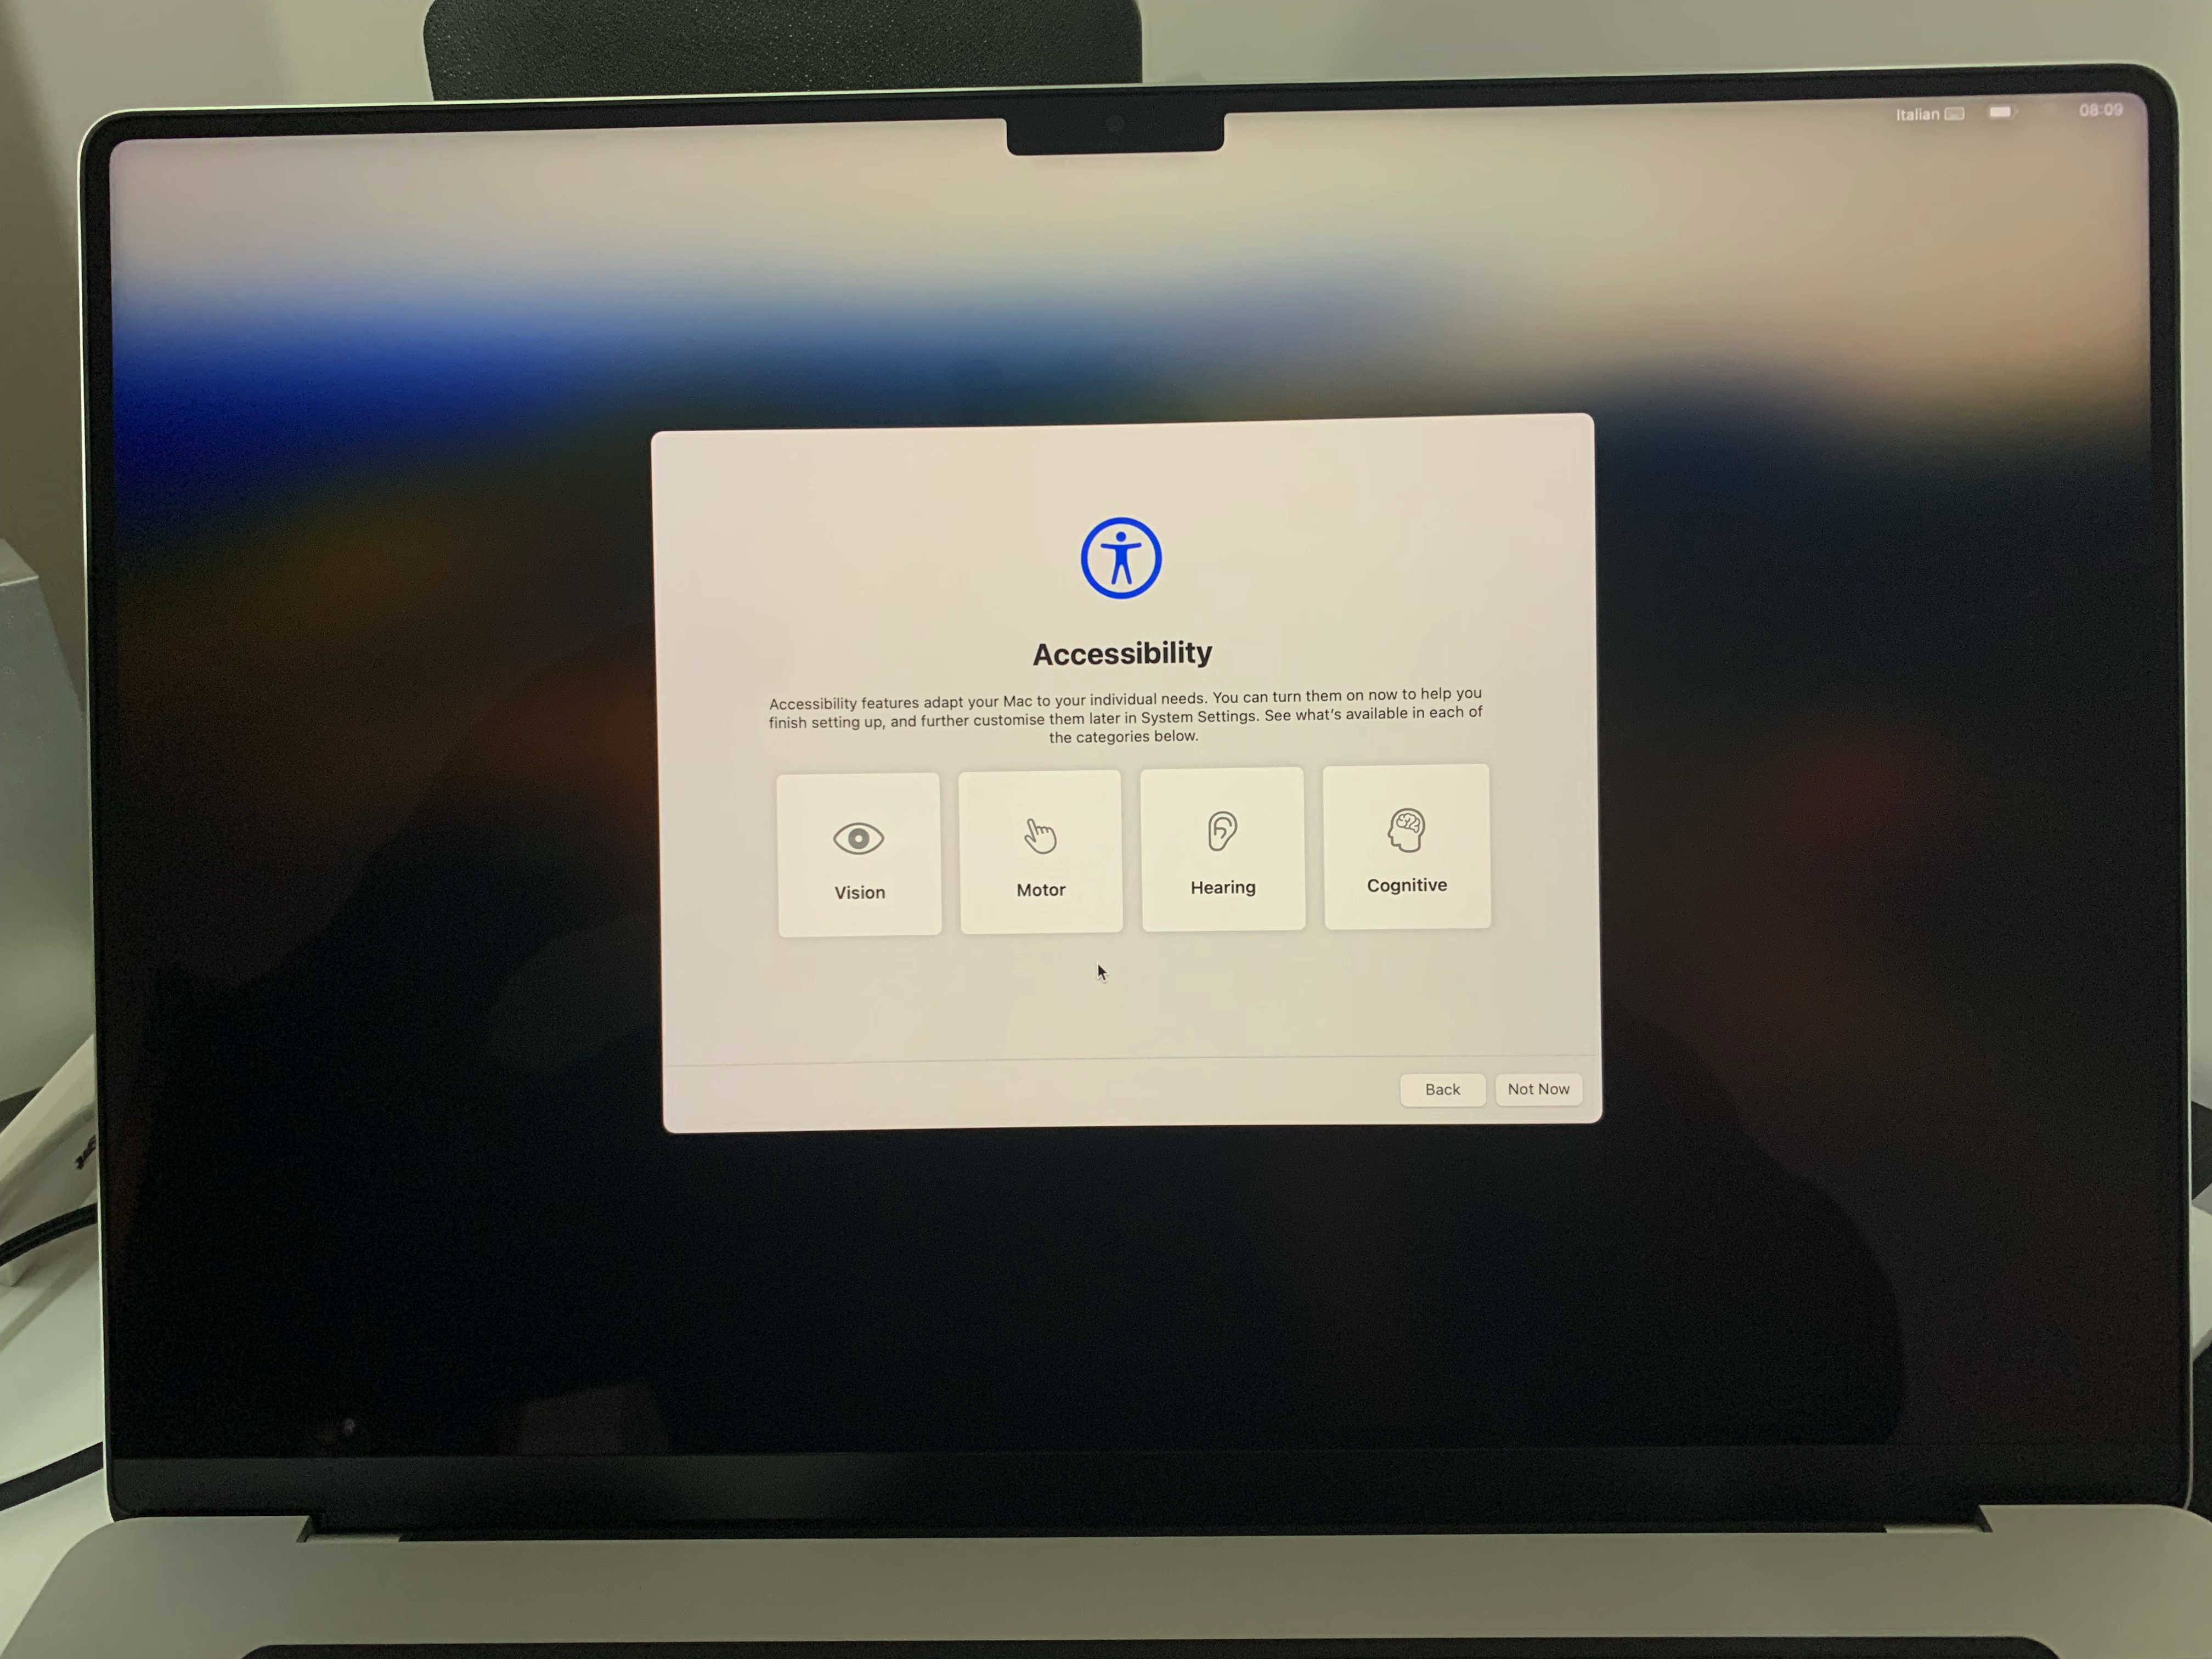
This screen gives us the option to manage our Accessibility Settings, and I have to say that I didn’t find it too intuitive, at least not until I read the accompanying text. Each of the four squares is a button that hides a category behind it, which will then open up several consecutive screens.
Cognitive

Starting from the rightmost one, we have the Cognitive settings, that begin with the choice of System Appearance. I always choose Light because I simply can’t stand Dark Mode, nor it helps me in darker environments. I understand this is personal, though.
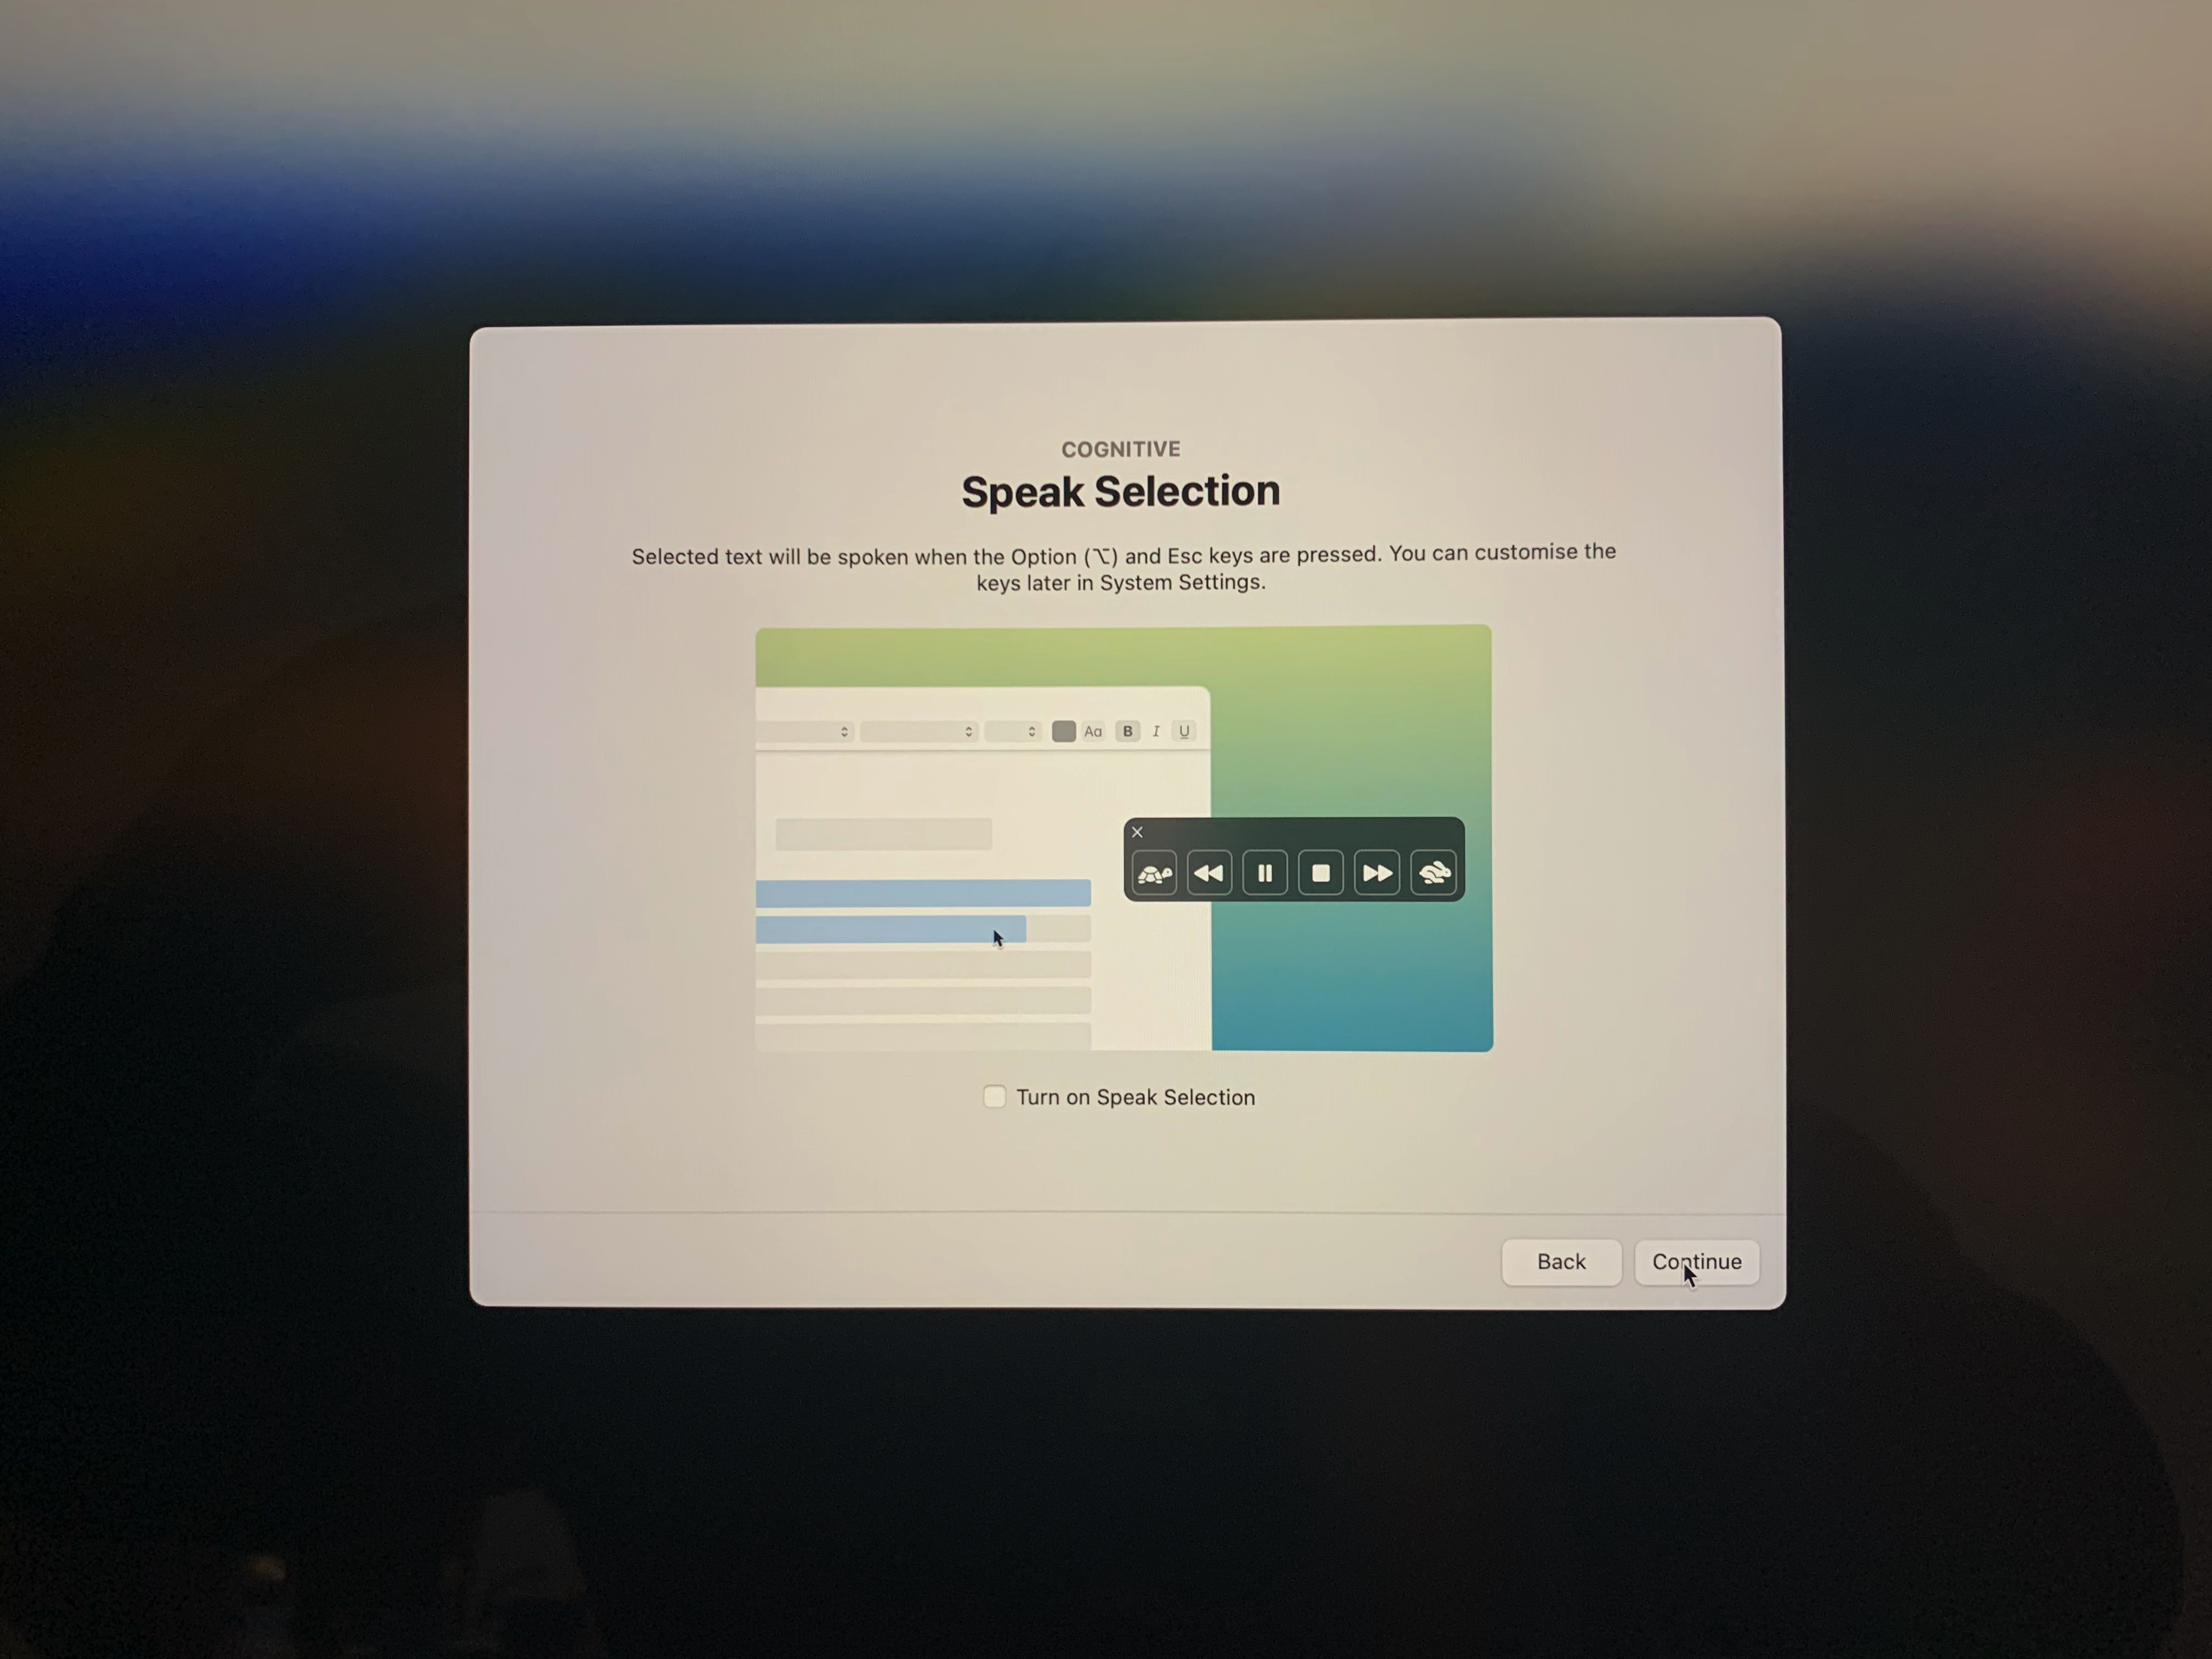
The next step is Speak Selection.
Selected text will be spoken when the Option (⌥) and Esc keys are pressed. You can customise the keys later in System Settings.
I have left this unchecked.
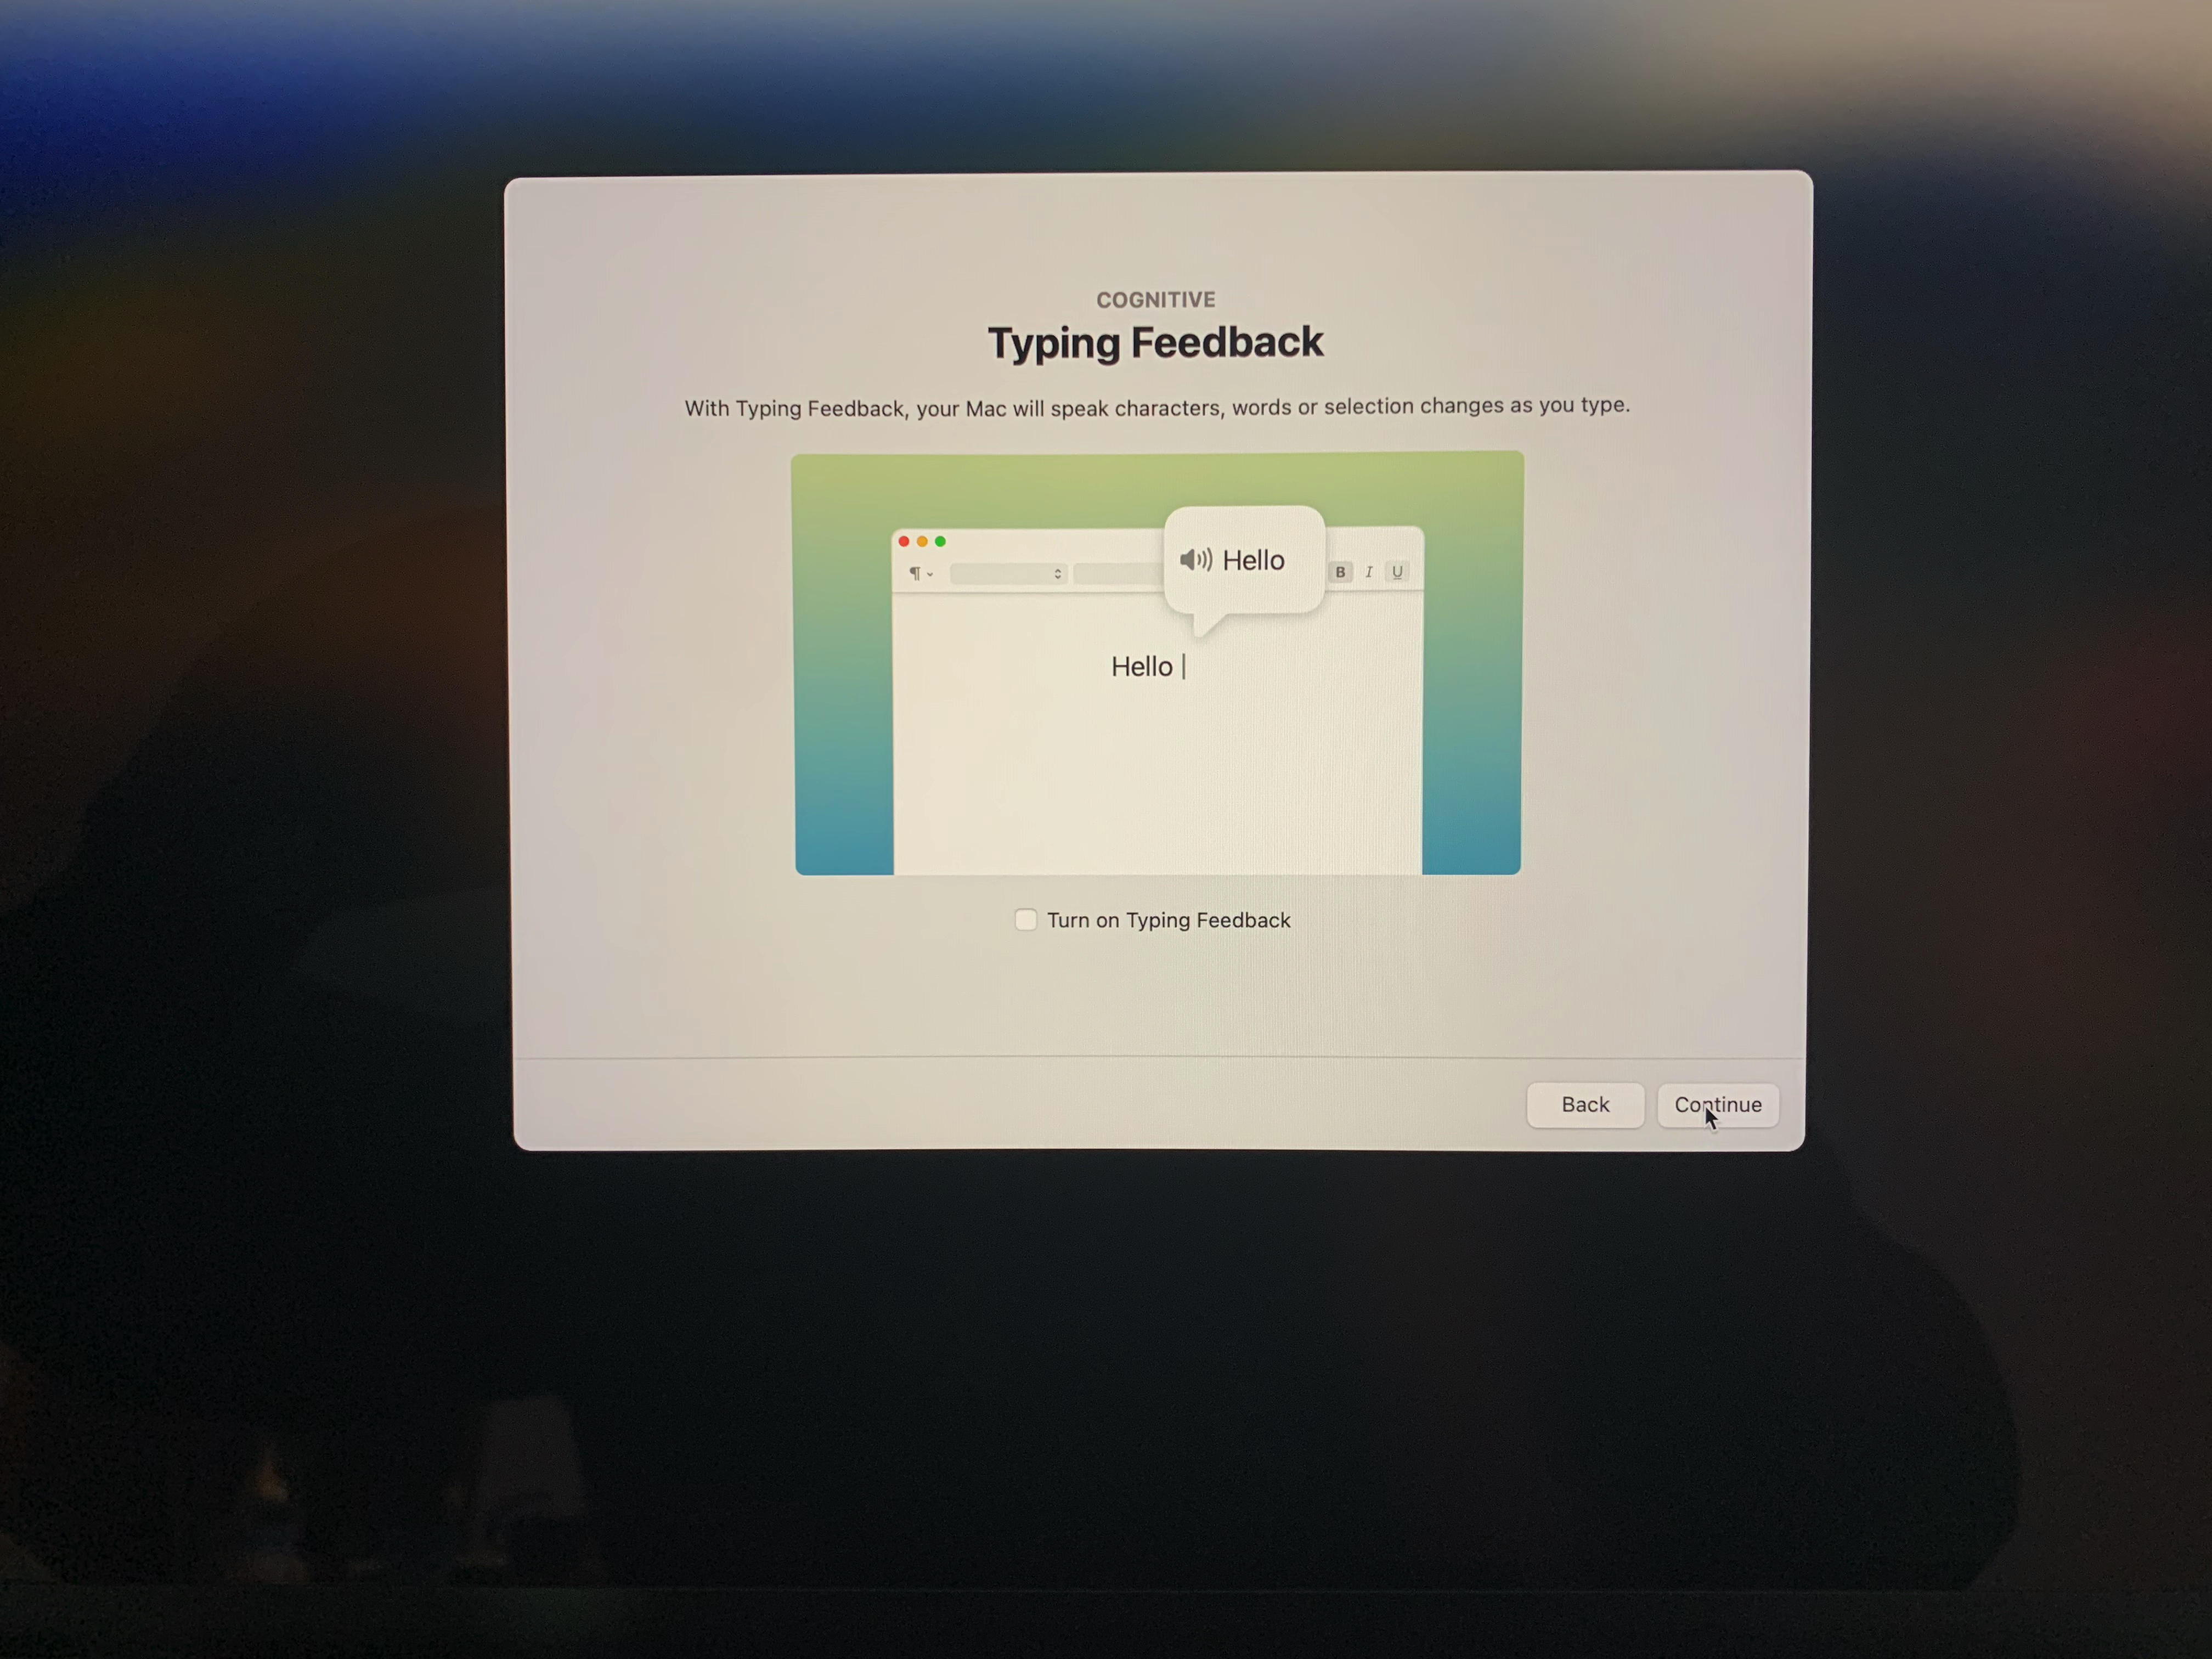
Then, it was the turn for Typing Feedback, where the Mac would speak characters, words, or selection changes as one types. I’ve also left this unchecked.

I almost turned on Hover Text, which enlarges text under the pointer in a large-text view while the command key (⌘) is held down. This caused a poor experience when selecting multiple non-contiguous objects in the Finder or elsewhere, which is performed by holding down the Cmd while selecting. After trying it for a while, I eventually decided to turn it off.
Vision
The next category covers the way macOS can help visually impaired users to use their Mac to its best. This obviously starts with the Zoom functionality, which I always turn ON with a new configuration.

It works like this: hold down the Control key (⌃) and, with your trackpad or mouse wheel, scroll up or down. If one uses Natural scrolling as I do, scrolling up will Zoom In, while scrolling down will Zoom Out.
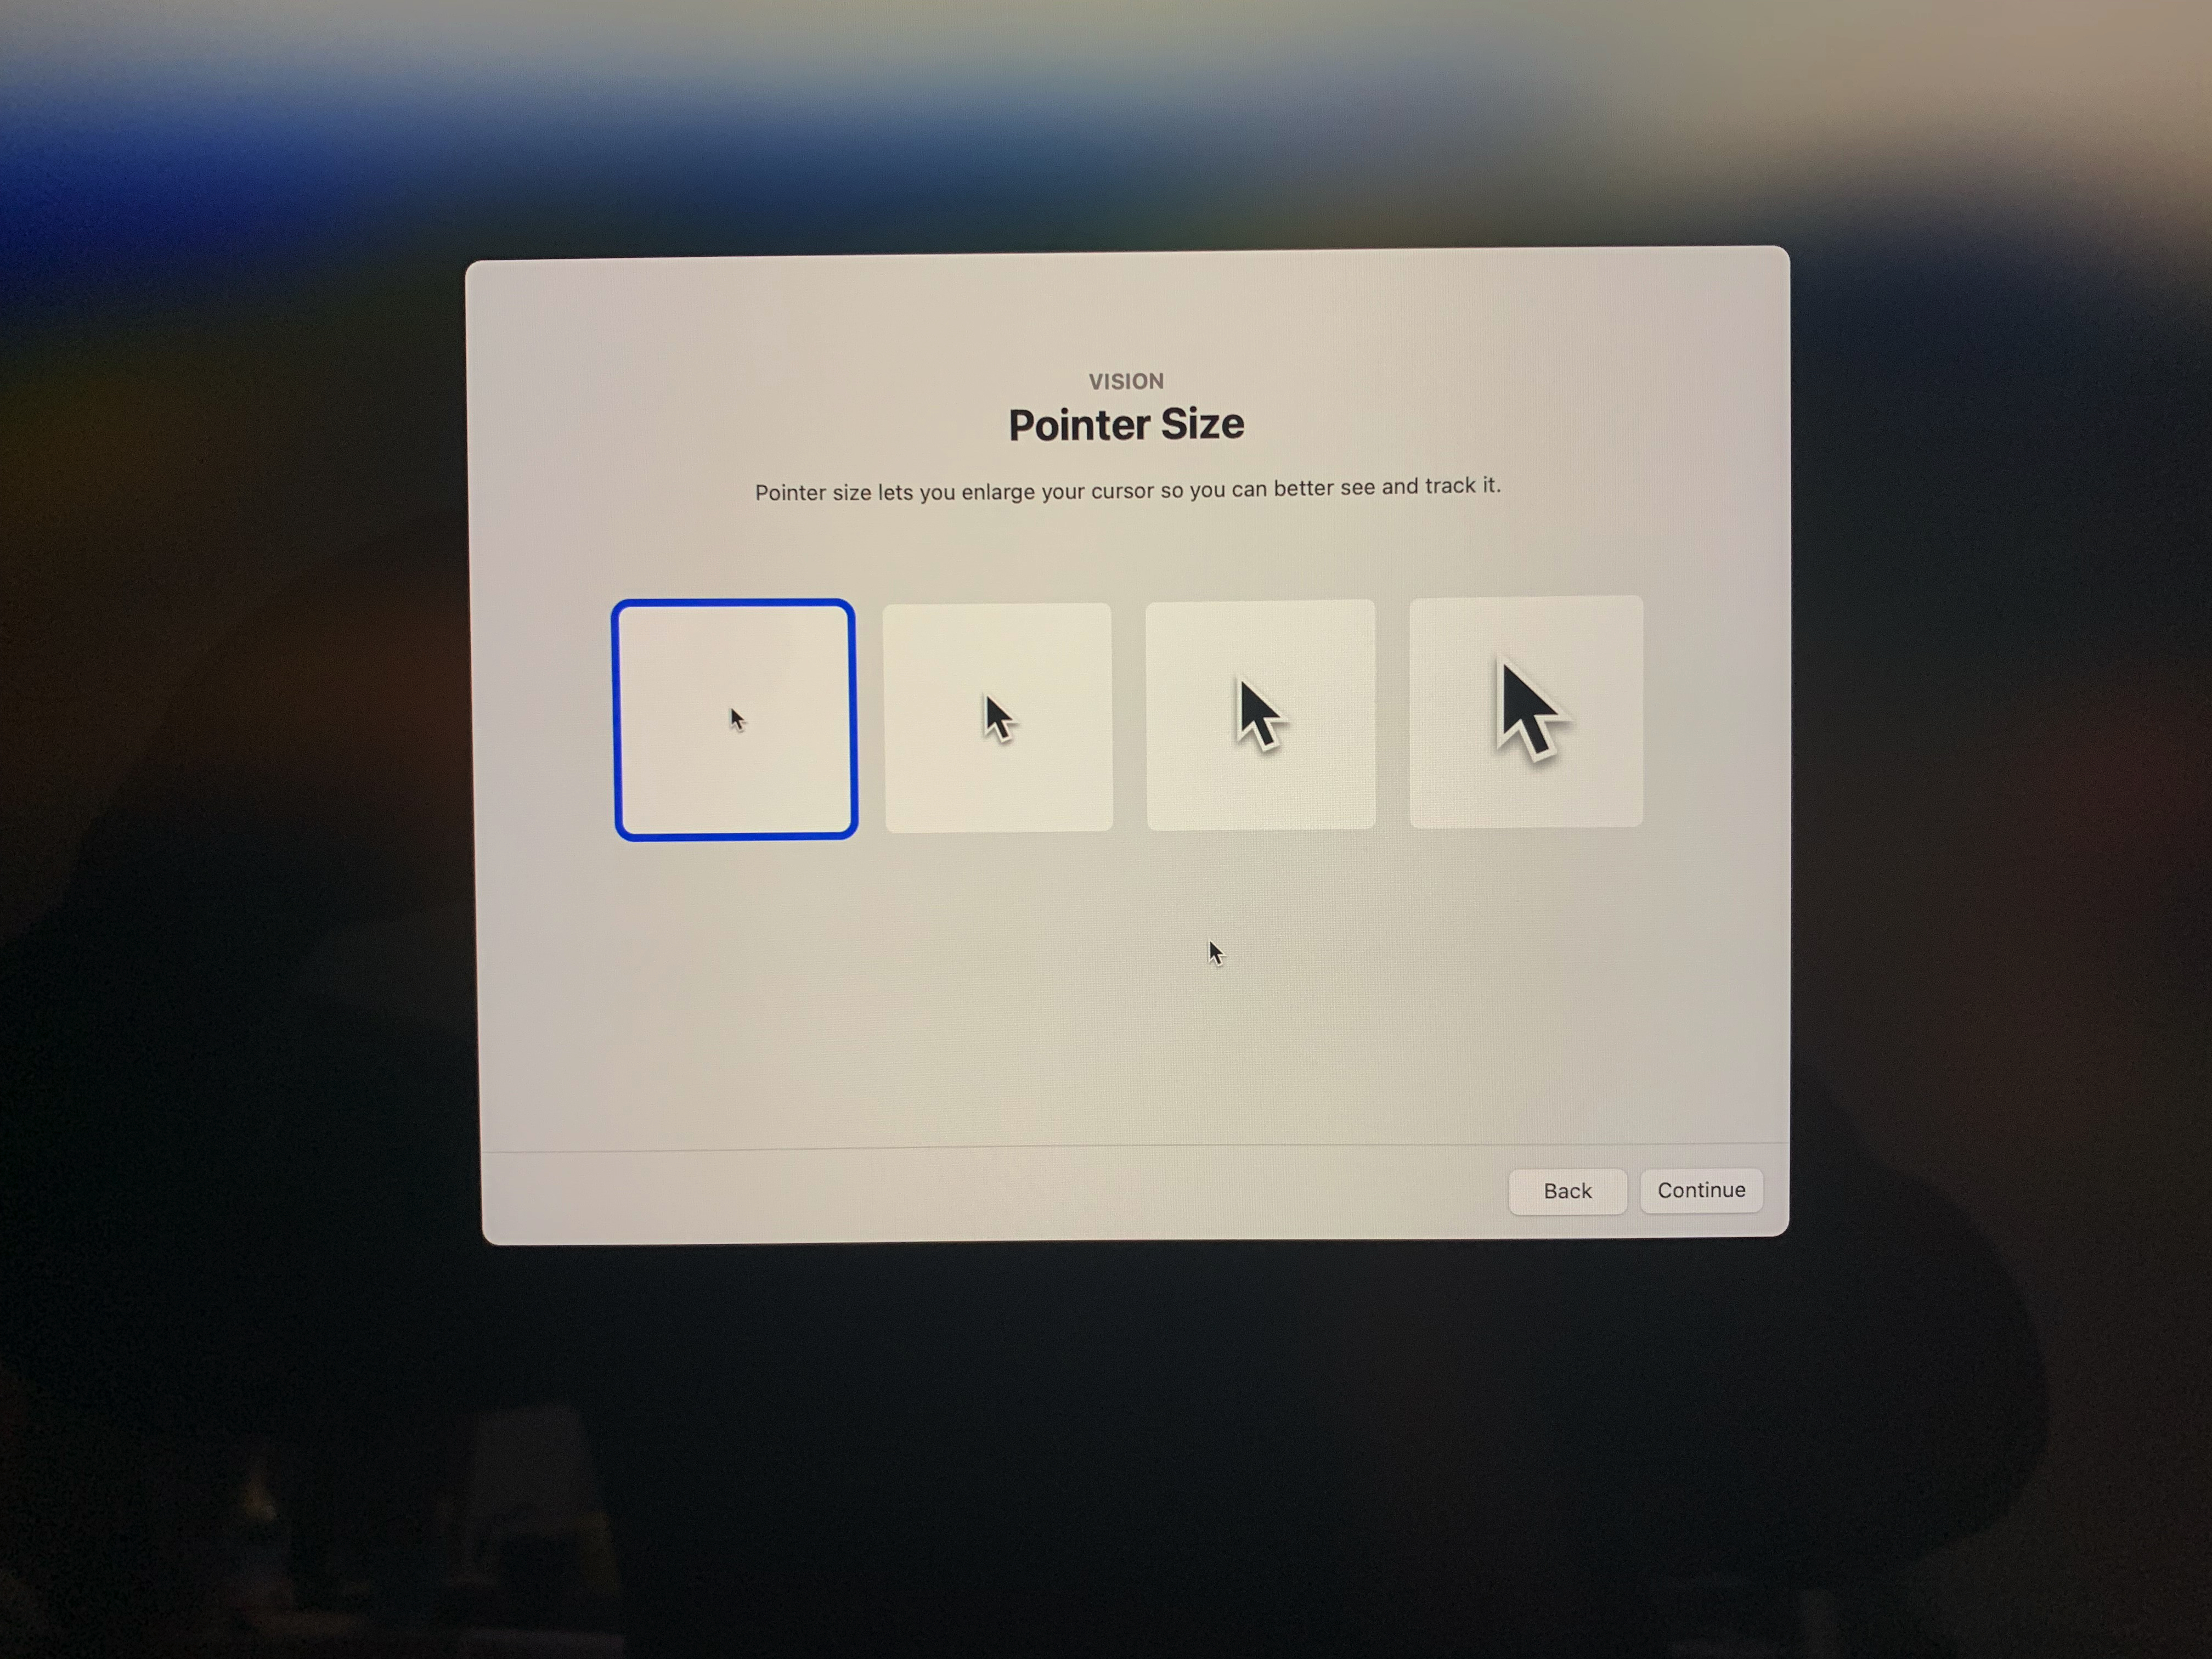
Pointer Size, then, lets you choose between four different sizes. I have selected the smallest, leftmost one, but kept active the option—on by default, I guess—which makes the pointer suddenly bigger when you move the cursor left and right very fast a few times.
Reduce Transparency improves contrast by reducing transparency and blurs on some backgrounds to increase legibility.
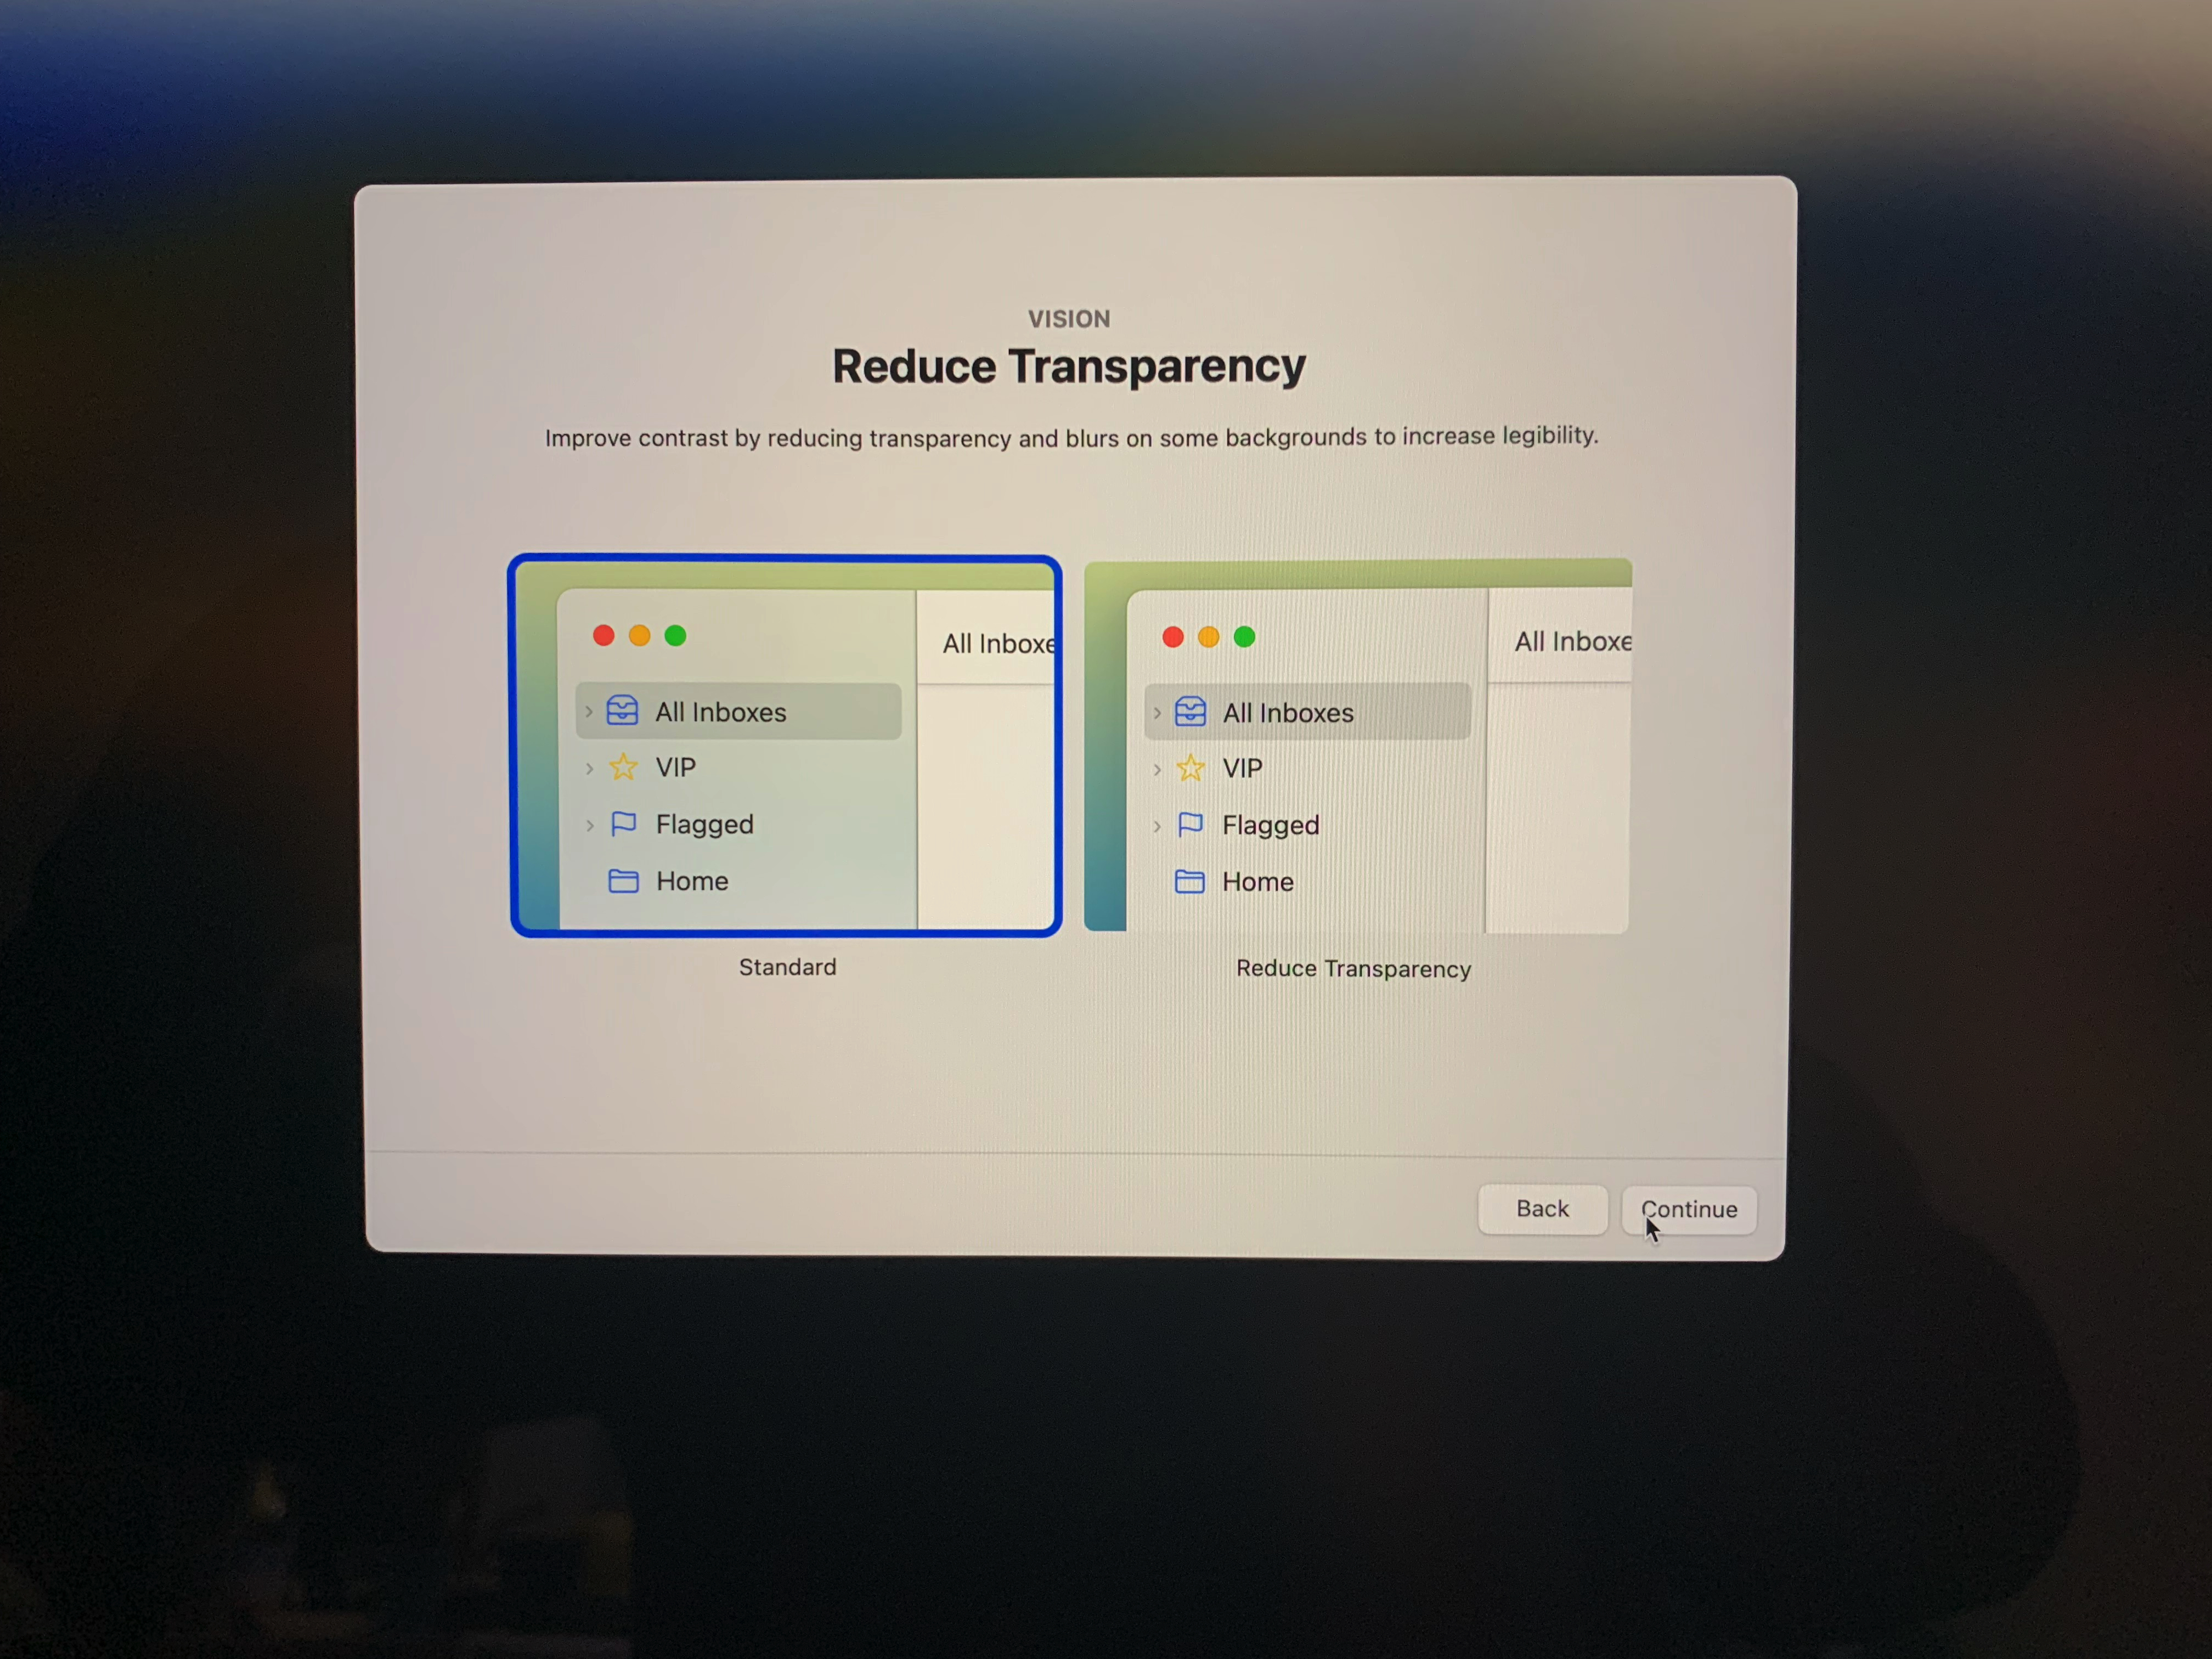
This basically makes all your windows opaque, preventing content under them from influencing their appearance. I kept it to Standard, since I quite like the transparent effect, and it doesn’t affect my professional work because those apps override this setting.

Increase contrast increases colour contrast between app colours to increase legibility. This is something I have active on boh my iPhone and iPad Pro but, after trying it on the new Mac, I decided to turn it off because the result is just ugly…
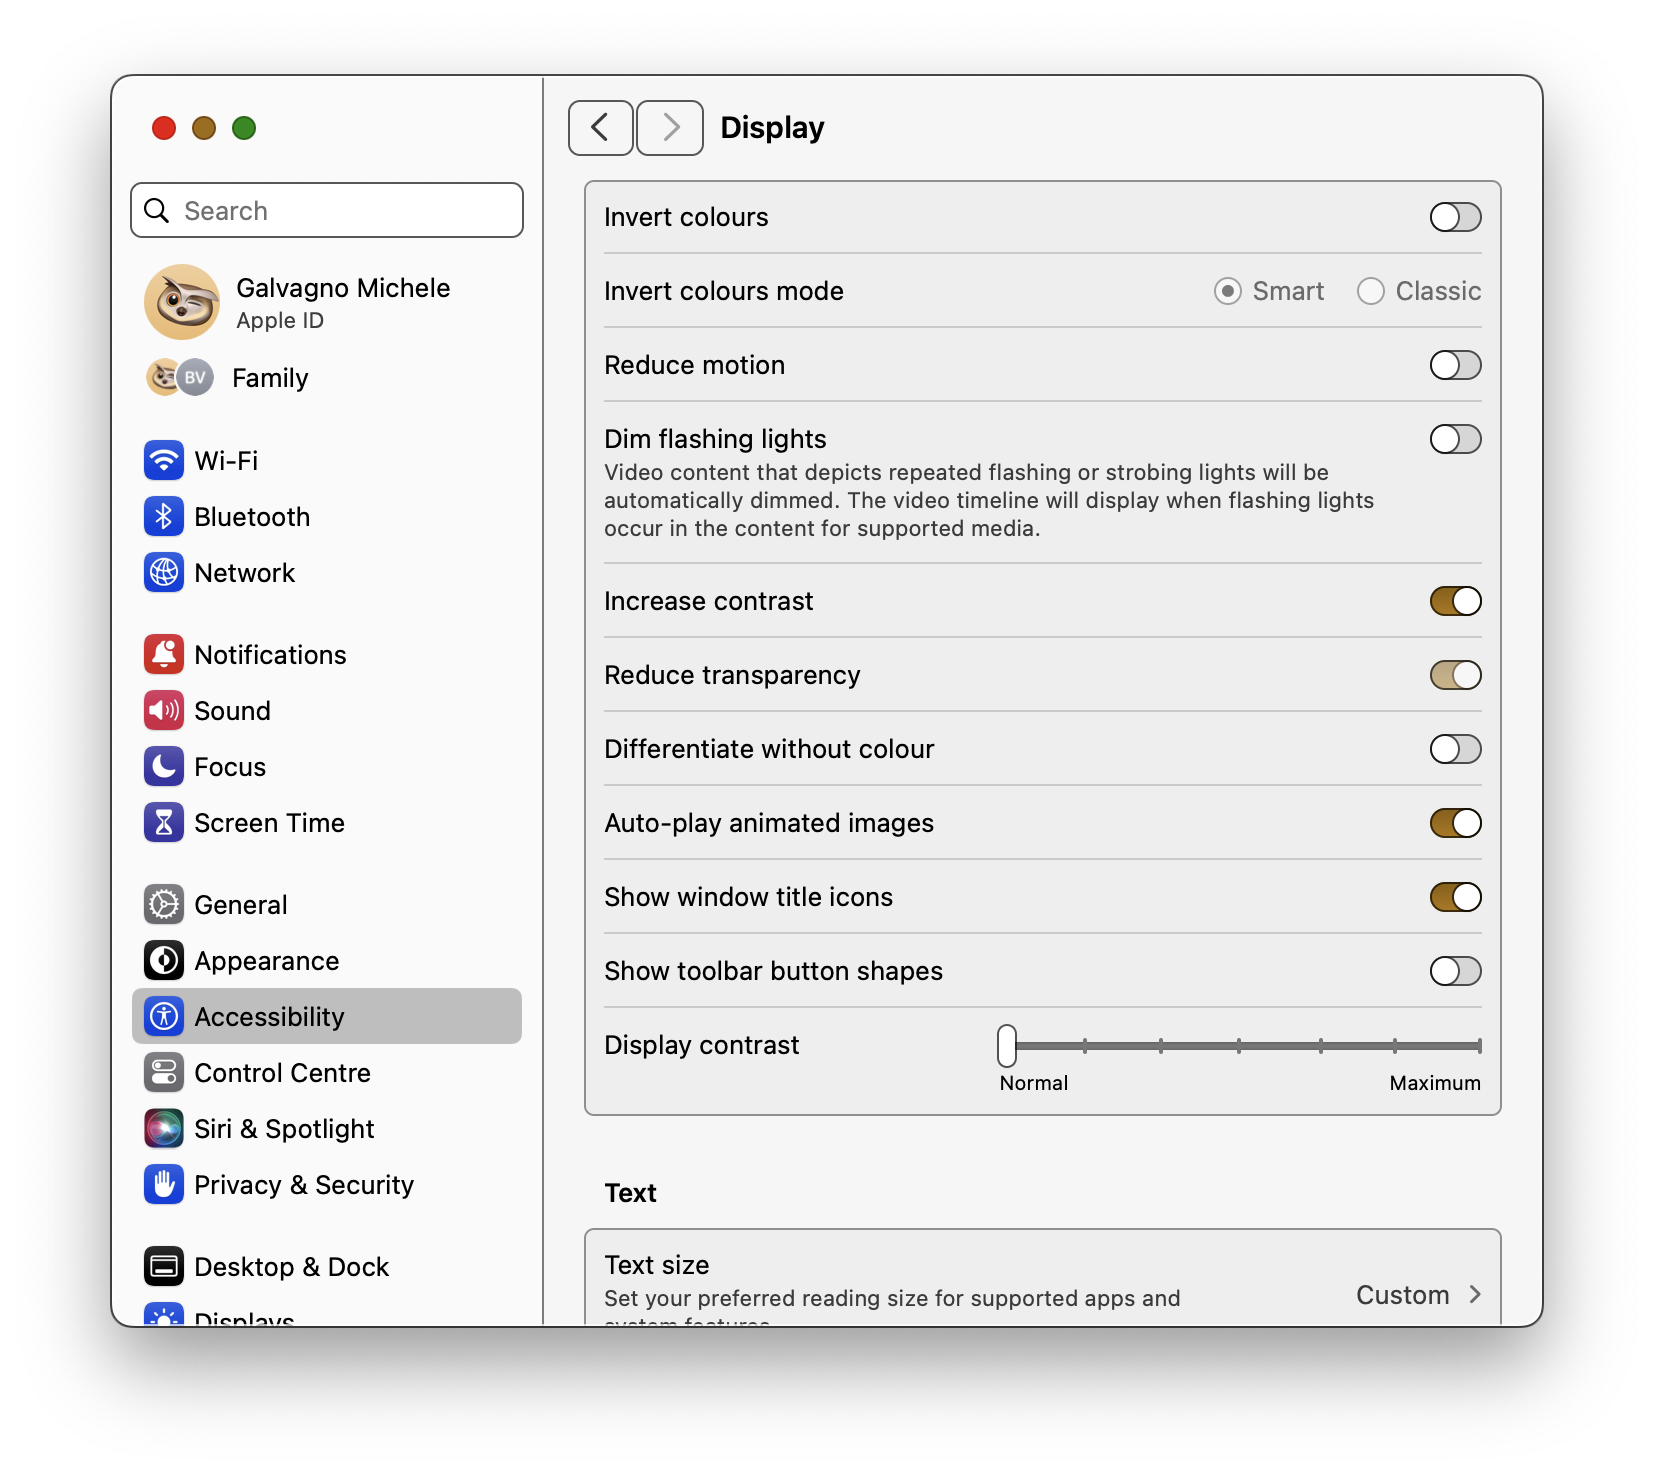
How could they think this to be a better option, when the result one obtains on both mobile devices is so much better, is beyond me, but let’s move on.
Reduce Motion is useful if one is influenced by the movement of certain screen elements.

By enabling this, Reduce Motion decreases movement in apps or areas such as Spaces, Notification Centre and the Dock. I tried it in this set-up window and then went back to the Standard.
Motor & Hearing
I hope you will forgive me, but I have got no coverage of these two areas because I either accidentally skipped them, or I could not access them without specific equipment, which the Mac didn’t detect. Should I ever erase this Mac and configure it again, I will update this part. The corresponding settings will be covered in the upcoming episodes in any case.
The last few screens
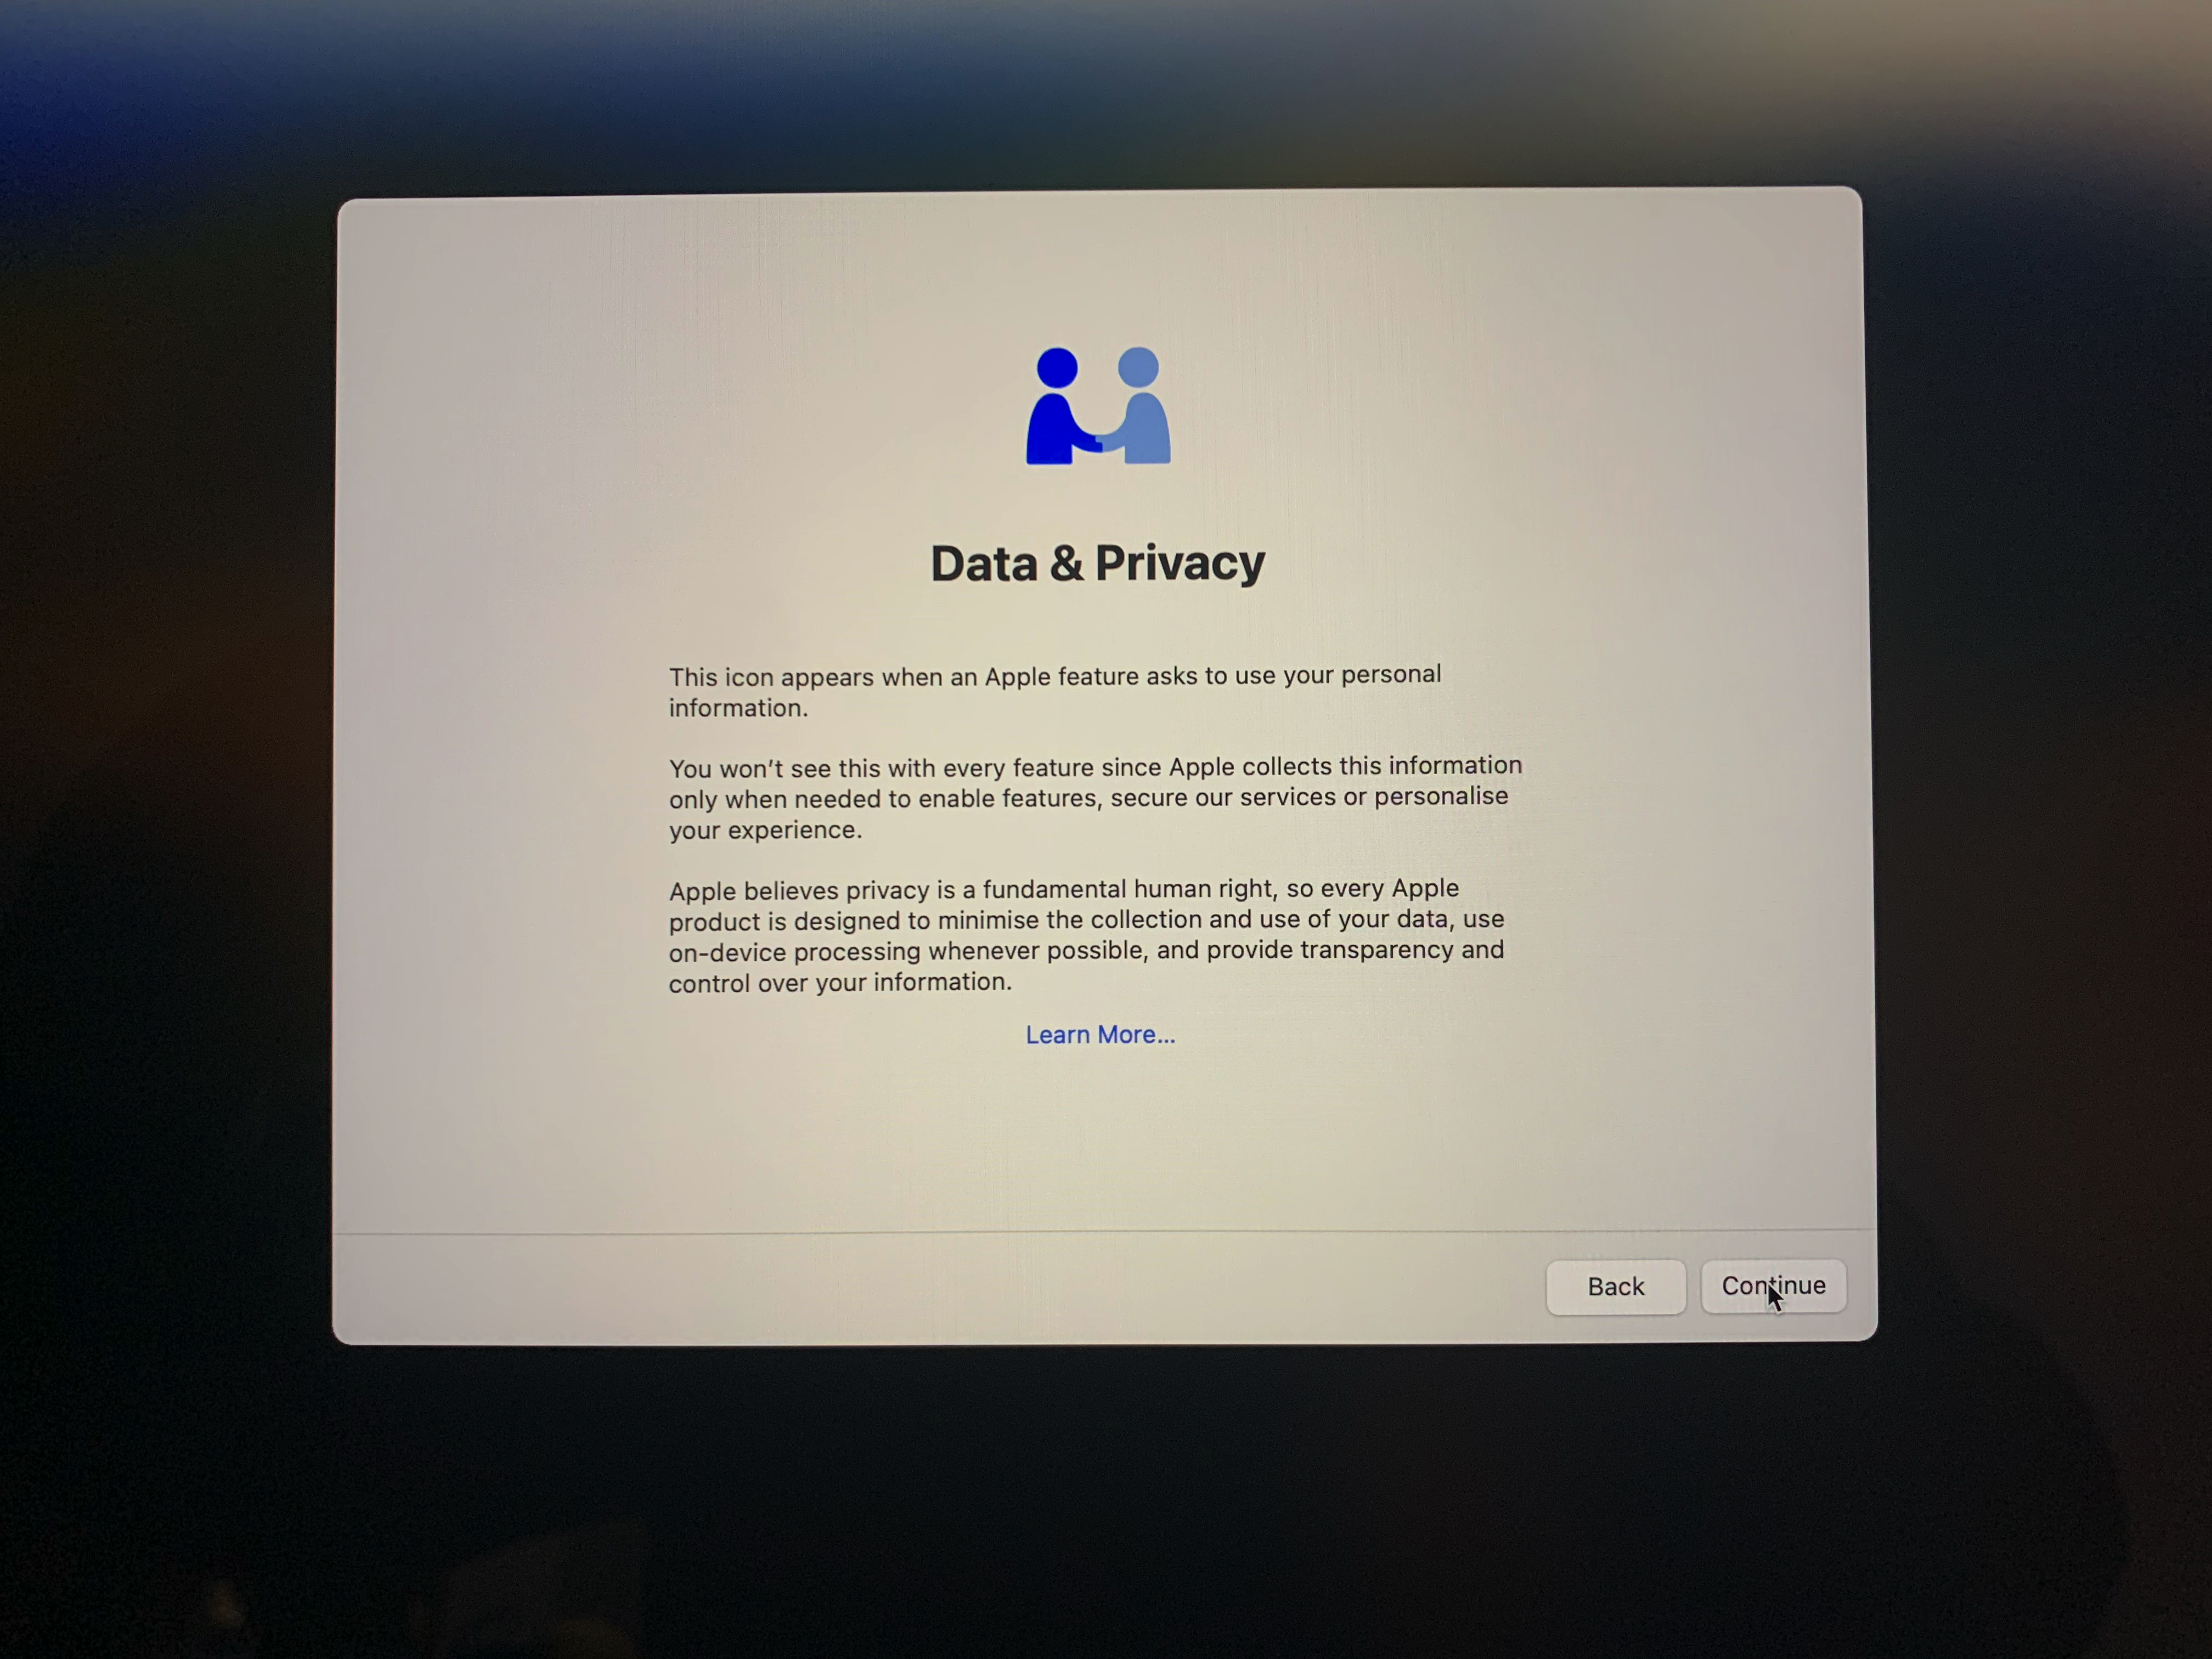
After setting up the Accessibility Settings, we get nearer and nearer to our login window. Next up is the Data & Privacy screen, where Apple explains what their stance on privacy is. Just click Continue, or, by all means, click on Learn More if you want to get deeper into this.
The next screen is crucial, for many reasons, and concerns itself with Migration Assistant, the tool that allows a user to transfer data, apps, and settings from one Mac to another.
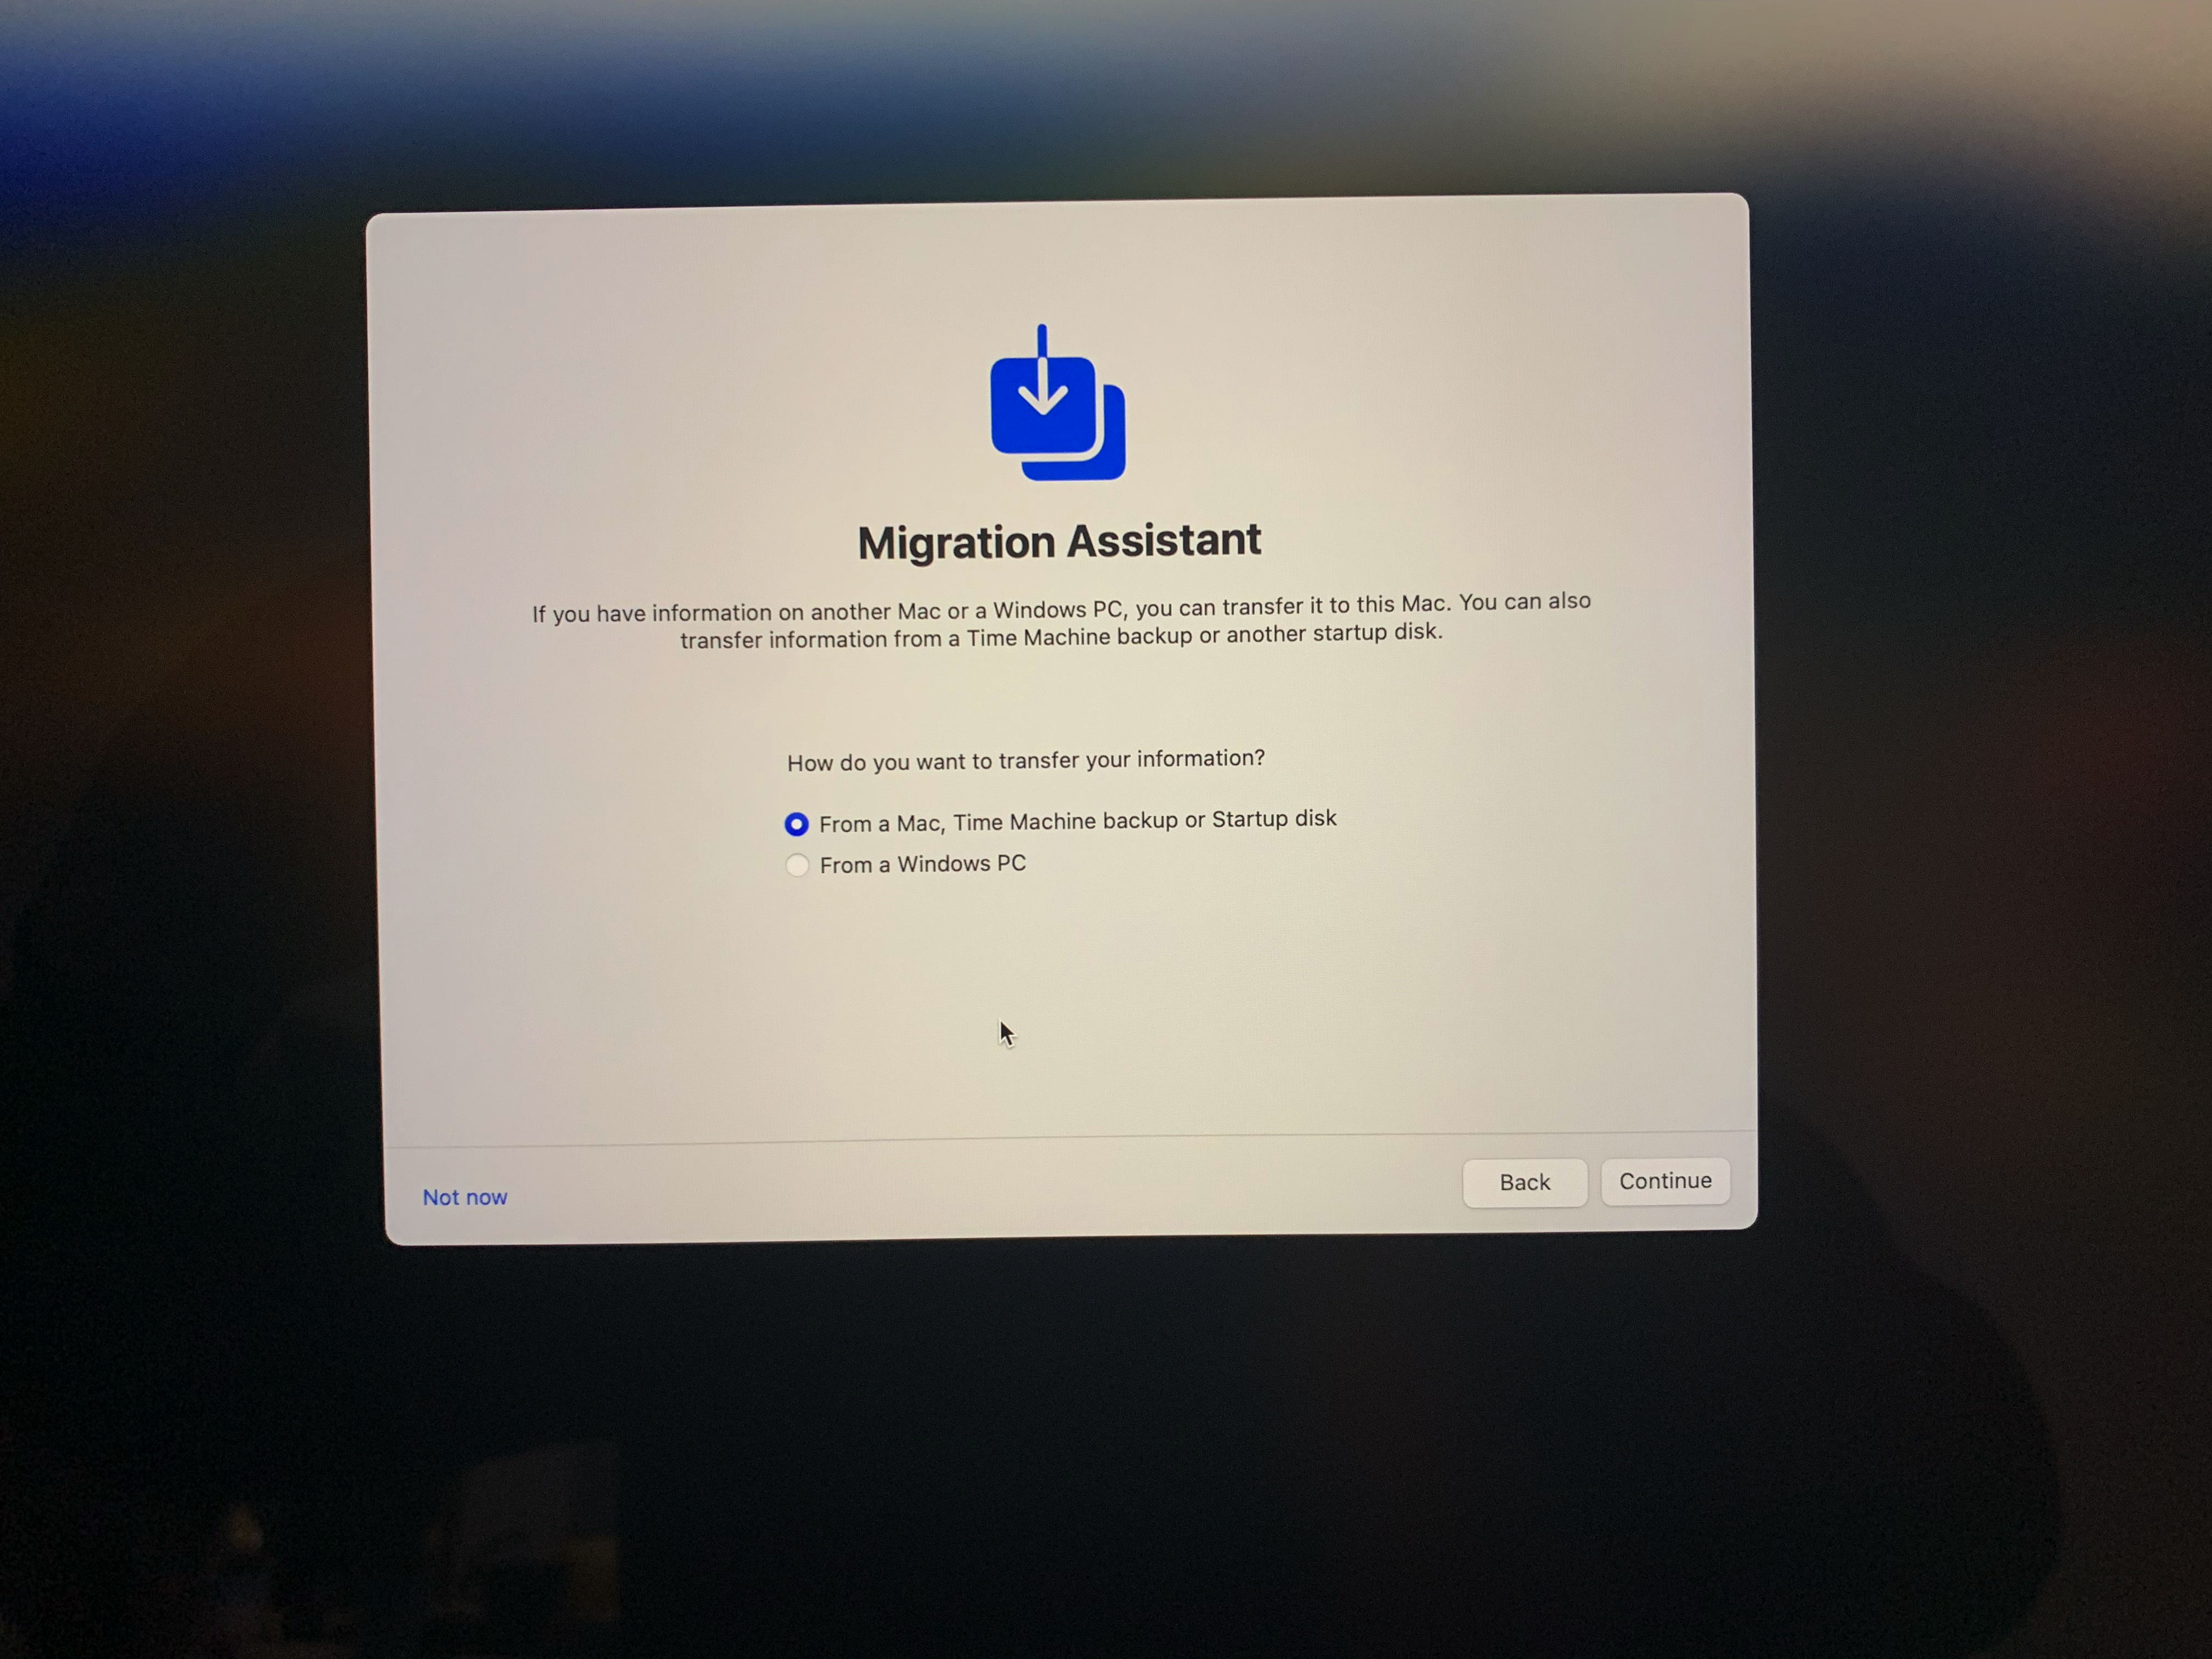
There are a few issues with this functionality.
- If you use any software that has some kind of subscription licensing, or that has a system to detect how many machines it is installed on, please do no use this feature. The least that can happen is that your license will be blocked because they are thinking you are pirating the software. Sure, you can decide not to import apps on the next screen.
- If you change your Mac every year, of course use this, but frankly, how many of us are doing that? To me, setting up a new Mac is a joyful experience, and I want to savour it to its fullest.
- Importing everything will also import potentially corrupted files that live in the User and System Library. They are not necessarily harmful, but some unpredictable behaviours of our Macs could be attributed to them.

We are almost at the moment of truth, where the Sign in with Apple ID screen comes into play. I suggest that you do it now, to make your first moments with the Mac better later on. Type your Apple ID e-mail address, press Continue, and type your password. If you have other Apple devices connected to the same Apple ID, you may receive a security prompt for the 2FA (Two-Factor Authentication).

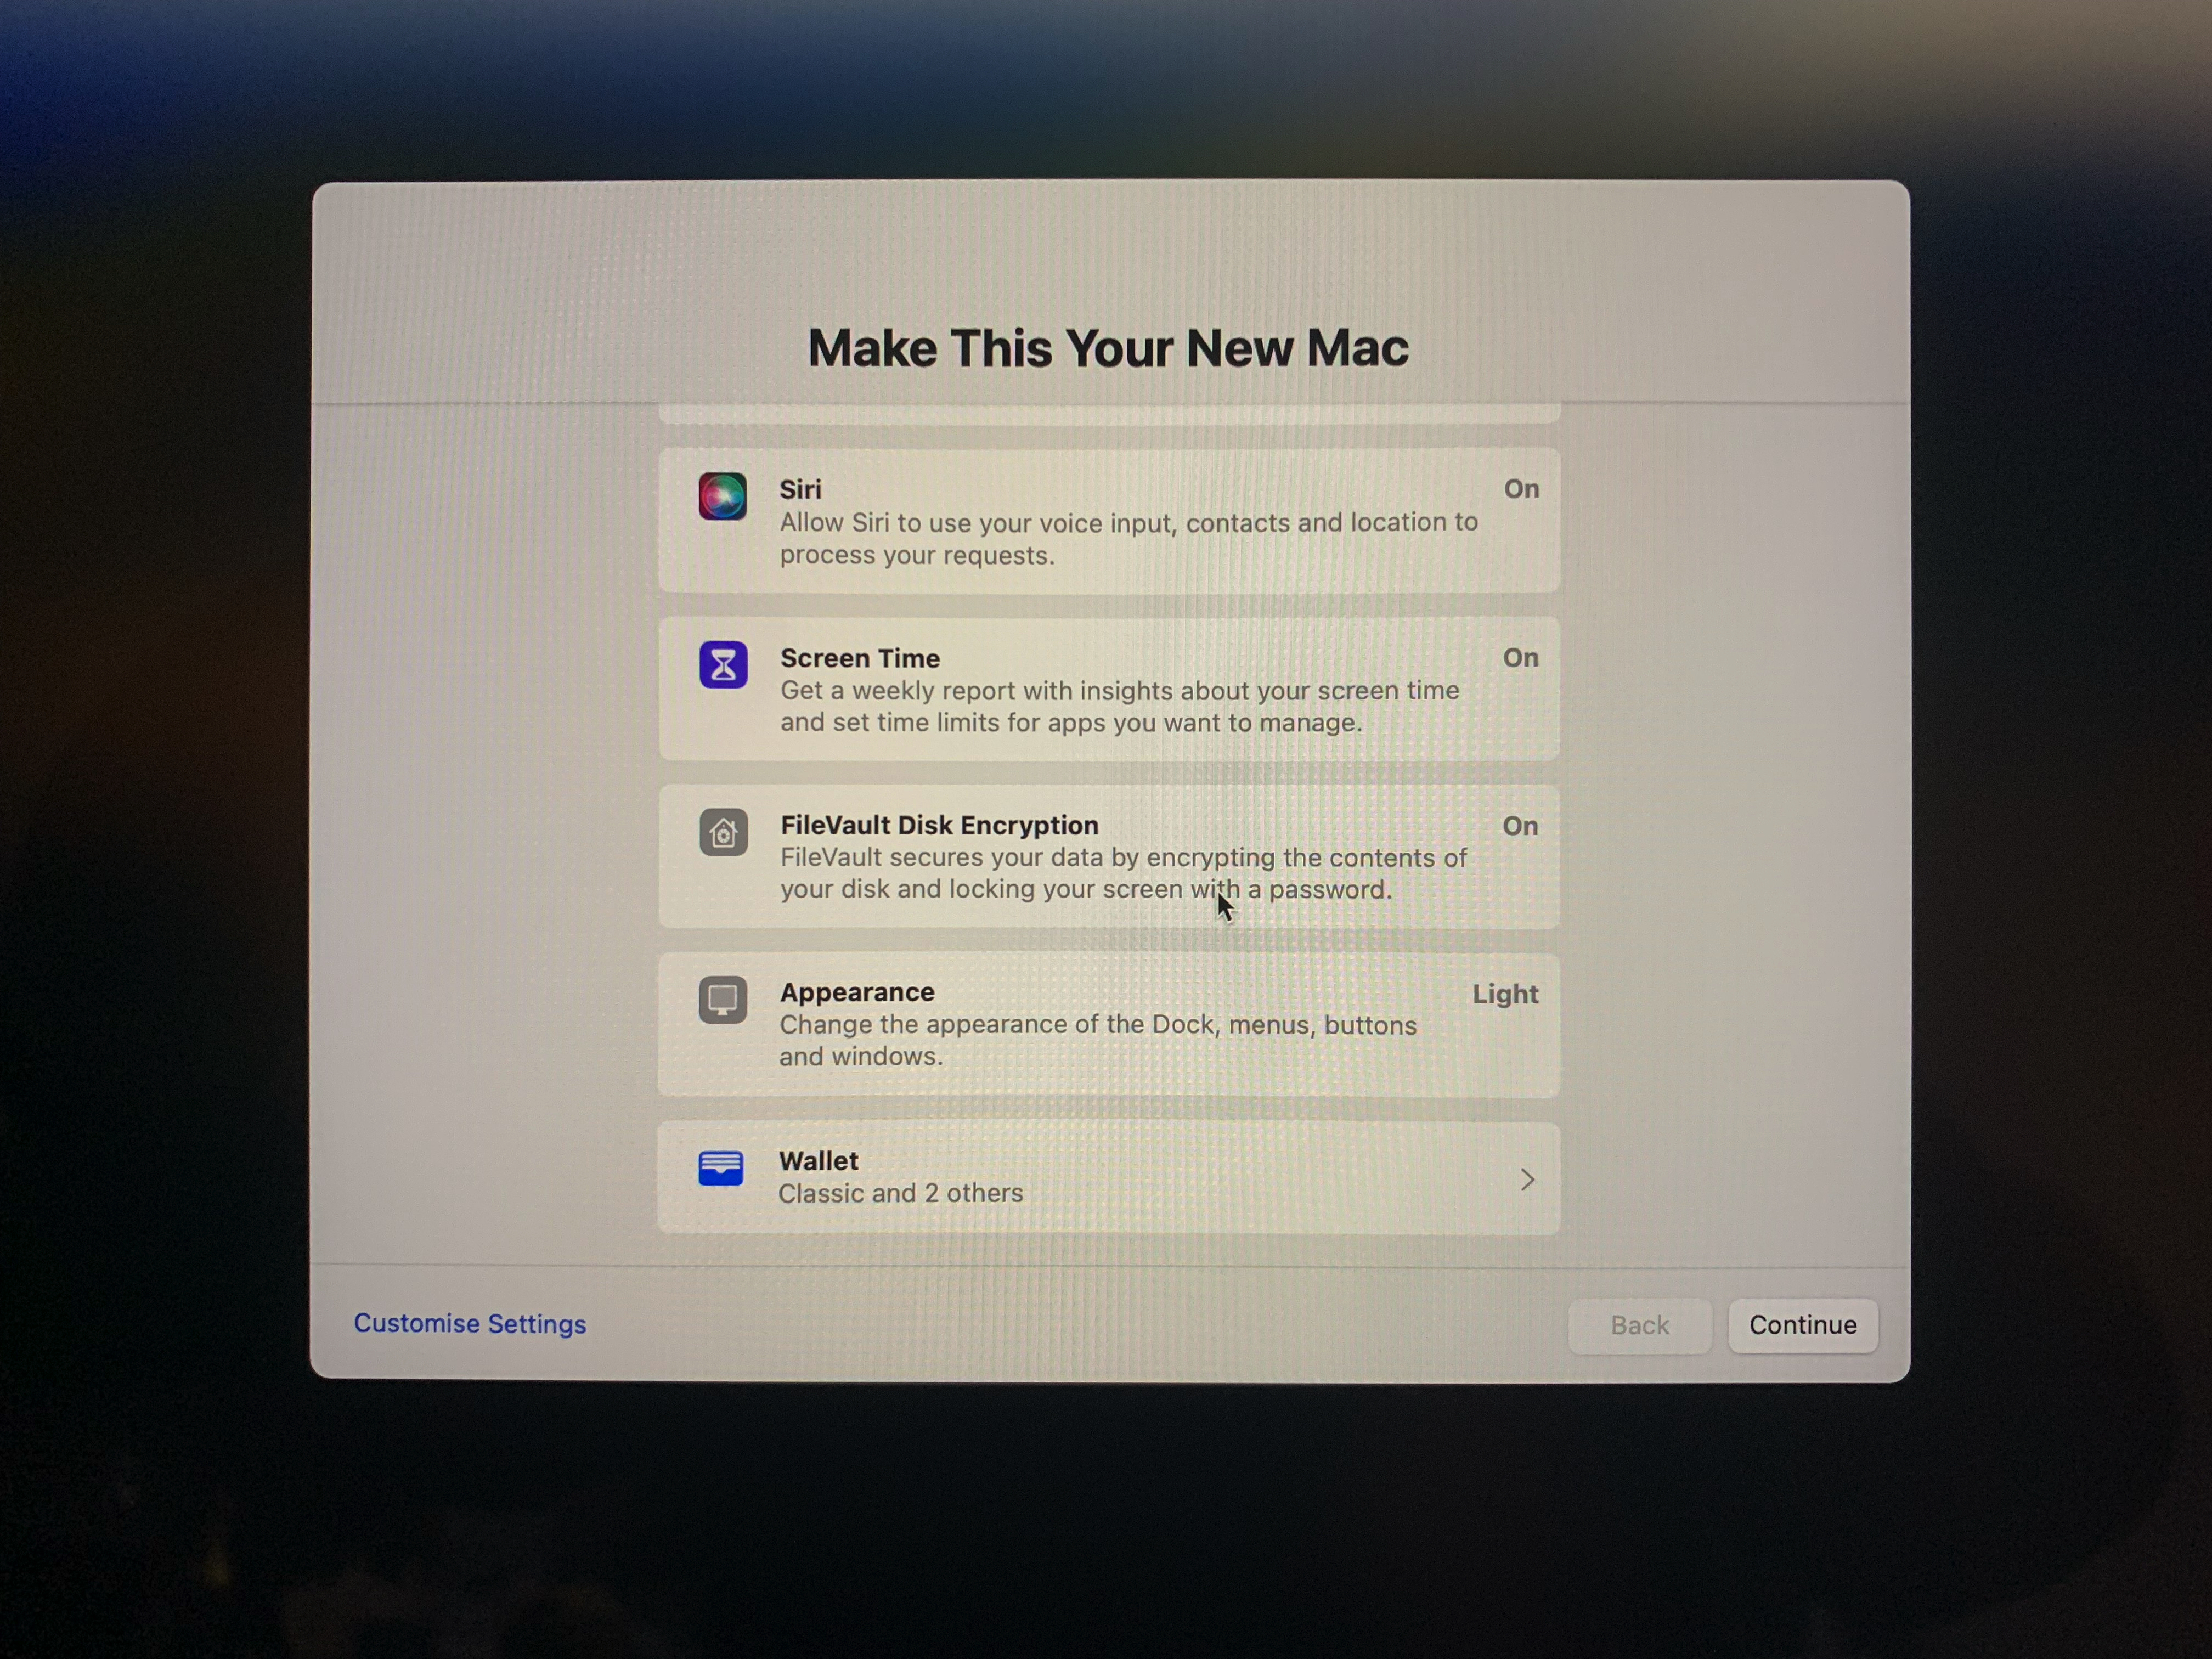
After a while, you will see this screen about iCloud being set up. Be patient. According to the size of your iCloud Drive and to the number of settings that needs to be downloaded, it may take a while, and the process is not entirely dependent on your Internet connection speed. When this is done, you should see the Make This Your New Mac screen:

I recommend you tap on Customise Settings and go through each one of them carefully. You can change these later, but better do it now, in my opinion. The screen above and the one just below this paragraph are my final settings, but inside each one there are a few checkmarks and choices to take care of, so take your time.
When setting up Siri, the screen showed this message:
Siri does not support any languages for your region, but you may use any of the languages shown here. Selecting a language will also apply to dictation. You can change this later in System Settings.
This appears wrong because Italian is a supported Siri language—I use it on both my iPhone and iPad. Regardless, choose a language, and it will prompt you to configure “Hey Siri”, which can then be set up as just “Siri” if you have a modern-enough device. When asked to help Improve Siri & Dictation, I politely picked “Not Now”, since I believe they already have enough anonymous data from me to chew on their servers; they don’t need also my voice.
For the first time since I am a Mac user, I have turned on FileVault, the service that encrypts your startup disk, effectively preventing anyone without your password and without access to your iCloud account from accessing your data. I suggest checking the Allow my iCloud account to unlock my disk option.
Next up is Touch ID time, and I always set a reminder to also add other fingers in System Settings later, since one never knows.
Now, for the love of all good things: please do not set up Apple Pay now! Tap Set up later and live a happy and long life. The setup phase at this stage is completely bugged out, with verification methods not working, and one ending up with uncomfortable situations with one’s bank. You don’t want to lose this much time, so please, do it later!
Epilogue
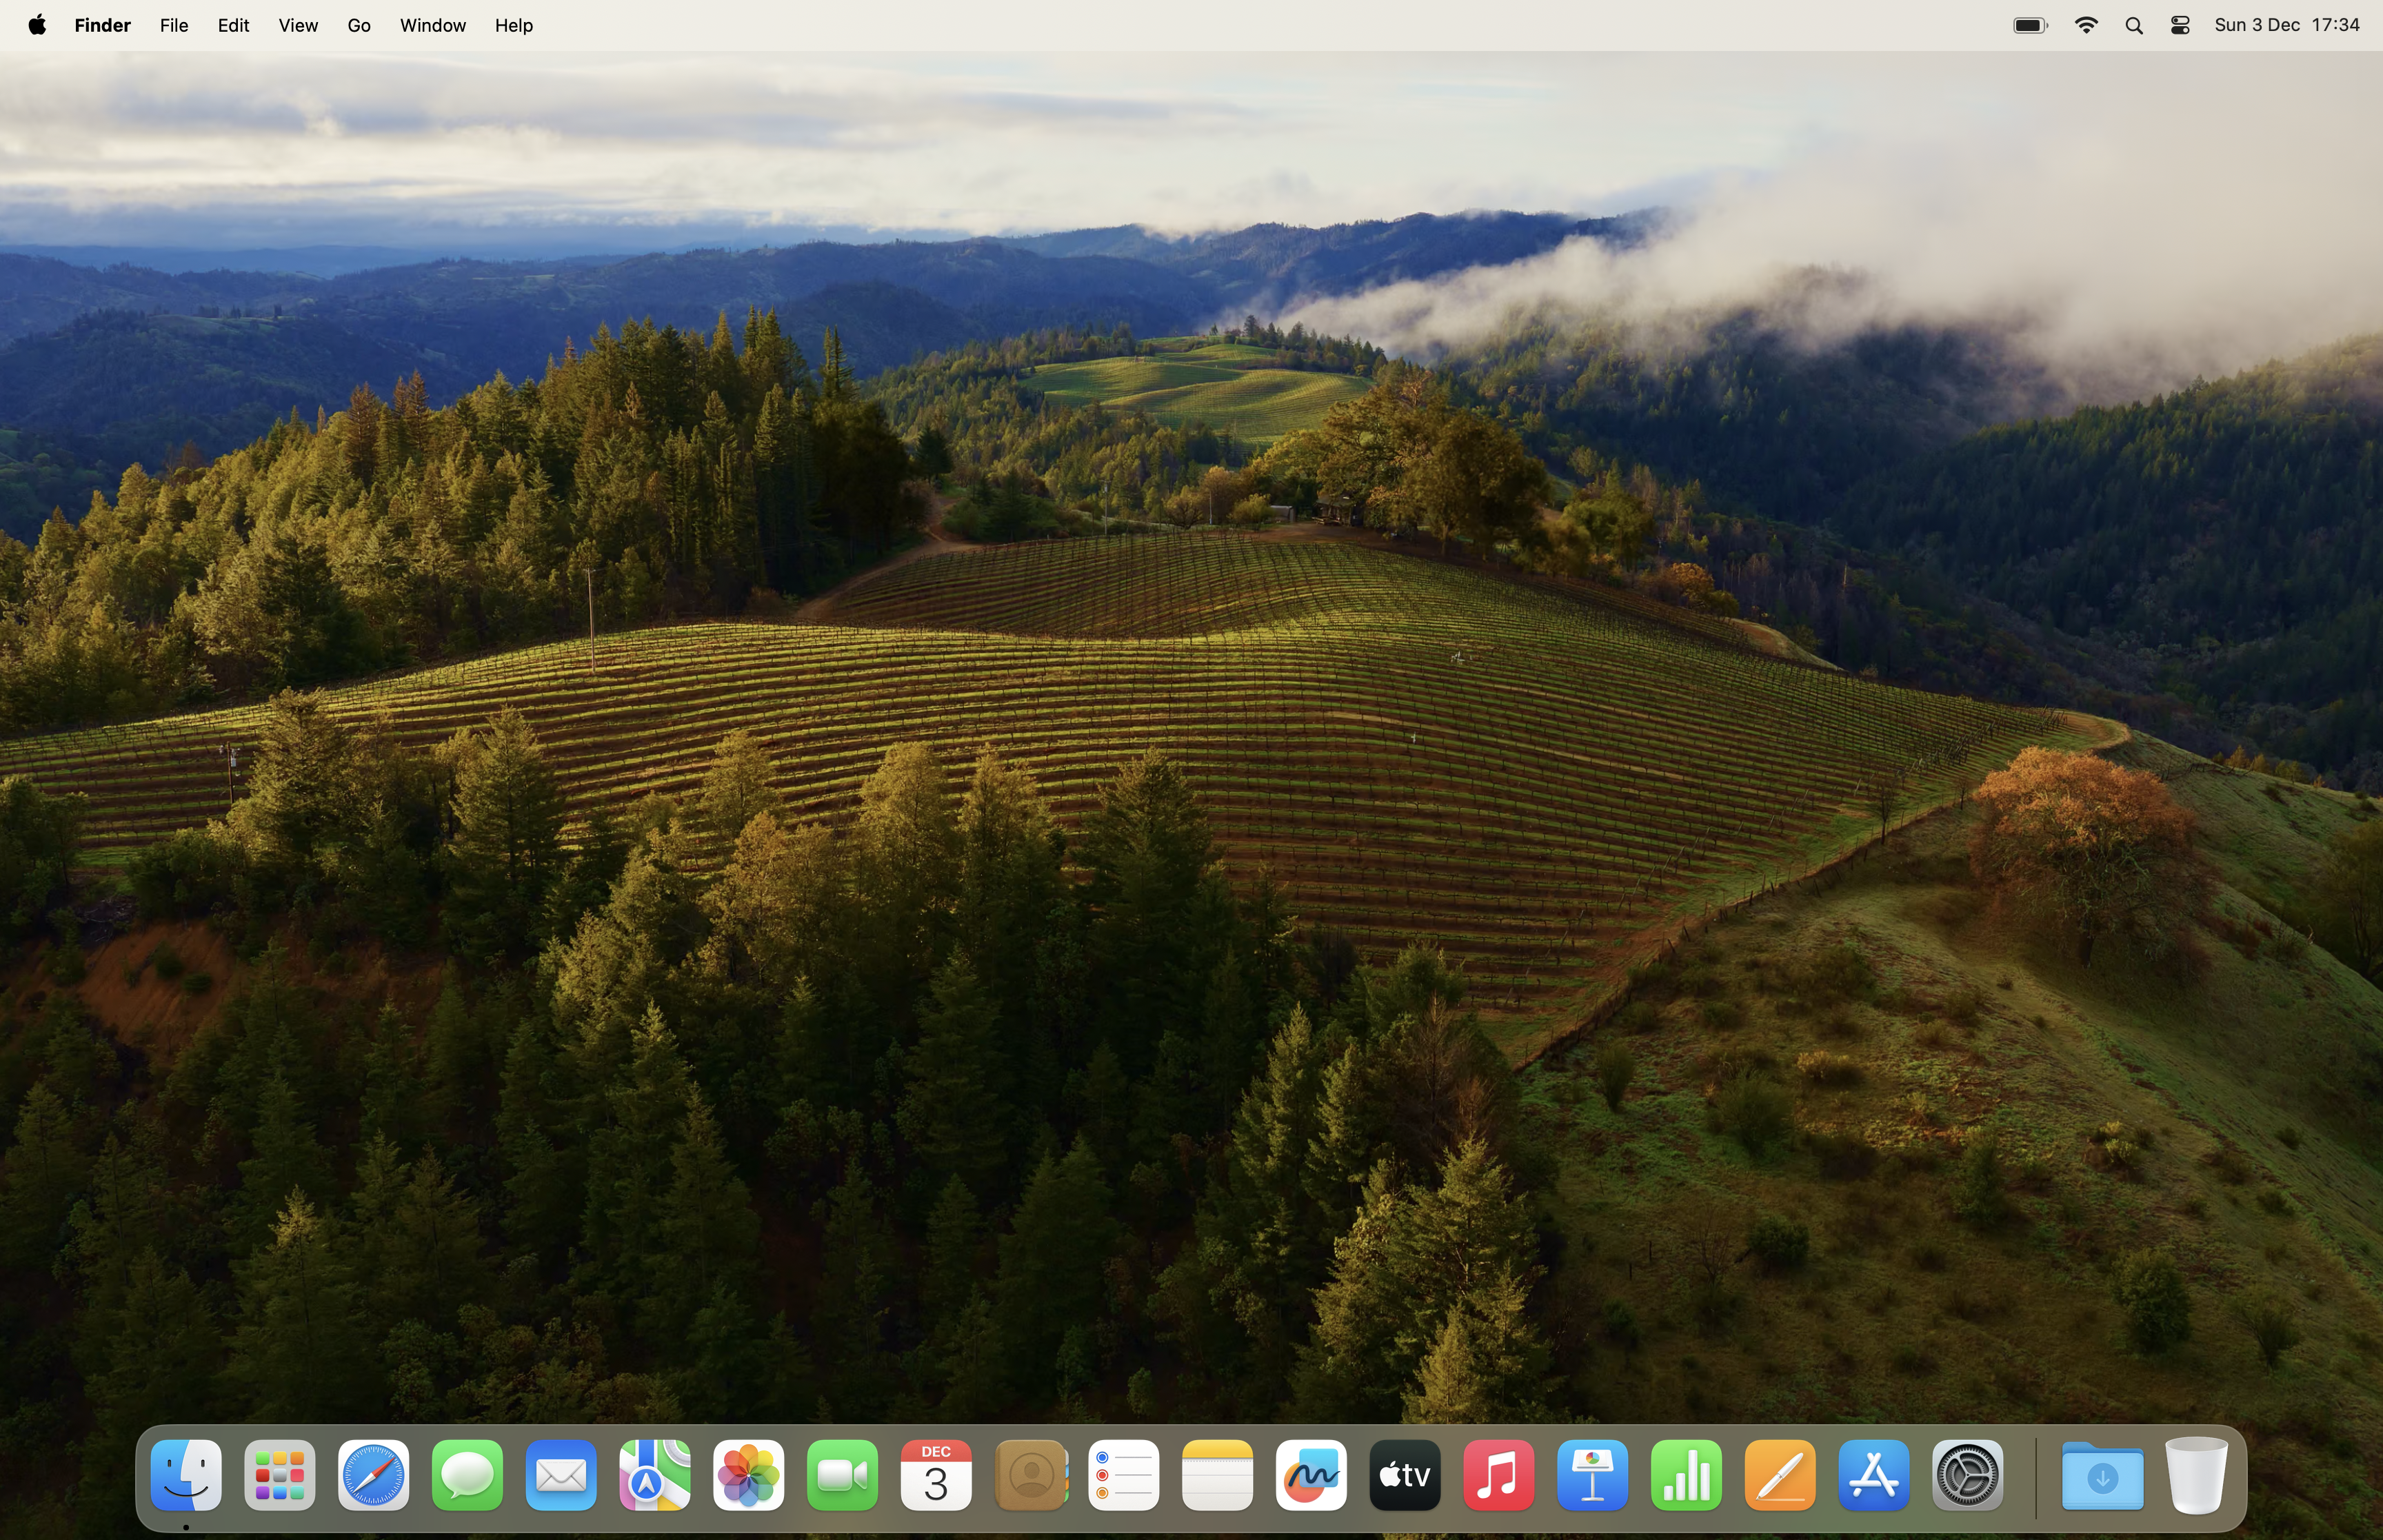
We are done! The next thing you will see is the Home Screen of the desktop of your newly configured Mac! If you have managed to get through all this, congratulations! Since I know you, like me, will heavily edit your Dock configuration, I have taken a screenshot of the original ordering of icons upon setup, to keep as a reference.
One small thing that happened is that, at the next computer restart, I got this screen, as if setup had not completed properly:
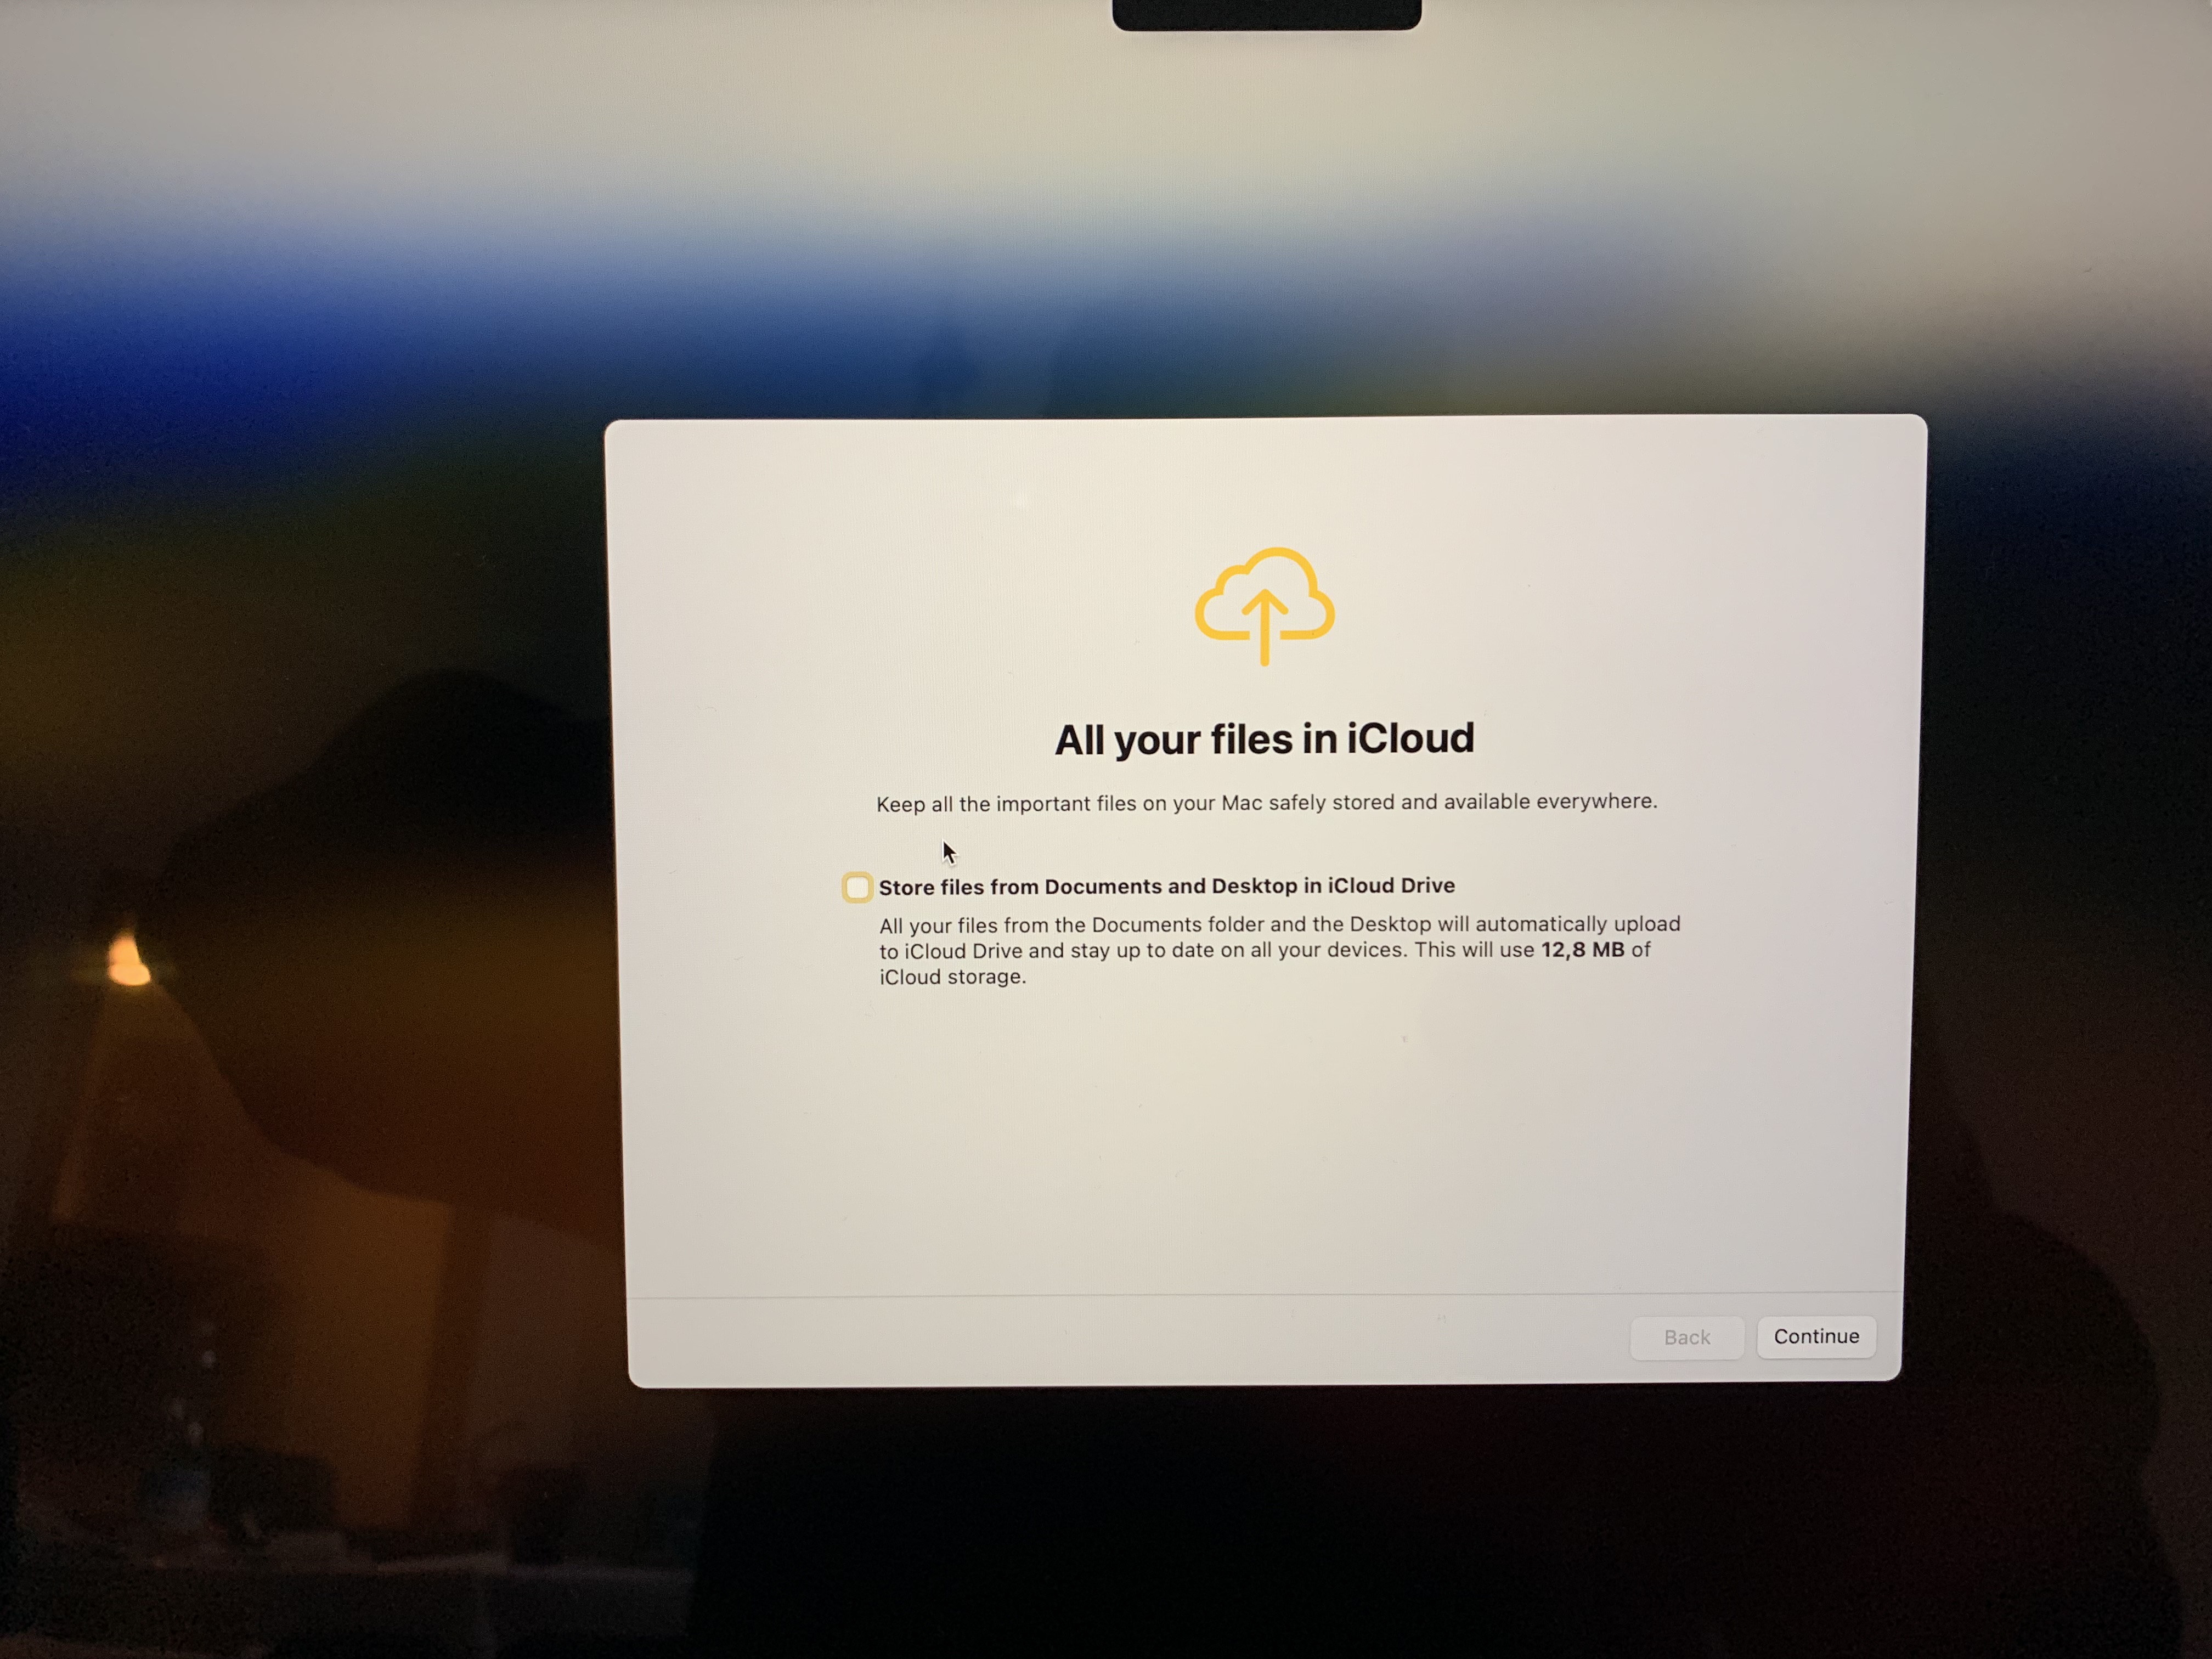
Once more, if you have any degree of respect for your time and sanity, leave this unchecked.
Bottom Line
In the next episode, we will start delving into System Settings. Episodes will be shorter, and I am sorry if this was so long to read, but it is not really meant to be devoured in one mouthful, rather to be a companion for your configuration process.
I hope you found it useful. If you did, please leave a like, share it, subscribe to be notified of upcoming articles! Please share your experience setting up your Mac down in the comments, and have a great day!

2 thoughts on “My upgrading path to Apple Silicon — Part 6”