
Starting Note Input
This article is an expanded, paraphrased and enriched transcription of the excellent video by Anthony Hughes. Go watch it, then come back for a recap, or follow along while watching.
As we saw last time, there are a few different ways to get started with note input, namely using your computer’s keyboard or a tracking device such as a mouse or a trackpad. I encourage you to try both approaches before choosing what best suits you.
It is important that you make sure to be in Write Mode, or note input will not work. You can select it from the toolbar or press Cmd-2 (that’s Ctrl-2 on Windows) from anywhere in the program.

Using the mouse
To start note input with the mouse, make sure there is no active selection in the music by either:
- clicking on a blank part of the page or
- using the shortcut Cmd-D (Ctrl-D on Windows) for the Deselect command.
Now, select a note duration from the Notes palette in the left zone:

If you see that those note values are greyed out, check the Select button just to the left of the Notes palette (the one shaped like a NW-pointing arrow). To enable mouse input, it needs to be deselected.
Selecting a duration will “load the pointer” with it and allow you to get started. As soon as you hover over the staff, you will see a grey notehead appear at the pointer’s position. If you move the pointer up or down, it will show you the corresponding pitch that will be created when you click. If you move the pointer left or right, the note will be created at the nearest position in the rhythmic grid.
Here is before clicking, that is, while hovering:

And here is after clicking:
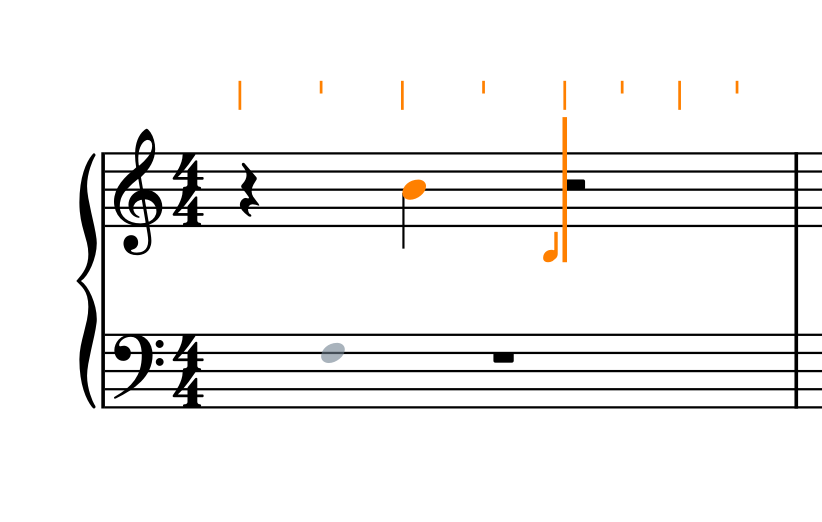
See how you do not need to input rests to get to the second beat of the bar, and Dorico does this automatically. Once the first note has been entered, Note Input Mode becomes active, and you can continue the process with the mouse, the computer keyboard, or a MIDI keyboard if you have one.
The presence of the caret and of the rhythmic grid is a telltale sign of the Note Input Mode being active. We will cover the caret and the grid in greater detail in another chapter. To exit this mode, press the Escape key on your keyboard.
Toolbox button
We can also engage note input by clicking on the button that looks like a quaver with a little plus (+) sign next to it in the Notes toolbox.

If there is an active selection in the music, the note input caret will appear at the beginning of that selection. Otherwise, it will appear at the earliest visible position on screen. Notice that, if you click on that button when you do not see any stave on screen, nothing will happen, and you will need to select something in a stave before attempting again. This should happen quite rarely, though.
As with the ESC button, tapping on that button again exits Note Input Mode.
Return key and Double-clicking
Another way to engage Note Input Mode, and personally, my favourite, is to select an item and press the Return key. This is coherent throughout the program in that selecting anything and pressing the Return key edits that item. This is valid for all sorts of music items, from time signatures, to playing techniques, to dynamics, and more. It is therefore natural that the concept of ‘editing’ flows into note input as well. An alternative option is to double-click an item for the same result, but since I use a trackpad, I’m not too keen on double-clicking gestures.
To try things out, make a selection, press Return, enter some notes, and press Return again to exit Note Input Mode.
Popovers
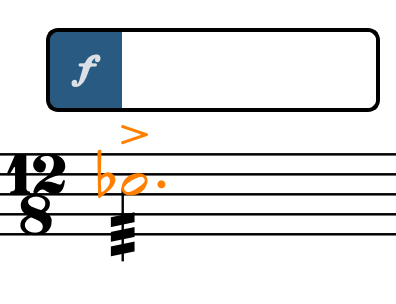
Once you are comfortable with the basics, I encourage you to familiarise yourself with another standard Dorico concept, which is invoking popovers. This is done by holding down the Shift key and adding the letter corresponding to what you would like to do. For example, pressing Shift-D will empower you to insert dynamics:
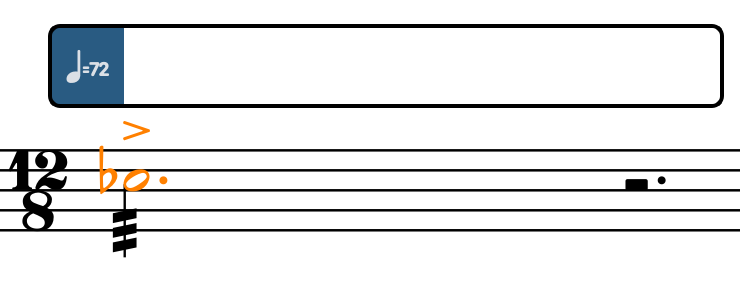
Pressing Shift-T will create tempo markings (Allegro, Andante, etc…):
Pressing Shift-M will create meters, also known as time signatures:

Consequently, Shift-N will do the same as double-clicking or selecting and pressing Return. If you have never programmed before—even as a gaming activity such as Swift Playgrounds—, you may find this last approach a bit extraneous and uncomfortable. Dorico, though, isn’t just “yet another notational software”. It was built from the ground up to revolutionise the way we think about doing music notation, so it is natural that some of its approaches will feel unfamiliar to you at first. Be patient, though, and you will be greatly rewarded.
iPad check
In this last section, we will check that everything we have covered in this episode also works on the iPad version of Dorico. As a reminder, Dorico for iPad assumes you have a keyboard handy, but you can use a pencil to select interface elements and to input notes—though not through handwritten recognition.
Mouse input
While on desktop one needs to clear the selection to select a note and thus load the pointer, on the iPad moving the pointer around does nothing and the notes in the Toolbox are greyed out. Simply speaking, mouse input does not exist on Dorico for iPad.
Toolbox button
Instead, press the “quaver with the plus” button in the Toolbox to directly start note input. If you do not have a keyboard, be sure to expand the bottom area with the button in the bottom-left corner of the screen, and select the second tool from the left.
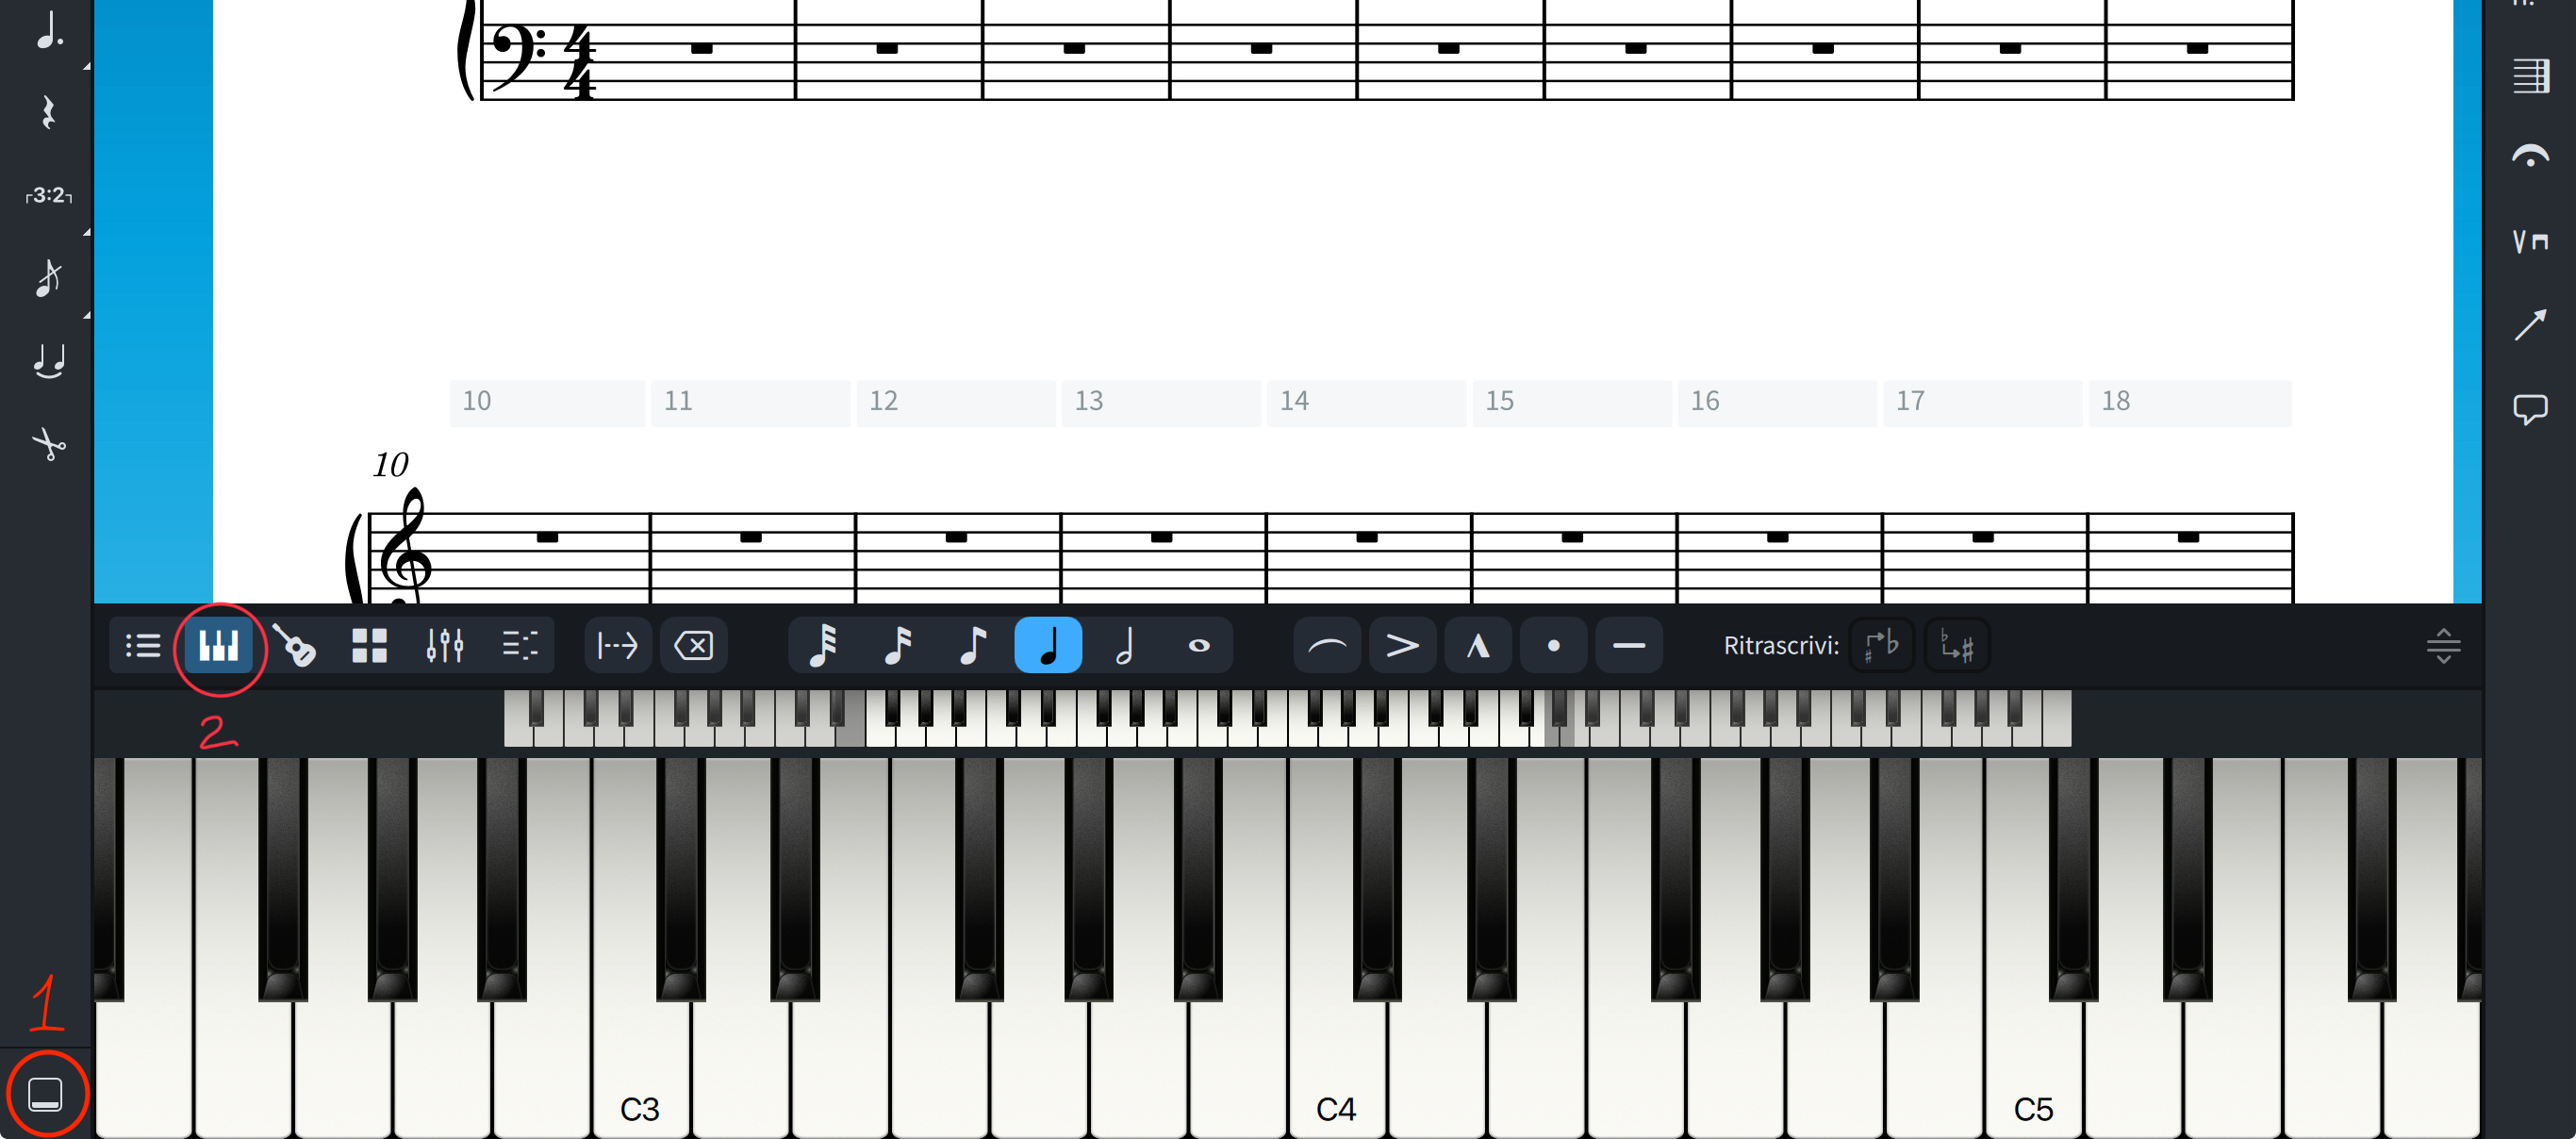
Now, select a note value and then tap on the keyboard’s keys to insert the notes. This is just an introduction, and we will cover the keyboard in greater detail in a future episode.
Standard keyboard
If, instead, you have an alphanumerical keyboard connected to your iPad, you should find yourself at home with the Return key and with the popovers, since they work exactly in the same way.
Bottom Line
That’s it for today!
If you enjoyed it, please like this article, subscribe to get notifications about upcoming articles, and don’t forget to do the same for Anthony’s video and for the Dorico YouTube channel.
Should you be interested in my other activities, please visit my website and consider joining my mailing list, where you will be able to follow my journey through music notation and independent music publishing!
Thank you for your time, and see you here next time.

One thought on “Dorico Tutorials — Episode 2”