
System Settings — Part 10
Welcome back!
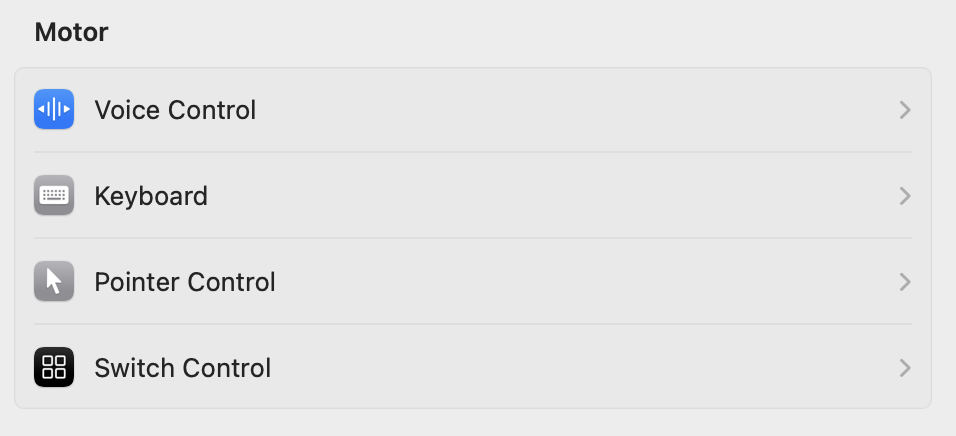
Last time we ventured yet deeper into the Accessibility Page of System Settings, completing the Hearing section. Today, we are continuing our journey with the Motor section, which contains four pages: Voice Control, Keyboard, Pointer Control and Switch Control. Today we will look at the first two of them.
A disclaimer before getting started: Facebook AI filter has decided that a music engraver and cellist should not write articles about the Mac he uses for his work, thus removing my recent blog posts from my page. Let’s see if changing the title has any effect. Their reasoning is that I am trying to get views in a dishonourable way, which I guess is using “Apple” and “Apple Silicon” in the title as a potential clickbait. I tried to contact their support but, as you probably know, it is non-existent, and it is just impossible to get in touch with a human.
Finally, this is the first episode written in macOS Sequoia. A few things have changed in System Settings here and there, and I will go back to update the previous episodes in due course. If you spot anything that needs urgent updating, please let me know.
Accessibility Page — Part 4
Motor — Part 1
Voice Control
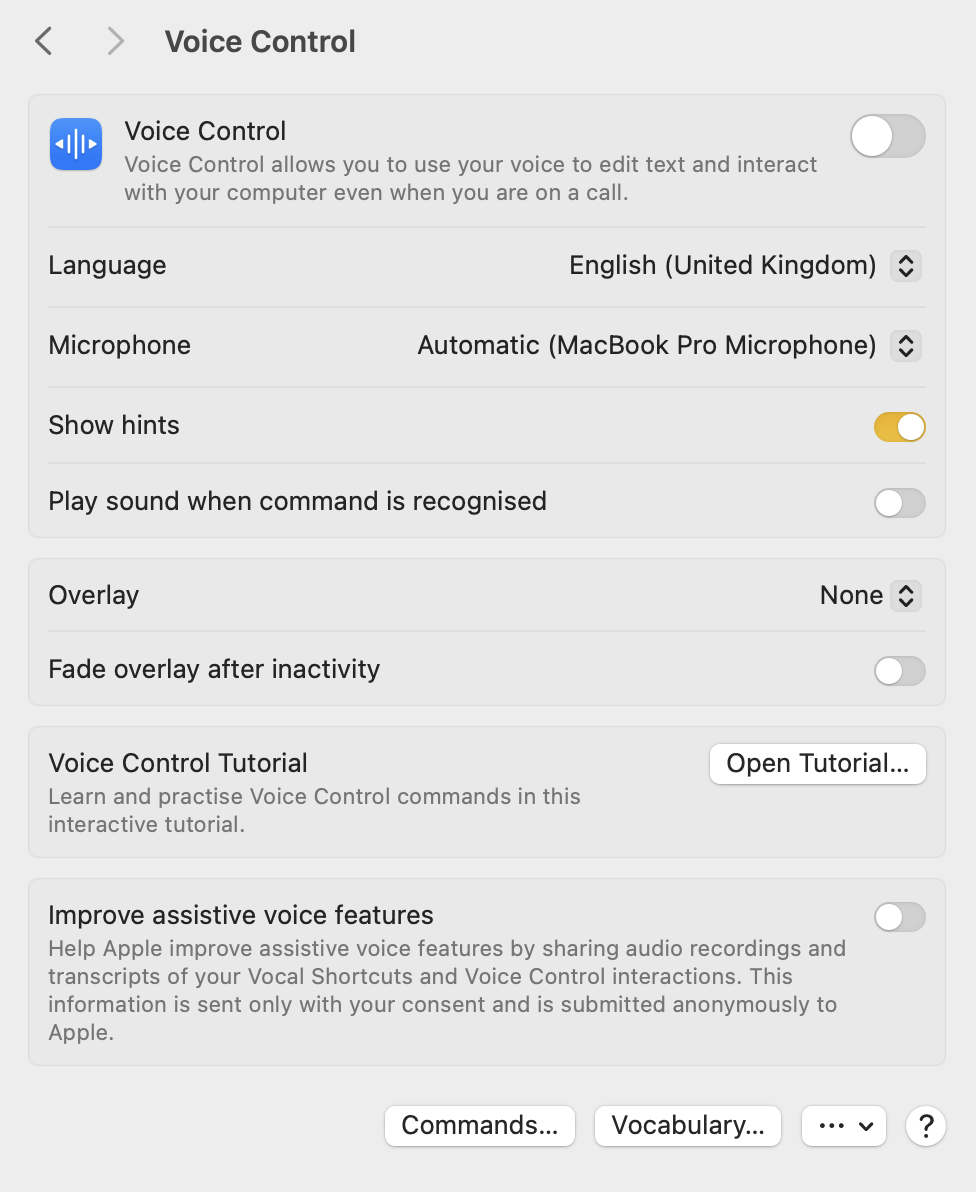
Voice Control allows the user to use their voice to edit text and interact with the Mac. By default, the switch is OFF, but after trying the dedicated tutorial, I decided to keep it on for those times when I may be unable to use my hands.
The first table view contains basic configuration options for the Language (defaults to the language you chose as the main macOS language), for the Microphone (in my case the internal MacBook Pro’s one), hints and sounds. Hints will be shown in the top center of the display, while a soft beep will be heard when a command is recognised.
The second table view lets you select what you would like to see as overlay, with a choice between None, Item Numbers, Item Names, Numbered Grid. A simple switch, then, manages whether the overlay should fade after a period of inactivity or not. By switching that ON, one gets two extra rows in the table: Fade after, with a stepper field measuring seconds, and a Fade by, with a percentage slider from 10% to 100%, with Default being set at 70%.
Just below, in a section of its own, is the Voice Control Tutorial which I wholeheartedly suggest you to go through. Not only it is masterfully conceived, but it also gives you the chance to go through how an impaired user feels when trying to control a Mac.
The final section contains a switch to Improve assistive voice features. Basically, you agree to anonymously share audio recordings and transcripts of your Vocal Shortcuts and Voice Control interactions with Apple. I kept this OFF for now.
At the bottom there are four buttons:

The Commands button shows an interface where it is possible to browse all possible command options, activate/deactivate each one of them, see what phrases can be used to trigger them, and read a description of the chosen command. In the list to the left, it is possible to add or remove custom commands.
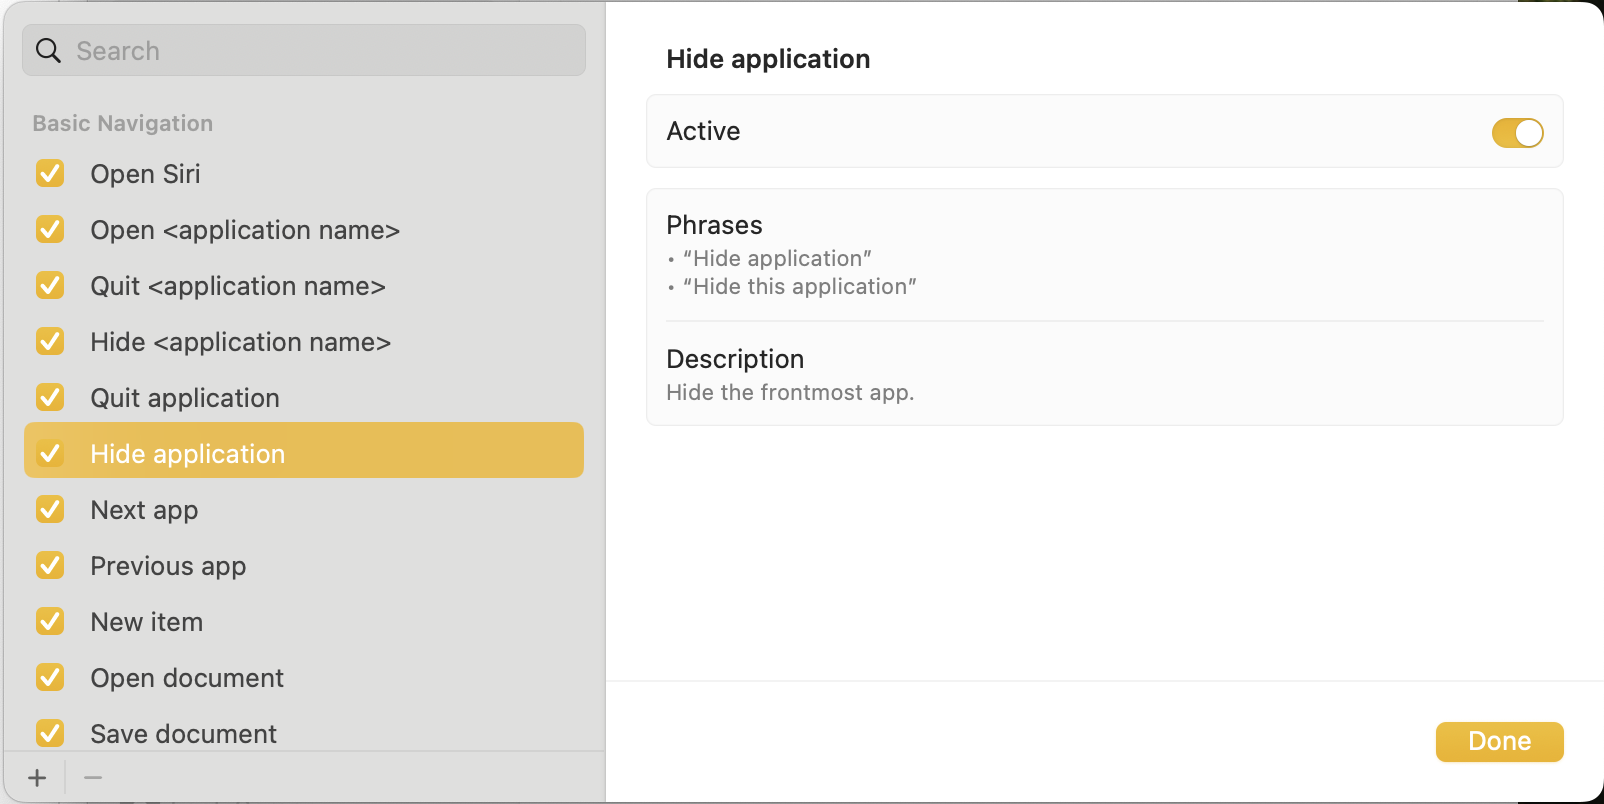
For example, I have created a command for Sibelius so that when I say “Respace all”, it will run the keyboard shortcut for the “Reset All Note Spacing”.

The Vocabulary… button allows you to add specific words that Voice Control may fail to recognise, for example in scientific-specific language. The three-dots-with-arrow button allows to import/export a dictionary, import/export custom commands, or delete all custom additions.
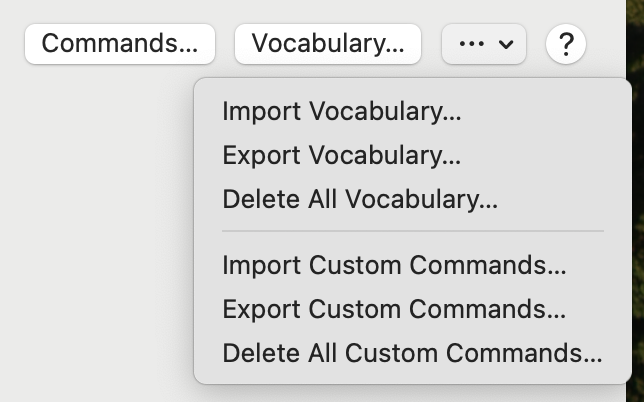
Very useful if you are not using Migration Assistant for this (honestly, I do not know if MA is importing these settings).
One thing you should be prudent about is that if you keep the Voice Control switch in the ON position, your Mac will not be allowed to go in sleep mode. The reason is elementary: the Mac needs to listen for your input. For this basic reason, I have now turned it OFF until further notice.
Keyboard
The Keyboard page has three sections, one for Full Keyboard Access, one for activating specific keys behaviours, and one for the Accessibility Keyboard.
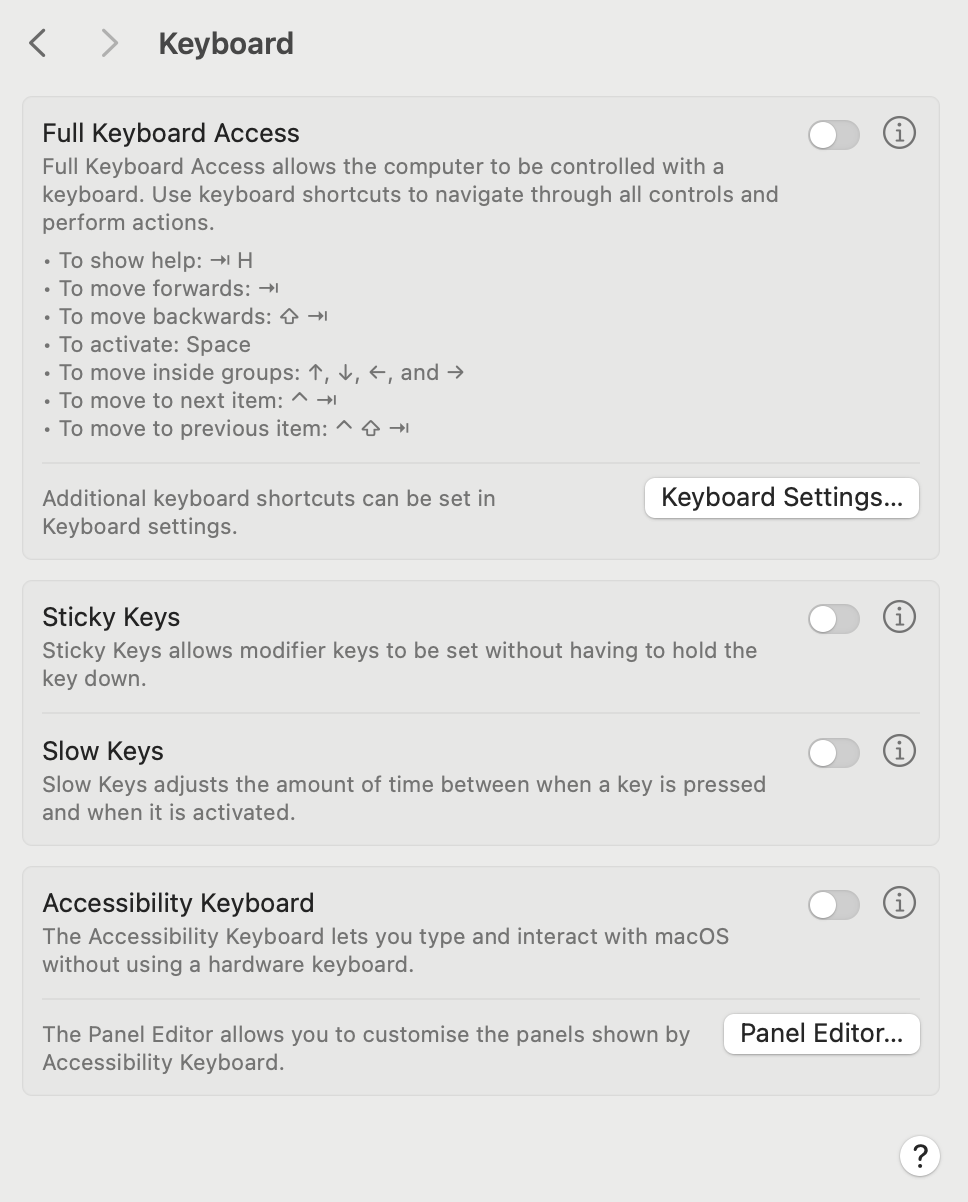
Full Keyboard Access allows the computer to be controller entirely with the keyboard. There are specific key combinations for this and they can be customised at will. Once you turn ON the switch, keep in mind the Tab followed by H shortcut so that you can always get some helpful directions.
As soon as you turn the switch ON, you get a rectangle focus area to show you where the focus of the keyboard is at this moment. By pressing on the info button to the right of the switch, you get a comprehensive list of all available shortcuts. Going through all of them is outside the scope of this article, but I encourage you to browse through all of them and to give them a try.
The Keyboard Settings… button, just below, simply teleports you to the bottom of the list in System Settings, where the keyboard settings dwell.
Sticky Keys allow modifier keys to be set without having to hold them down continuously, something that may be a problem if one only has one hand available, or if specific rotations and positions of the hand and fingers are impossible to achieve. Here are the available options when pressing the info button:

Even if you will never need to use this, I encourage you to try it, even just to listen to the audio feedback provided by macOS. It is so sleek, and yet another testimony to Apple’s care for details.
Slow Keys governs the amount of time between a keypress and its effect. I tried this and, at least for me, it is not working. The Help button is also not providing any real help. If anyone is having any success in using this, please report back. One can also get a sound for when the key is pressed and another sound when the keypress is accepted. I only get the first one, and never the second.
Finally, the Accessibility Keyboard shows an onscreen keyboard that can be controlled entirely by the pointer. Upon pressing the info button, one gets a long list of options to customise one’s experience and preferences. A particularly interesting section is the one dedicated to Dwells. In short, when one is unable to click or tap, keeping the pointer still over a position will simulate a click/tap. This pairs well with the pointer control options we will look at in the next section.
Bottom Line
There you have it for the first half of the Motor section. I hope you enjoyed it, and thank you for reading so far!
If you are interested in music notation and editorial design, please consider joining my mailing list here, or browse my website to see what I do in general. I would deeply appreciate it.
I hope you found it useful. If you did, please leave a like, share it, subscribe to be notified of upcoming articles! Please share your experience setting up your Mac down in the comments, and have a great day!

One thought on “An Italian cellist upgrading path to Apple Silicon — Part 16”