
Episode 10 – Building the front matter (Part 1)
Welcome back!
Today’s episode will be a practical one, where we will take our Sibelius template and build the front matter to our best. Please note that, since we chose to divide the acts of the opera into as many Sibelius documents, we will have front matter pages only in the first act file. If you are using my template, you will find that it has all the front matter pages in there. When creating the second act’s document, simply remove them by erasing the “Special Blank Page” symbol:
Working with blank pages
Let’s start with saying that I would normally never do this in Sibelius because of how uncomfortable it is to work with blank-page text styles. For my professional work I use Adobe InDesign, but any word-processing document capable like Apple Pages or Microsoft Word will do. For the sake of completeness, I will also provide dedicated templates for those programs at the end of this series.
Adding blank pages
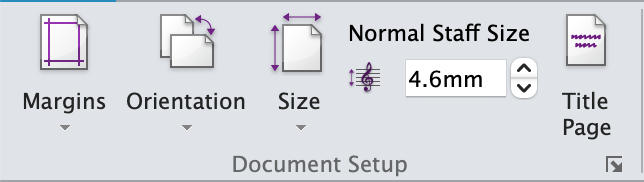
In the last episode, we saw that about 12 pages are needed for the front matter. You will know exactly how many you need but, for this tutorial, go ahead and tap on the Layout > Document Setup > Title Page button:
In the dialogue that appears, type “12” in the “Number of blank pages” field, leave all other options to their defaults, and hit OK. The problem with this approach is that Sibelius doesn’t give you any control over those pages so think carefully before proceeding, as if you added 12, and you required 11, you need to start from scratch. You can only add more, not remove. I hope they will improve this part of the program, but no one knows if and when they will do that.
Cover Page
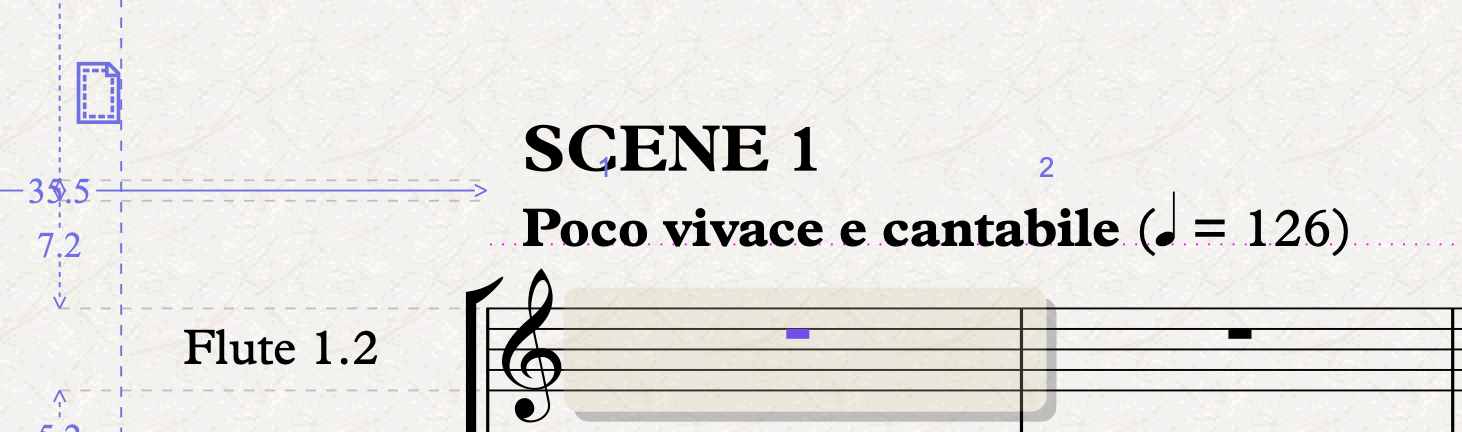
To understand our thought process, go to the first blank page, where you will find these two text tokens:
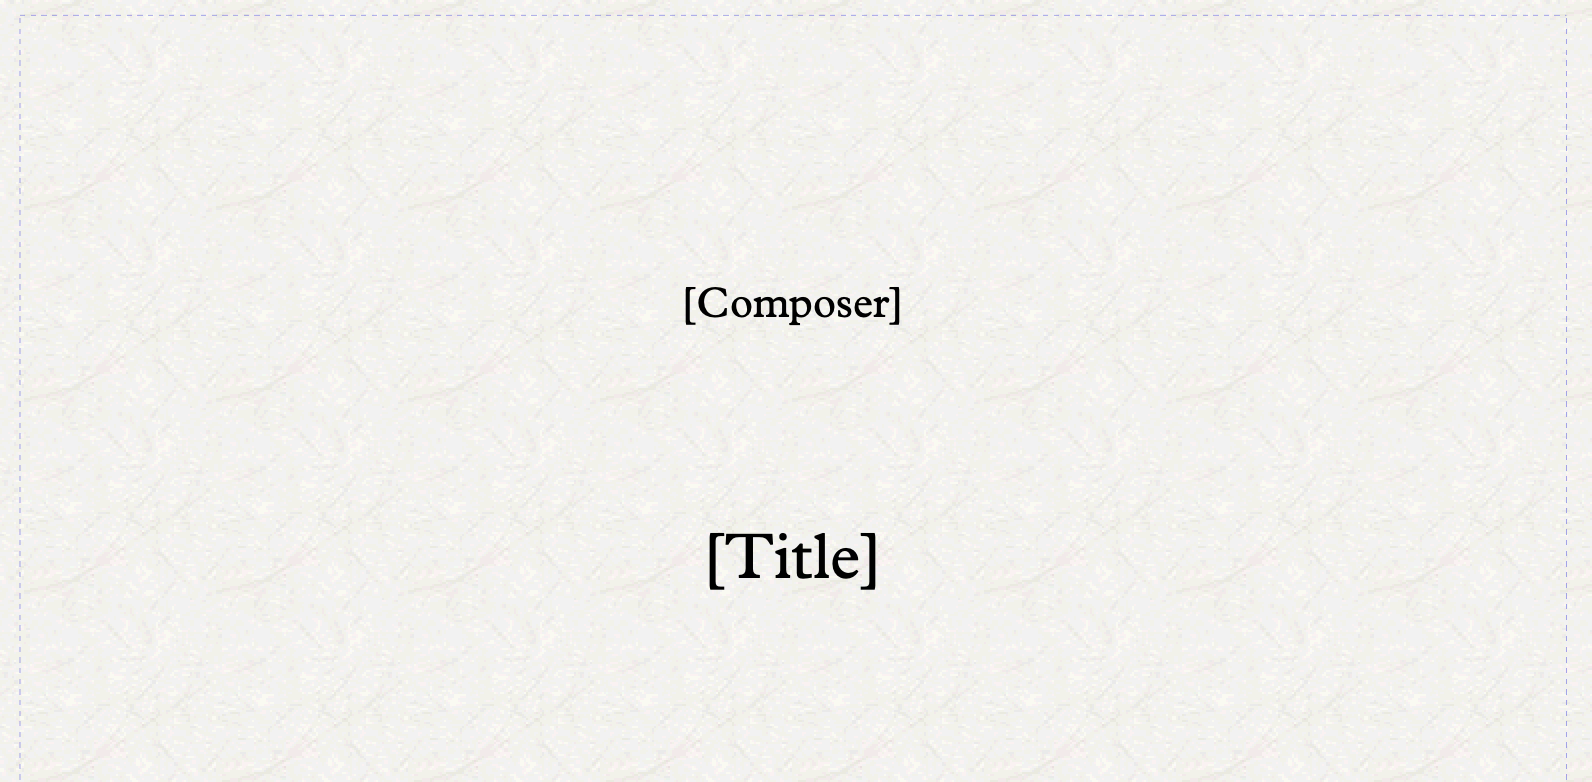
These are wildcards (about which we talked last time) and their content is governed by the File > Info panel, or what we Sibelius users like to call “Backstage”. The most important thing here now is to set up Paragraph Styles for everything we need.
To add text on a blank page, you require special text styles that have been specifically created to work on blank pages. This is not something you can do, so you need to start from one of the existing text styles and create new ones as copies of those. When you select the “[Composer]” text object, you can see, in the Text > Format section of the ribbon, that it is using the “Composer (on blank page)” text style. Edit any style to your liking by using the Edit Text Styles dialogue, as we did in the first episodes.
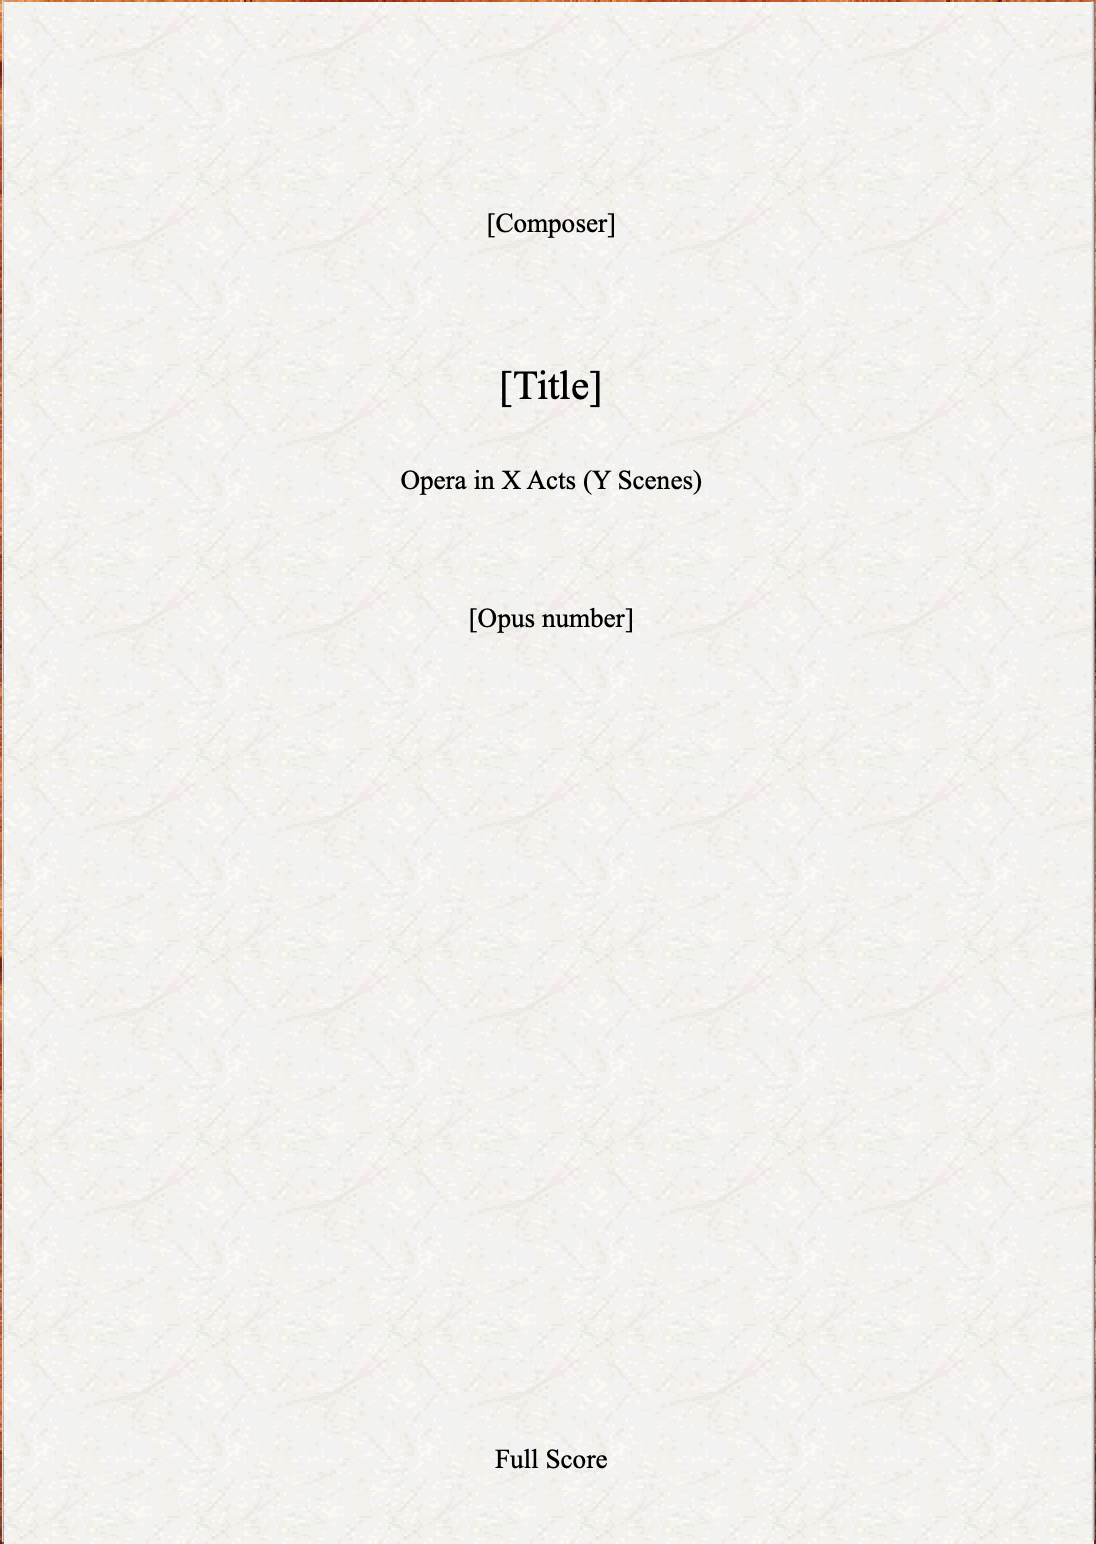
Right-click just below the “[Title]” and choose the menus Text > Blank Page Text > Subtitle (on blank page). Click on an empty spot to place it (you will see that the text decides where to be placed on its own) and write “\$subtitle=Opera in X Acts (Y Scenes)\” (don’t forget the backslashes! This will add the text and also populate the Subtitle field in the “Backstage”.
Next, select the subtitle you have just created, hold down the Option/Alt key and click somewhere in the empty space below. Hit Enter (or double-click) and confirm that you want to Continue Editing. Select All (Cmd/Ctrl-A) and type “\$opusnumber\”, then hit the ESC key. Don’t worry if you see that your text is disappearing, it’s normal, since we have not yet populated the corresponding field in the “Backstage” area. Go do that by writing something like “[Opus number]” so that it appears on the page. With that text object still selected, open the Edit Text Styles dialogue which, hopefully, should have the “Subtitle (on blank page)” style selected and hit ”New Text Style…”. Rename the style to “Opus number (on blank page)”, then go to the Vertical Posn tab and change the numbers in the fields from 115 to 125 for both score and parts (you will not use this for parts, though). Having a separate style will allow you to adjust only this style without affecting the others in the future. Before moving on, change the paragraph style applied to the opus number to the one we have just created.
Repeat the process, this time Option-clicking at the bottom of the page and writing “\$partname\” to show that this is a “Full Score” (or whatever you wrote in the Part name field. Once more, create a new text style, make the necessary changes, and apply it to this new text object, tweaking the settings as necessary.
Before moving to the next page type, select all the text objects on this page (lasso selection does not work on blank pages) and Option-click to copy on the third page. This will be the inner cover, where we still need to add the Libretto info. To achieve this, we could try to use the “Plain Text (on blank page)” text style, but it is so buggy and so unpredictable in how it reacts to settings that I suggest you keep duplicating the text style we used before and perform the necessary edits in the copy1. Using this text style, write “Libretto by \$lyricist\” and fill the relevant field in File > Info. In the same text object, on a new line, you may add the “<language> translation by <translator>” mention. You can use the \$copyist\ field for that.
Here is how our two cover pages look after all this work:
And…

Bottom Line
That’s it for today! Better we pause here and continue with the following pages in the next episode. Stay tuned!
If you enjoy what I do, please consider liking this article, sharing it with your friends, and subscribing to this blog to be notified of upcoming articles. If you use an iPad and would like to improve your Sibelius experience, please give a look at my profile for MetaGrid Pro here.
I also have a newsletter that follows my publishing journey, check it out if you are interested in cello (and more) and would like to receive exclusive gifts. You can also browse my online catalogue here.
Thank you for your time and continuous support.
See you in the next episode!
Michele
- In my template I have corrected all the bugs in the dedicated text style, but if you do not want to purchase it, just stick to the instructions above. ↩

One thought on “How to engrave an Opera (in Sibelius) – Ep. 10”