
System Settings — Part 4
Welcome back!
Last time, we covered Sound, Focus modes, and Screen Time within the System Settings app. Let’s try to make some good progress today.
For your (and my) reference, should this change in the future, as I am writing this the current macOS is version 14.4.1.
General
The General page is packed with content, so I will split it into two articles. The first time you select it, it will show you twelve rows divided into four sections.

These sections have no title—curious choice—so I will name them myself. If you have better names you would like to suggest, please do not hesitate to.
Global
The first section contains five rows: About, Software Update, Storage, AirDrop & Handoff, and Login items.
About
Tapping on the About row opens a new page, which shows a beautiful stylised depiction of your Mac, with a big title underneath stating the device type (in my case MacBook Pro), and a small, medium grey on light grey background, definition of the specific model (in my case “16-inch, Nov 2023”).
Just below, there are five rows, with the computer’s Name, which is editable (you can understand that from the fact that it is the only text in solid black colour), the Chip (e.g., Apple M3 Max), the Memory (e.g., 36 GB), the Serial number (a string of ten characters), and AppleCare+. This last one is there on my system because I have active coverage, but it may look different on your system if you do not have one. For me, it says, “Expires on DD Mmm YYYY” and is followed by a Details… button. Tapping on this button opens an overlay dialog with plenty of information about the coverage. If you need support, this is the best place from where to start.
Below, there is a section titled macOS. In its only row, there’s the round icon of the current macOS, followed by its name (macOS Sonoma) and a “Version 14.4.1” flush right.
Below that, there’s a section dedicated to Displays. If you have only the Built-in display, it will show only that, followed by its size and resolution. When I connect my external display, it looks like this:
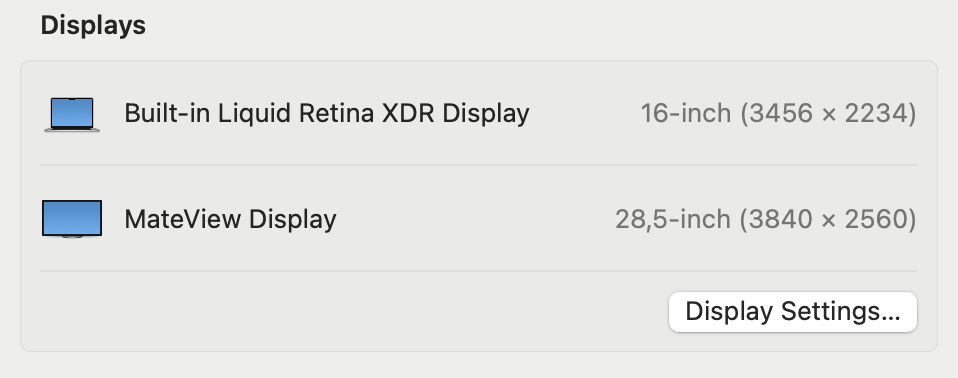
Tapping on Display Settings… brings you to the Displays page, which we will look at in a future episode.
Finally, there is a Storage section, that shows the Macintosh HD volume, and possibly others if you have more volumes. Attaching an external drive doesn’t show here, so it must be internal volumes or containers, but I have not tested that.
At the end of the page, tapping on System Report… will open the same System Information window that you can get at by tapping on the Apple menu and then, holding down Option, choosing the first row.
Software Update
This page has two rows at the top and three rows of text in the middle. The text reads:
macOS Sonoma 14.4.1 (23E224)
Last checked: Today at 23:08
Your Mac is up to date.
Especially if the last line is not true, you will see a prompt to update.
A most important step is to set up Automatic Updates. Watch out that, differently from other rows, this one only shows the dialog if you tap on the circled ‘i’, nowhere else. Here is the configuration I chose:
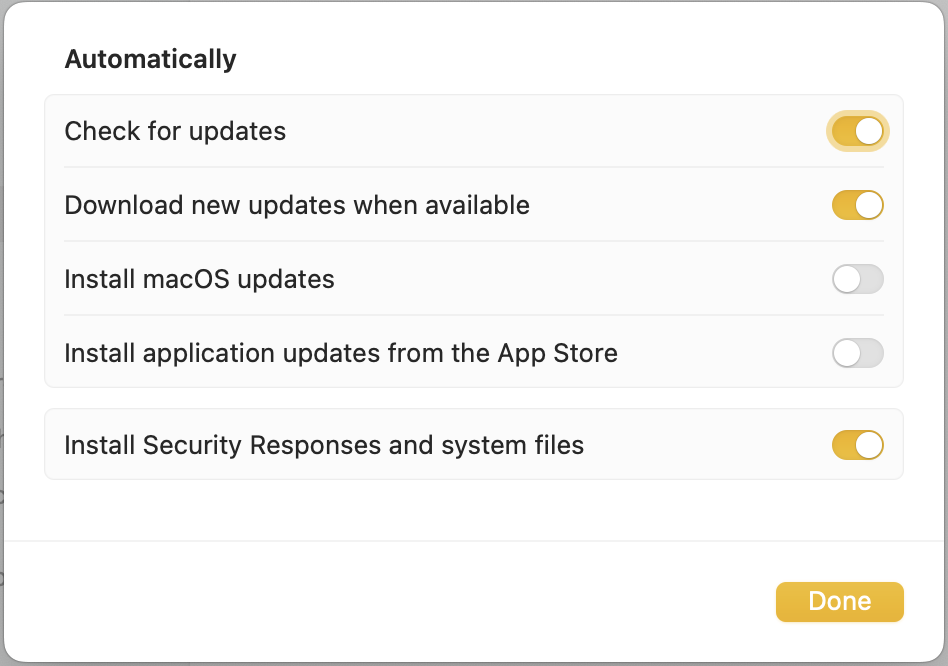
The top and bottom options are paramount to me, while the second allows to save time because macOS updates will be downloaded in the background and be proposed to you only when ready to be installed (it doesn’t work 100% of the times, but it helps). As someone who started his computer journey on Windows and hated how system updates were forced on the user, I keep “Install macOS updates” and “Install application updates from the App Store” unchecked. The last one is especially due to how certain versions may break things.
I keep the Beta Updates portion on OFF, since this is my main working machine. Should I ever get another modern machine to use on the side, I will gladly test.
Storage
The Storage page is divided into two sections: the top one shows a graphic representation of used storage:

The bottom one shows possible recommendations to save space, and then how much storage is used according to macOS categories.

I suggest you have at least one Mac in your household where Optimise Storage is turned OFF so that you can always back up the full content of your iCloud Drive. This is something I can only do now that I have a 2 TB internal drive.
When you first open this page, you will also see two more recommendations: Optimise Apple TV storage and Empty Bin Automatically. I set both of them to ON.
At the bottom, do not get scared about the space shown next to macOS and System Data. How in my case it got to 84 GB, I have no idea, but definitely macOS will know better. The Other Users & Shared part is interesting, and I recommend you keep an eye to the Shared folder found at the top level of Macintosh HD. You will see how certain apps like to dump junk into that folder because they do not have to ask specific permissions to do so. I found unspeakable things in there on my old MacBook Pro, and many, too many things I would have never authorised if I ever had a choice.
The two most glaring examples in my Shared folder are the Garritan Instruments installed with Finale (7.82 GB, but why in there?!) and a GOG folder. I’ve already written to the developers about this, but they have never replied, nor done anything about it in three months.
AirDrop & Handoff
Most of this part is self-explanatory, but a picture always helps:

The top row lets you enable the Handoff feature between your iCloud devices, and it is a godsend. It is ON by default, and I believe it should stay so.
For AirDrop, another killer feature, I suggest you have it set to Contacts Only (the other options being: No one and Everyone). On iOS/iPadOS, there is also an “Everyone for 10 minutes” option, which I would welcome if it came to macOS.
The AirPlay Receiver feature allows nearby Apple devices to use the Mac as a device to stream content on. I left it set up to Current User, but if this were the media center of the house, I would set it up as Anyone on the Same Network. So far, I have not set a password for it.
Login Items
The beauty of a new Mac (or a newly configured one) is that this section is completely empty! Now, after about four months of usage, I have six apps in the Open at Login section and 16 items in the Allow in the Background section. None of the apps that are launched at login are bad, and I would launch them anyway, but the “Adobe Collaboration Sync…” one could go away now that it is no longer syncing my files with Adobe Cloud.
MacOS doesn’t give the user any hint at what specific process is being allowed in the background. Take this, for example:
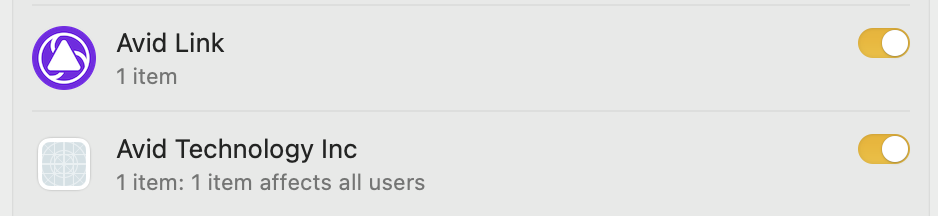
The top one is straightforward: it is the app managing my Sibelius license. But what about the second? What process is it? What will happen if I turn it off? The same can be said by “Adobe Acrobat Reader DC”, with “3 items: 2 items affect all users”. Why would a PDF reader need to perform actions in the background?
All the macOS User Guide says about this is:
Allow apps to perform tasks when the app isn’t open, such as checking for software updates or syncing data.
Let’s hope it’s nothing more than that.
Bottom Line
In the next episode, we will continue and conclude our exploration of the General page in System Settings. Stay tuned!
If you are interested in music notation and editorial design, please consider joining my mailing list here, I would deeply appreciate it.
I hope you found it useful. If you did, please leave a like, share it, subscribe to be notified of upcoming articles! Please share your experience setting up your Mac down in the comments, and have a great day!

One thought on “My upgrading path to Apple Silicon — Part 10”