
A review of Dorico 6’s new Cutaways feature
This article is an expanded, paraphrased and enriched transcription of the excellent video by Anthony Hughes. Go watch it, then come back for a recap, or follow along while watching.
Cutaways!
Introduction
Cutaways scores—also known as sparse or scrapbook scores—define a most peculiar way of laying out the musical material on the page by showing only the instruments that are playing, without any surrounding empty bars. This practice, first seen around the late 1930s with the likes of Andrzej Panufnik (1914–1991), became increasingly popular during the so-called avant-garde musical movement of the 1950-60s. Some of the most notable composers who adopted it were Witold Lutosławski (Jeux Vénetiens and the Cello Concerto), György Ligeti, Luciano Berio, Krzysztof Penderecki, Iannis Xenakis, and Igor Stravinsky.
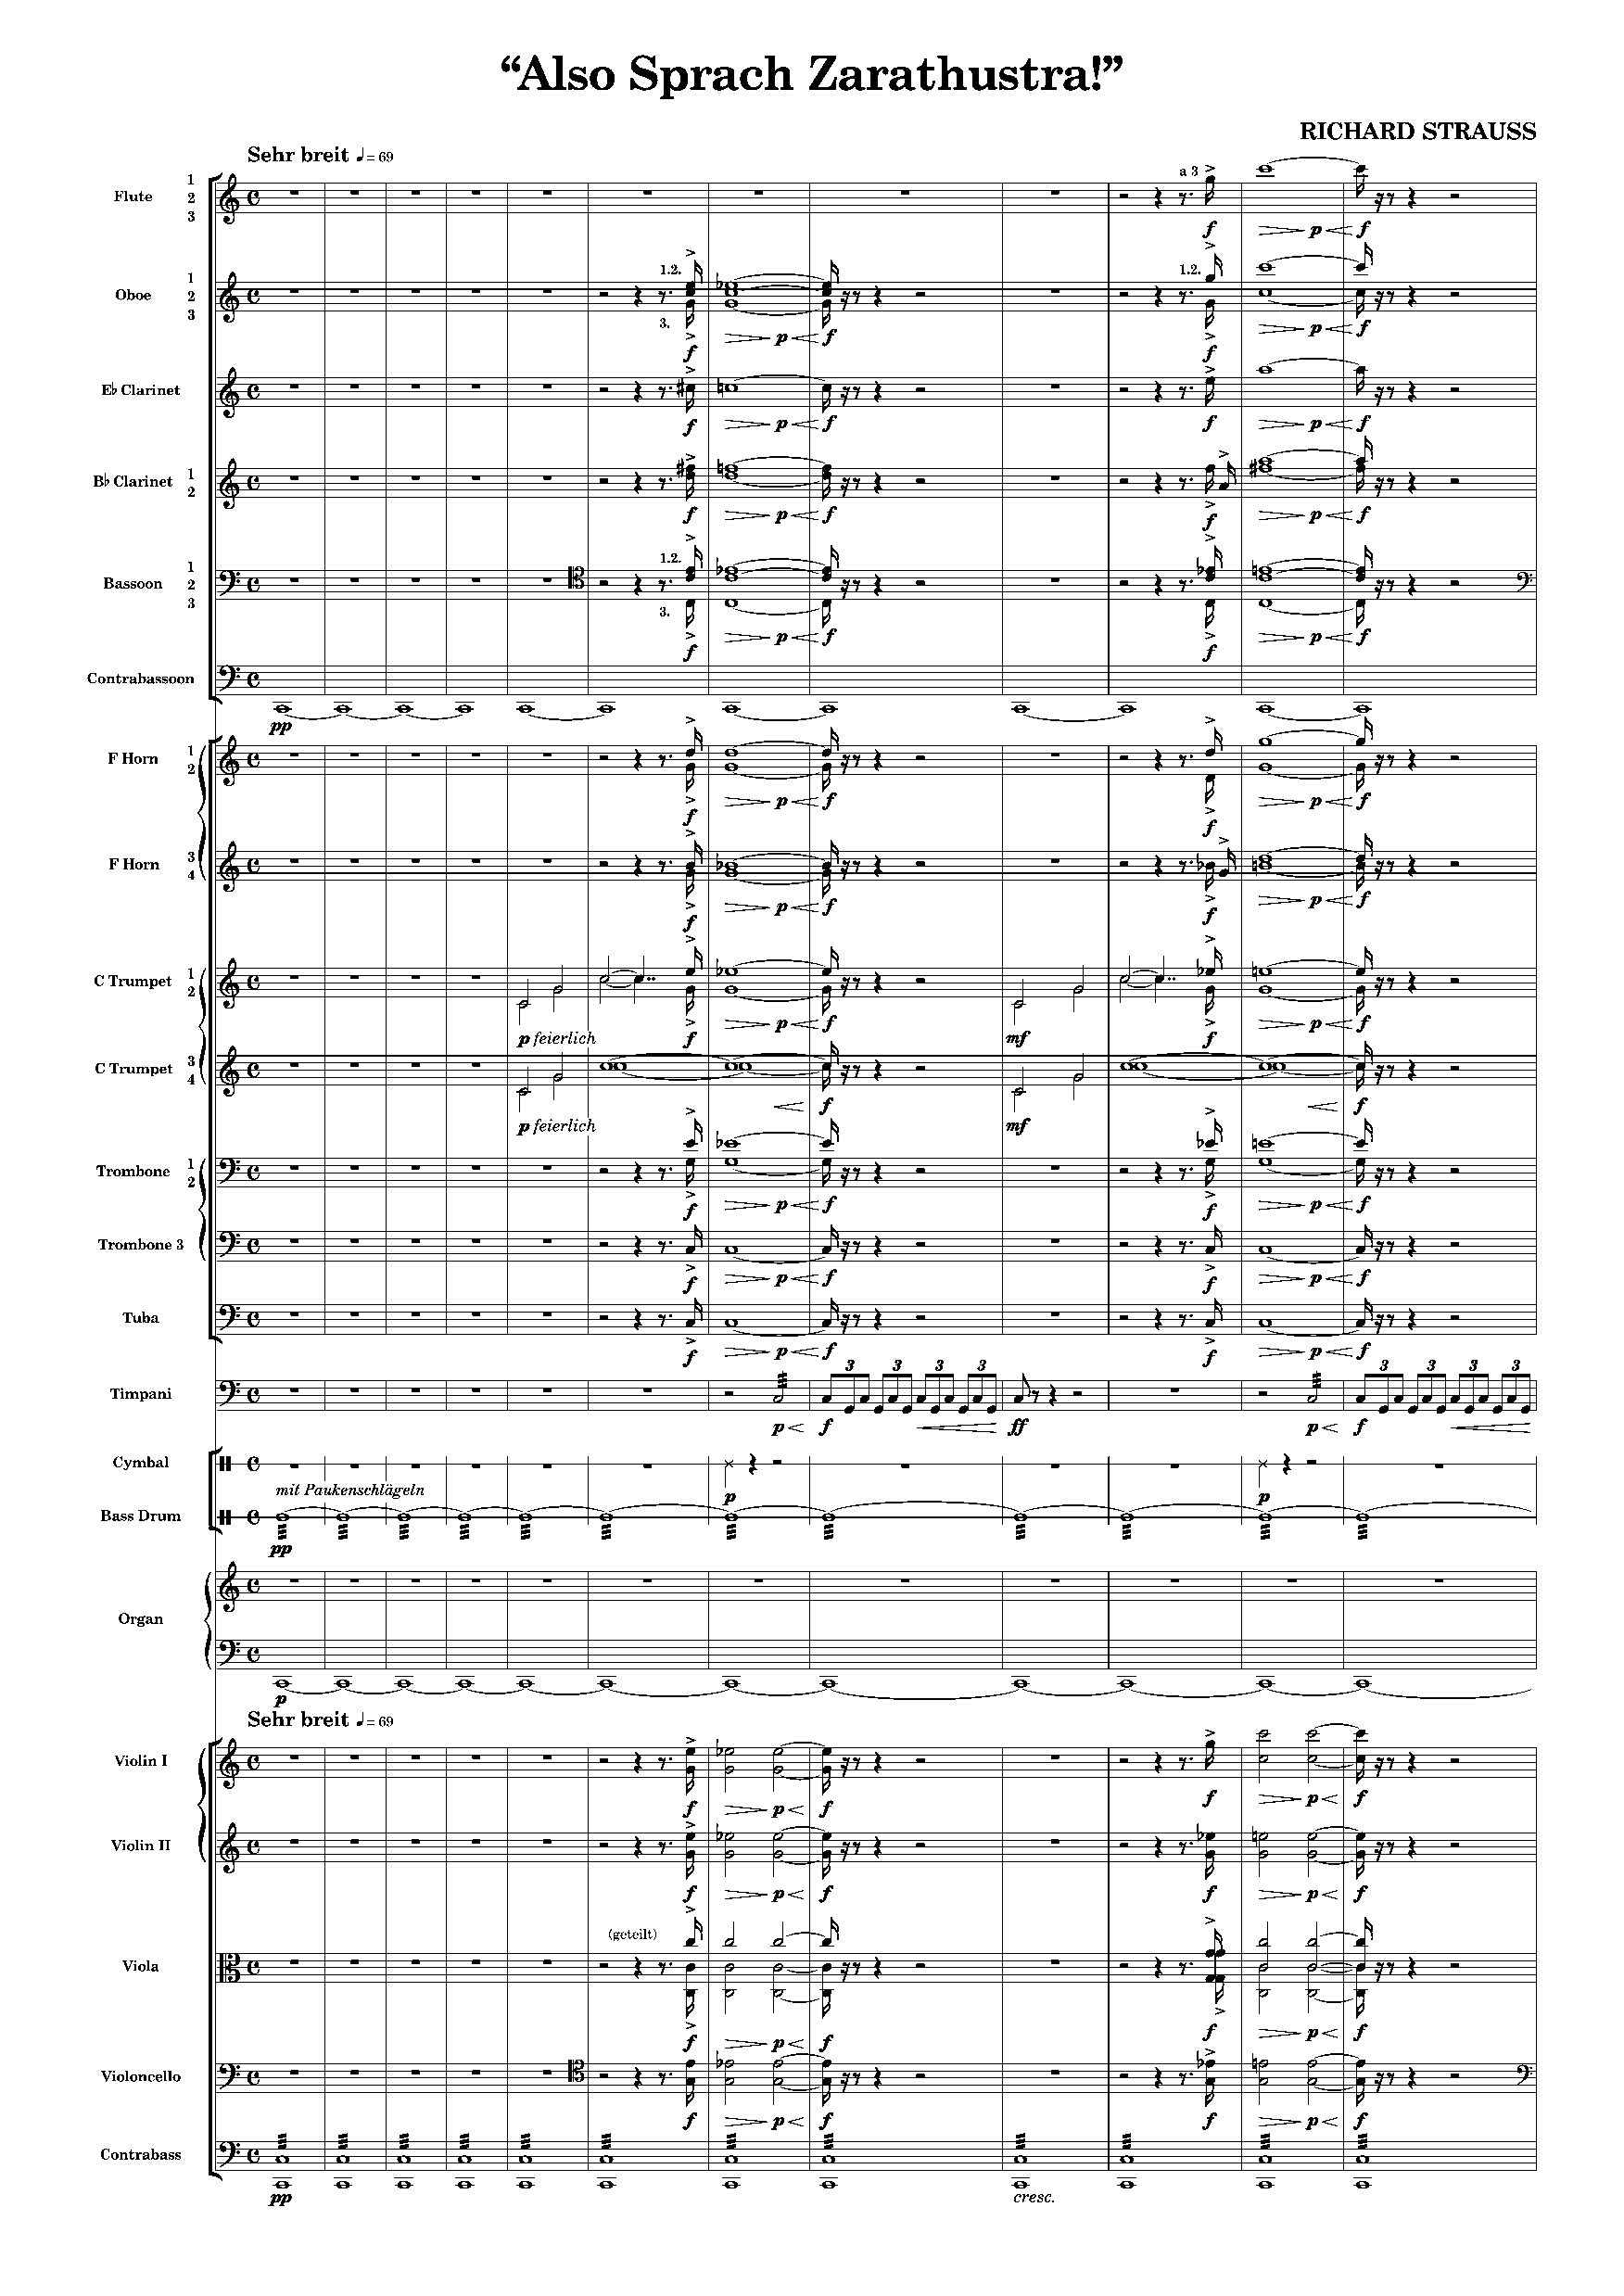
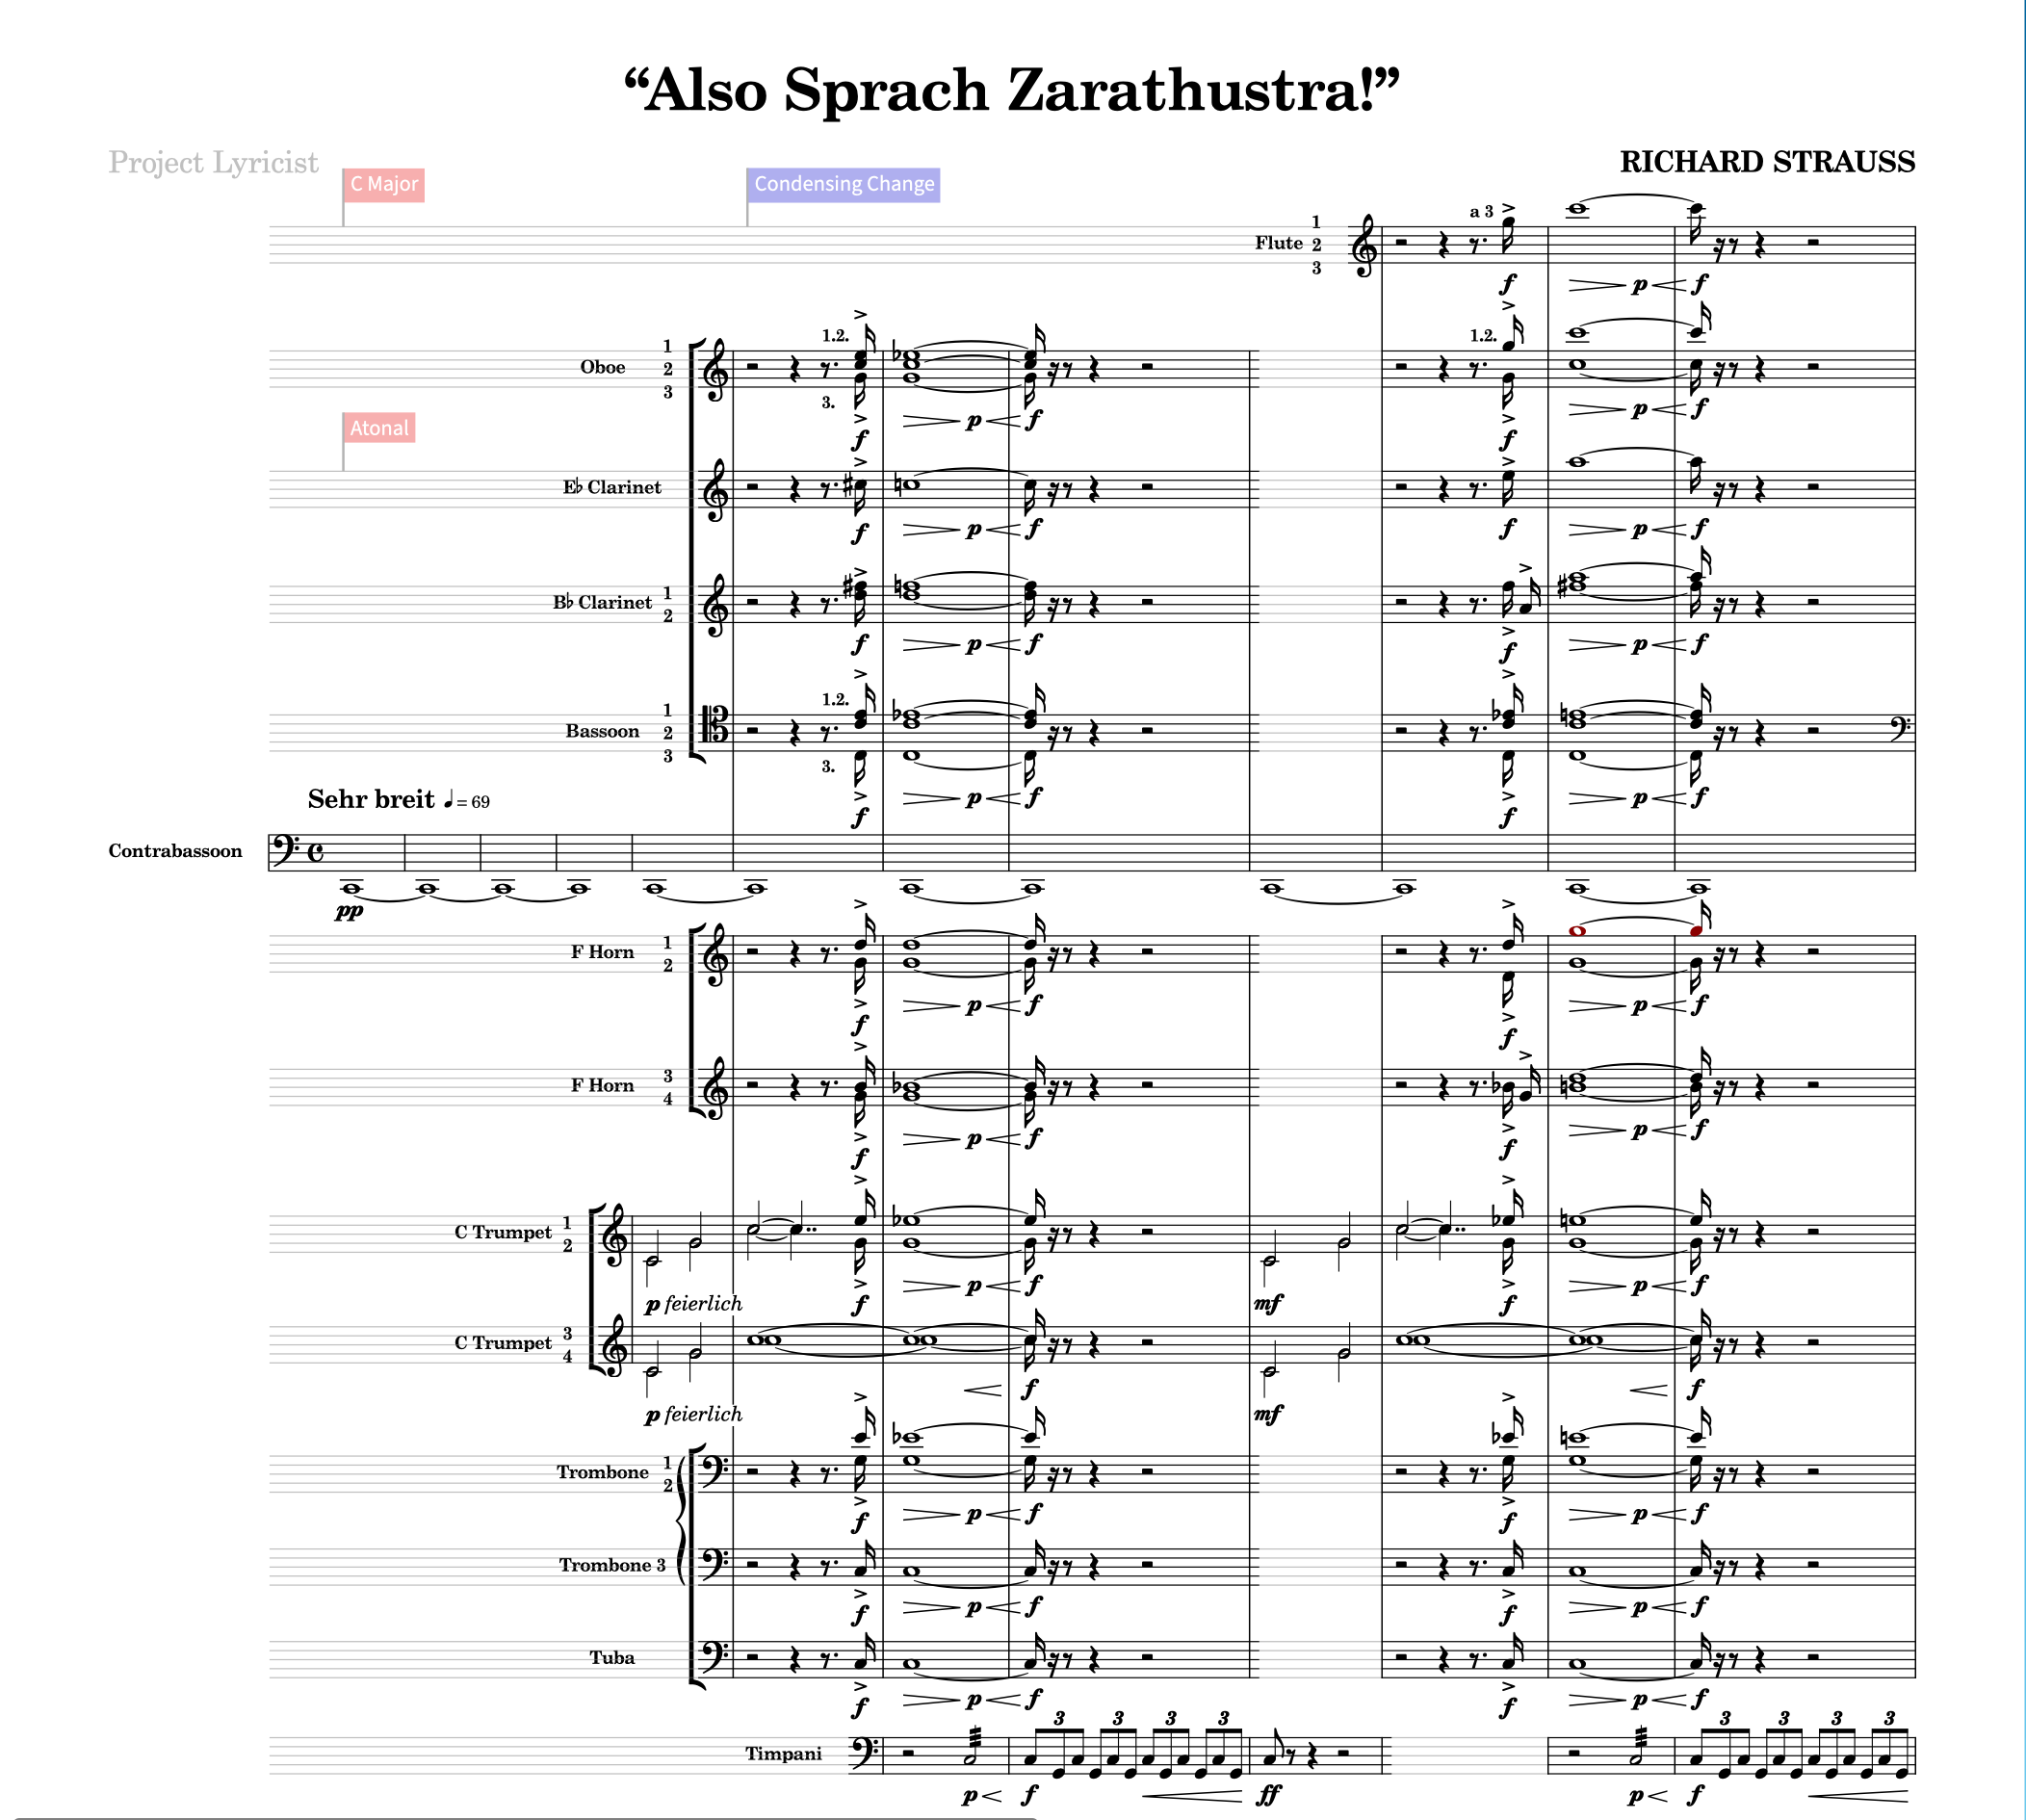
Since all their music is under copyright, at least in the EU, I will use the opening page of Richard Strauss’s Also Sprach Zarathustra! Note that this composer did not use cutaways; these examples are provided solely to demonstrate the power of this new feature. Here is the starting point:
And here is what it looks like with cutaways enabled:
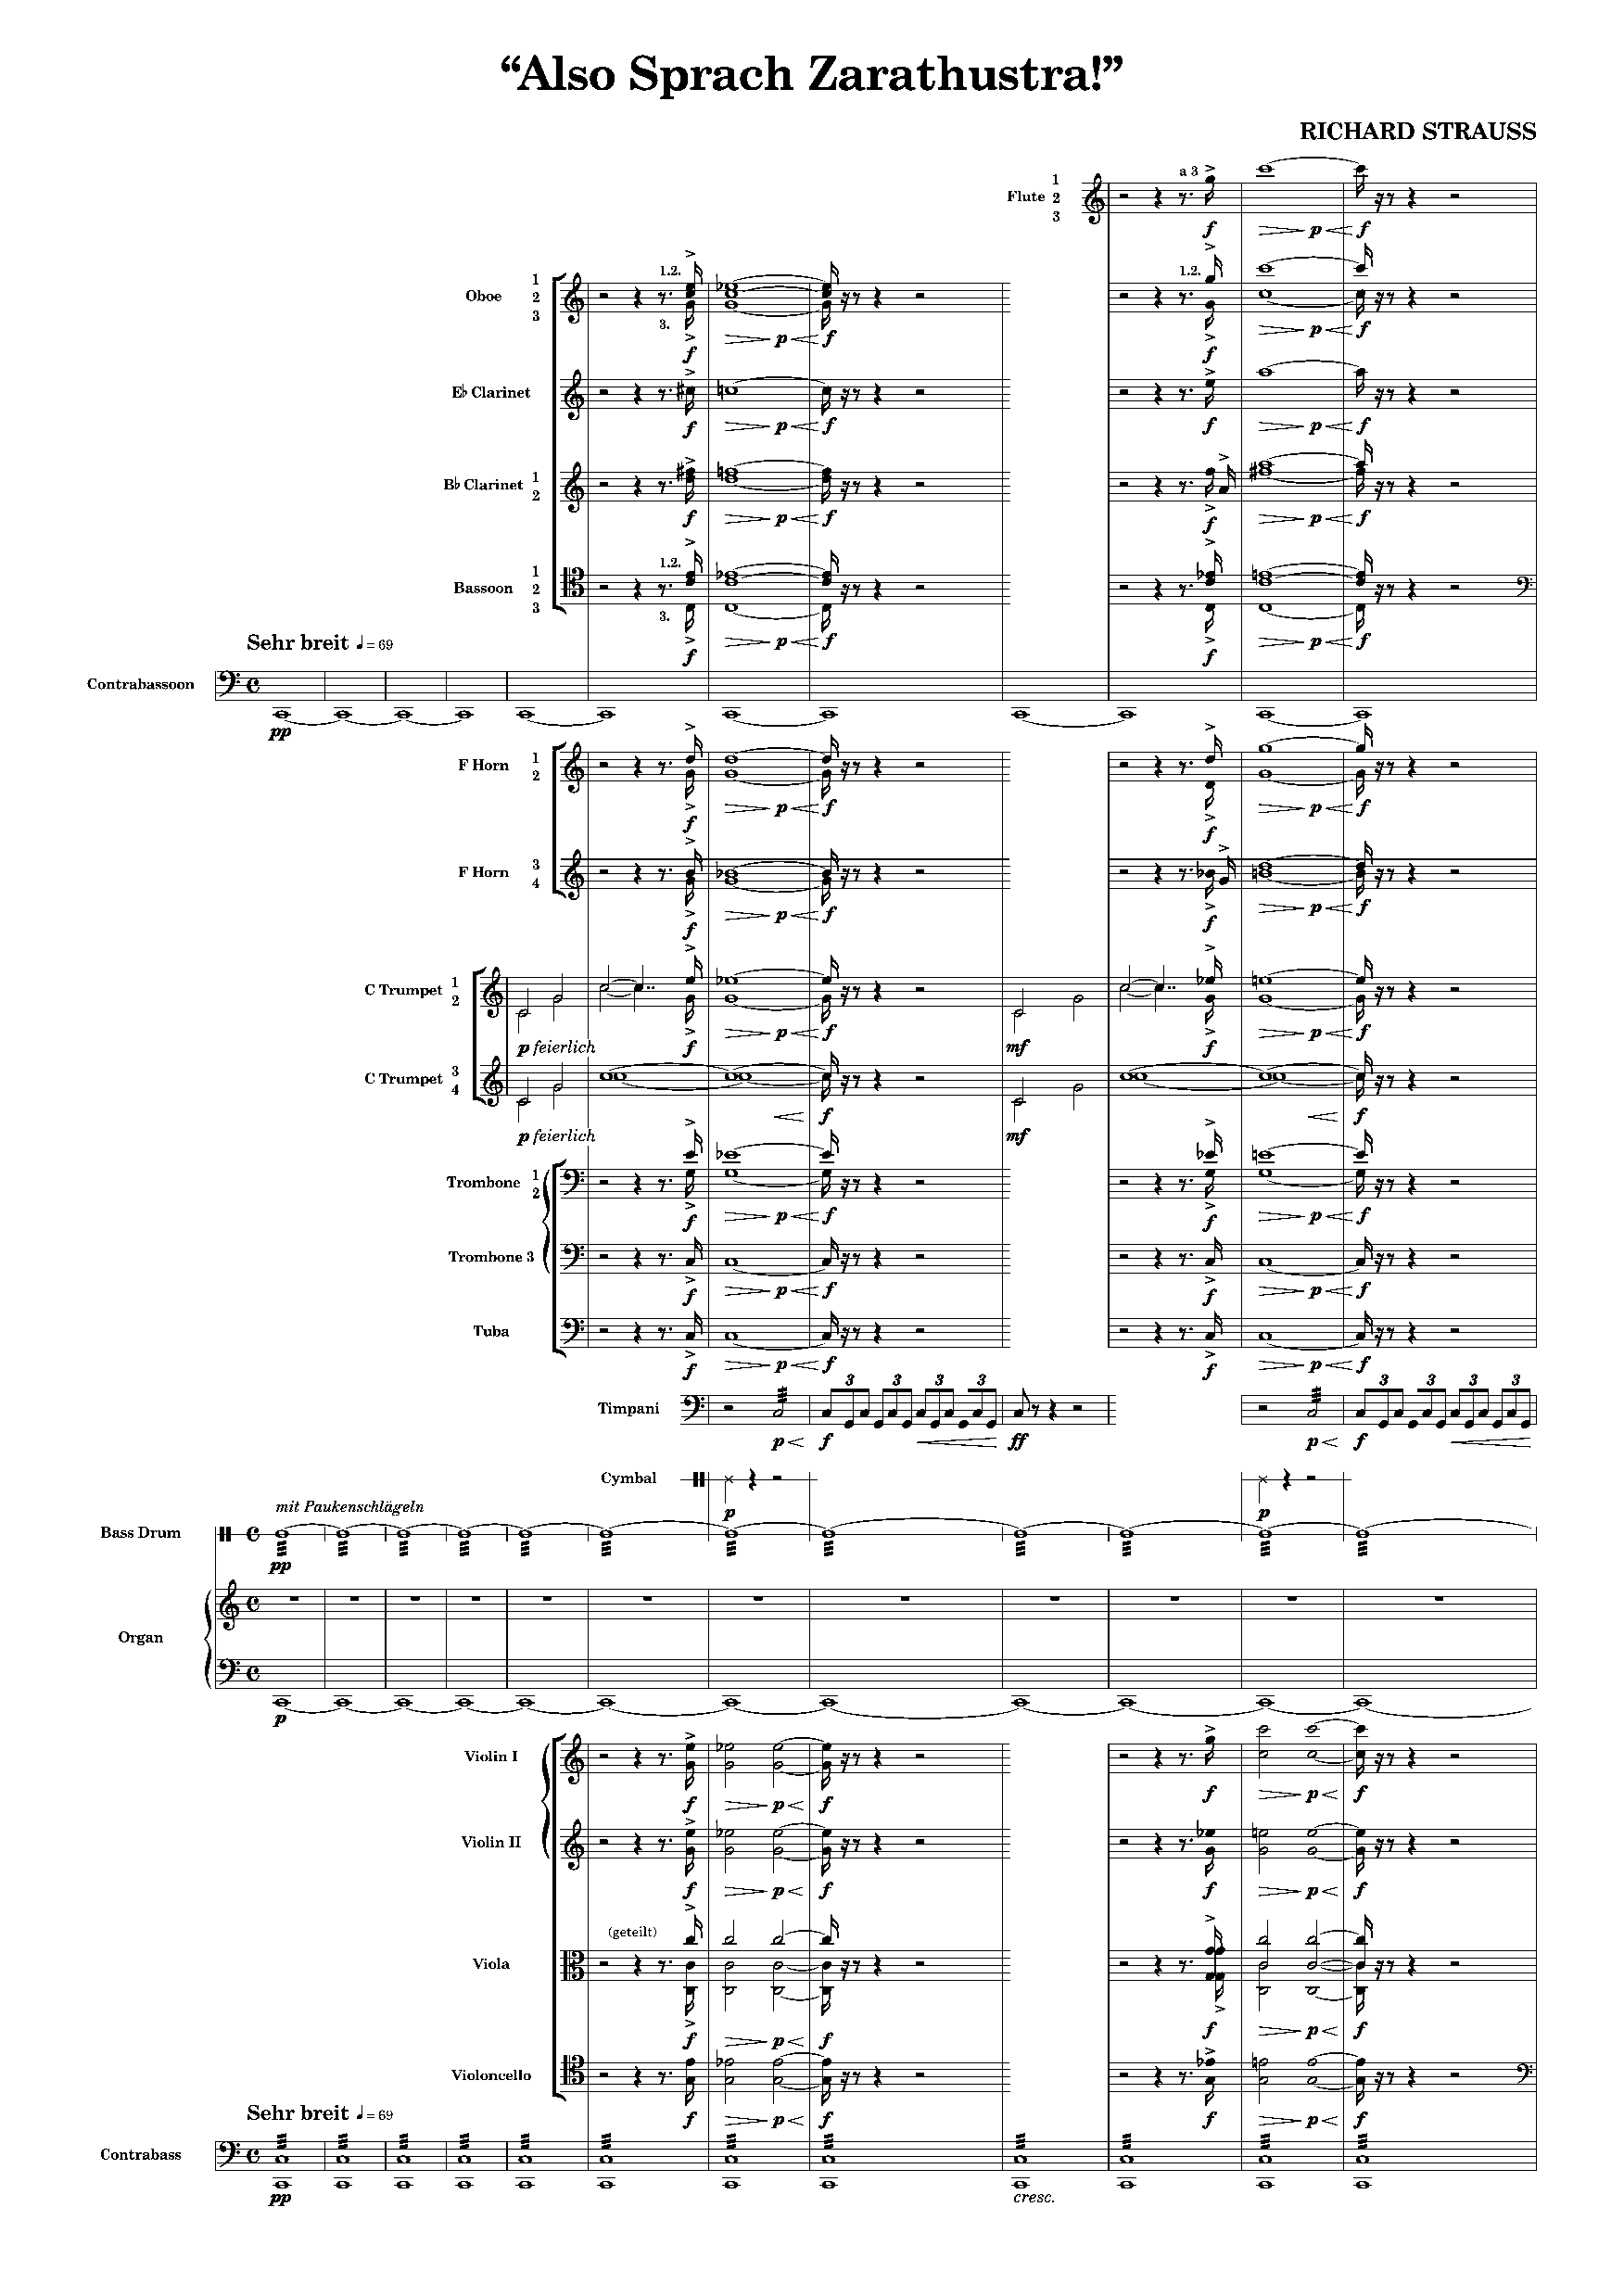
What happens is that whenever instruments are silent, their staves become hidden—or, if you prefer, they are “cut away”. The resulting appearance is fragmented and, according to supporters of this practice, easier to read for large ensembles. This is especially useful in music with a discontinuous or pointillistic texture, where focusing on key musical gestures is paramount. Other significant exponents of the avant-garde movement—such as Pierre Boulez and Elliott Carter—voted against this practice, while others such as Xenakis adopted it even in solo music (see Evryali for solo piano).
Enabling cutaways
To enable the cutaways feature, head over to Layout Options (Cmd/Ctrl-Shift-L), select the Staves and Systems page, then the Cutaways chapter and check the option to “automatically cut staves away in empty bars”.

Checking this option provides you with access to the underlying ones: Minimum number of empty bars before cutting away, which defaults at 1, will hide material in a staff at the start of the first empty bar it finds. Another important aspect to consider is that an instrument will be entirely cut away only if all its staves are empty. Should you want to allow staves of a grand-staff instrument to be cut away independently, then check the third option from the top.
The fourth option, Show system-attached items above cutaways, makes items such as Tempo objects to retain their default position—honestly, not recommended. Finally, you can show bar numbers above or below cutaways which, understandably, takes effect only when the visibility option for bar numbers is set to something other than Every system.
There is now a new command in the View menu that allows showing or hiding of staff lines that have been cut away.
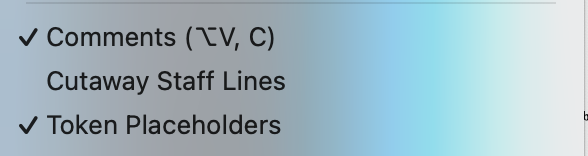
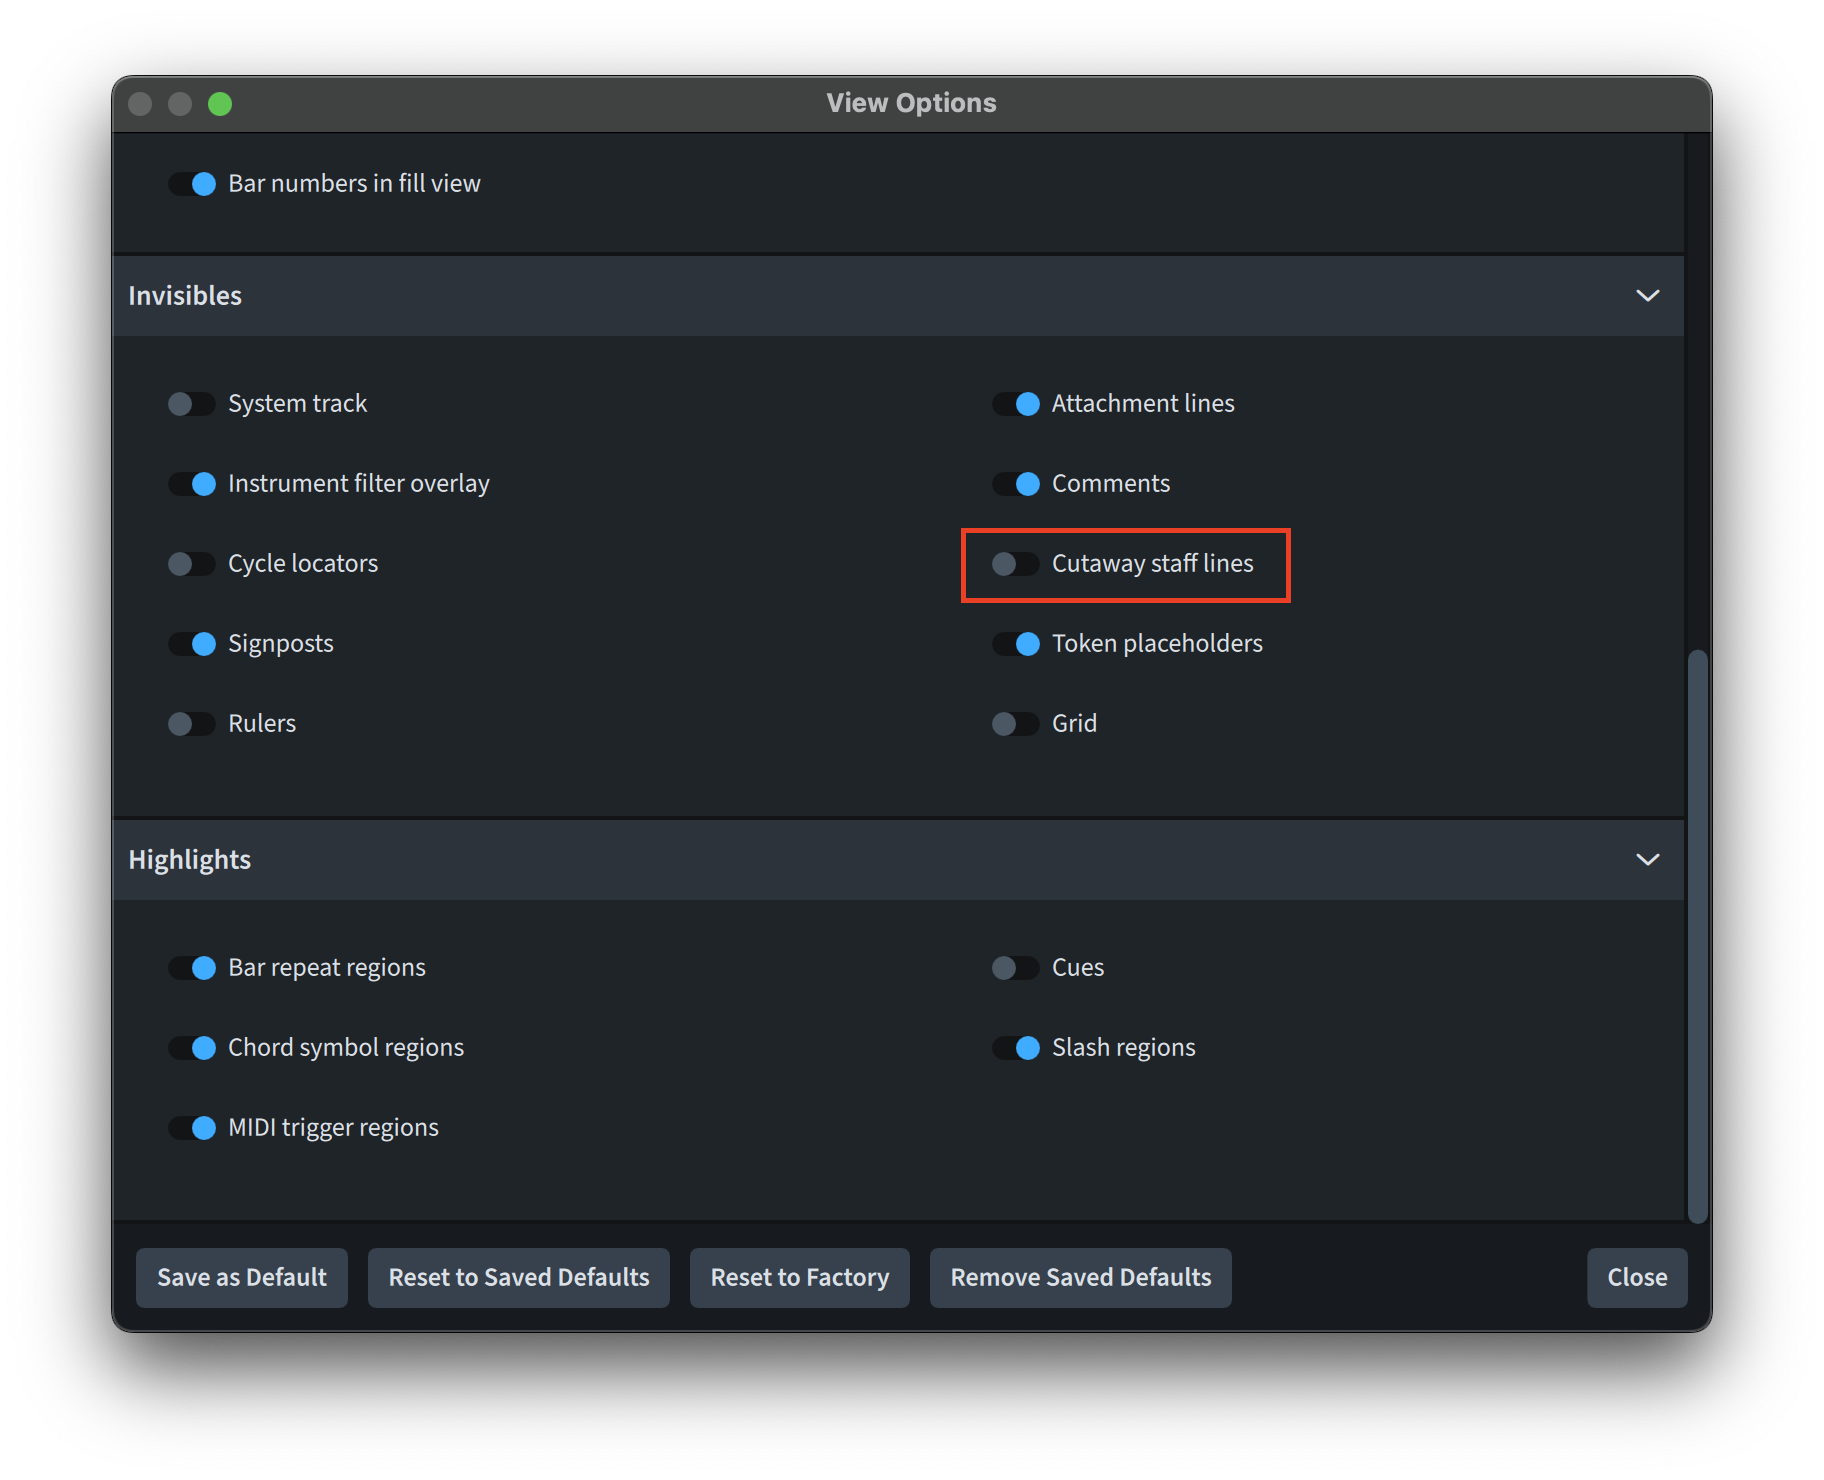
Moreover, the new View Options dialog (Cmd/Ctrl-Shift-V) allows setting this option by default.
Here is how the page above looks with the option enabled.
These cutaway lines do not print, they are simply there to assist you while you keep progressing on the score. Also remember that cutaways are only visible in Page view, not Galley or Fill view (what is this? Stay tuned for a future episode!).
A couple of final reminders: automatic cutaways cannot be used in layouts where multi-bar rests are enabled, and, If there is no music on any staff in the final system of a flow, that system will not be cut away.
Editing music in a cutaway score
Note Input continues to work as normal when a staff is cut away. In fact, the staff is there, it will just not print out. Inserting new musical material by moving the caret into the void will cause the automatic cutaway points to be recalculated. You can invoke and move the caret in the usual way, or even just double-click on a hidden staff to engage Note Input mode.
Creating Manual cutaways
While this feature is already spectacular as it is, there may be occasions when you would prefer certain instruments to be cut away at the same point, even if this would leave some rests visible. To achieve that, you need to create a manual cutaway. The same can be said if you want to override the default Dorico behaviour of cutaways to start and finish only at barlines.
Here, for example, I have synchronised the starting point of the brass section by creating a manual cutaway over the first four bars. This is achieved by selecting the desired bars, right-clicking to show the contextual menu, and by then navigating to Staff ▶︎ Create Manual Cutaway.
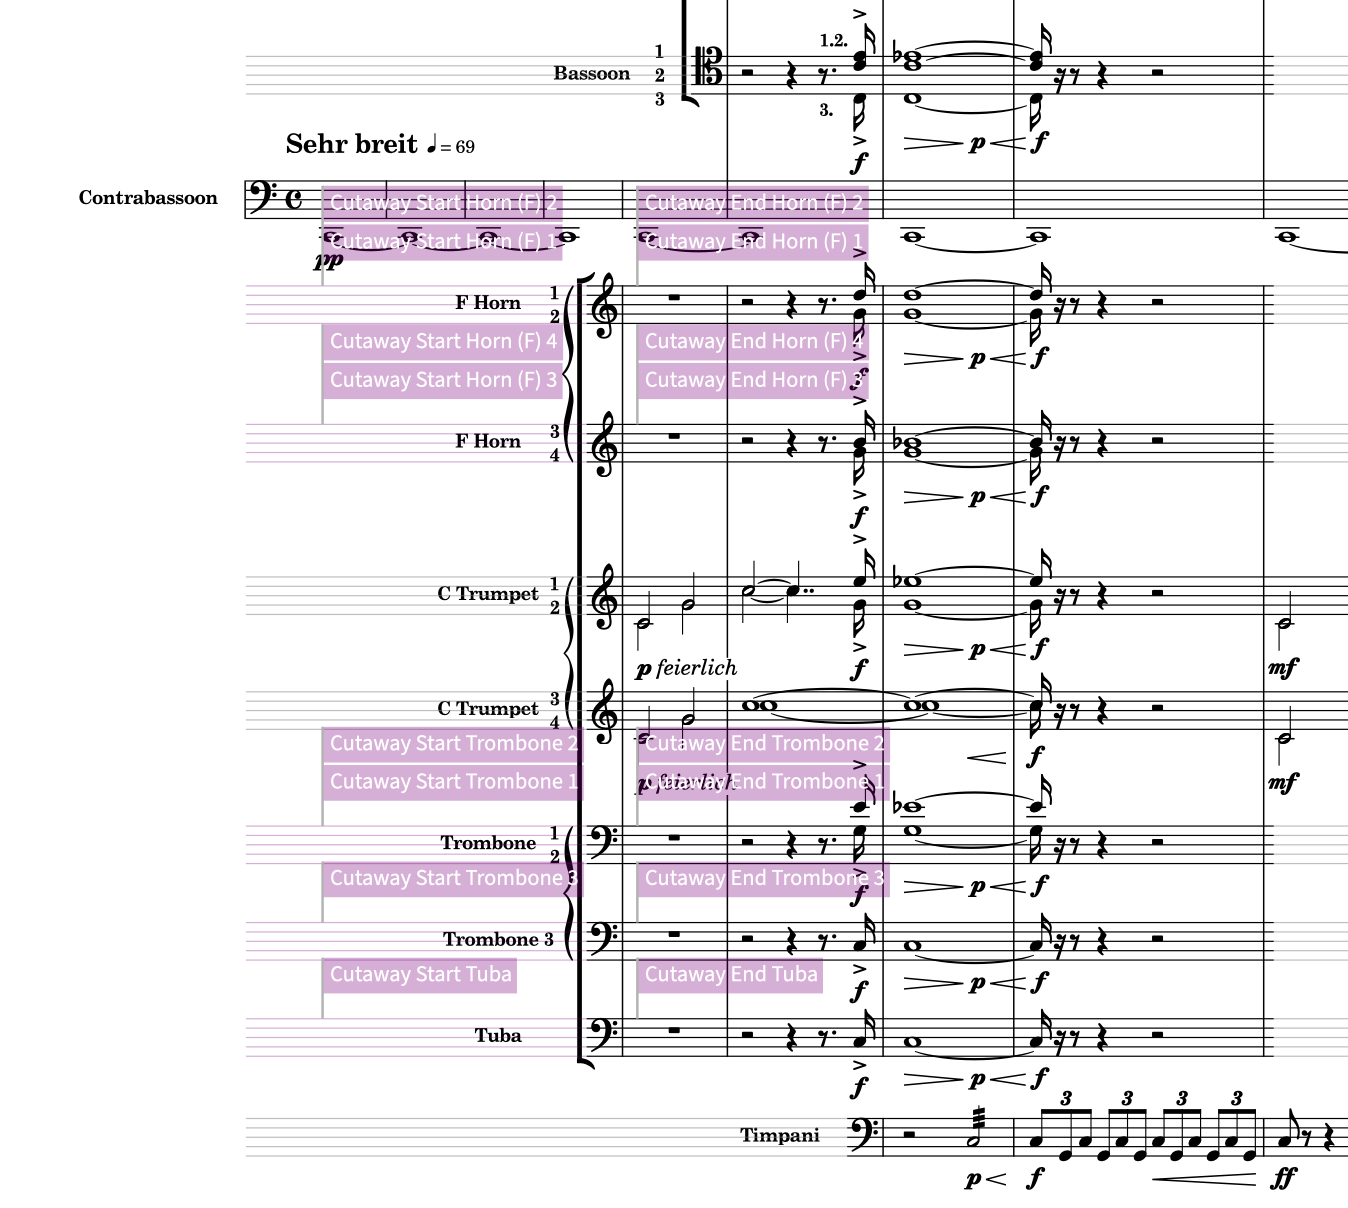
To familiarise yourself with the terminology, a cutaway “start” defines the rhythmical position at which a staff becomes cut away, while a cutaway “end” represents the position where the staff reappears. In the case above, I found it quicker to select a range of bars and use the global command. Moreover, look at the signposts that are created: they can be moved, copy/pasted, or deleted exactly as any other signpost.
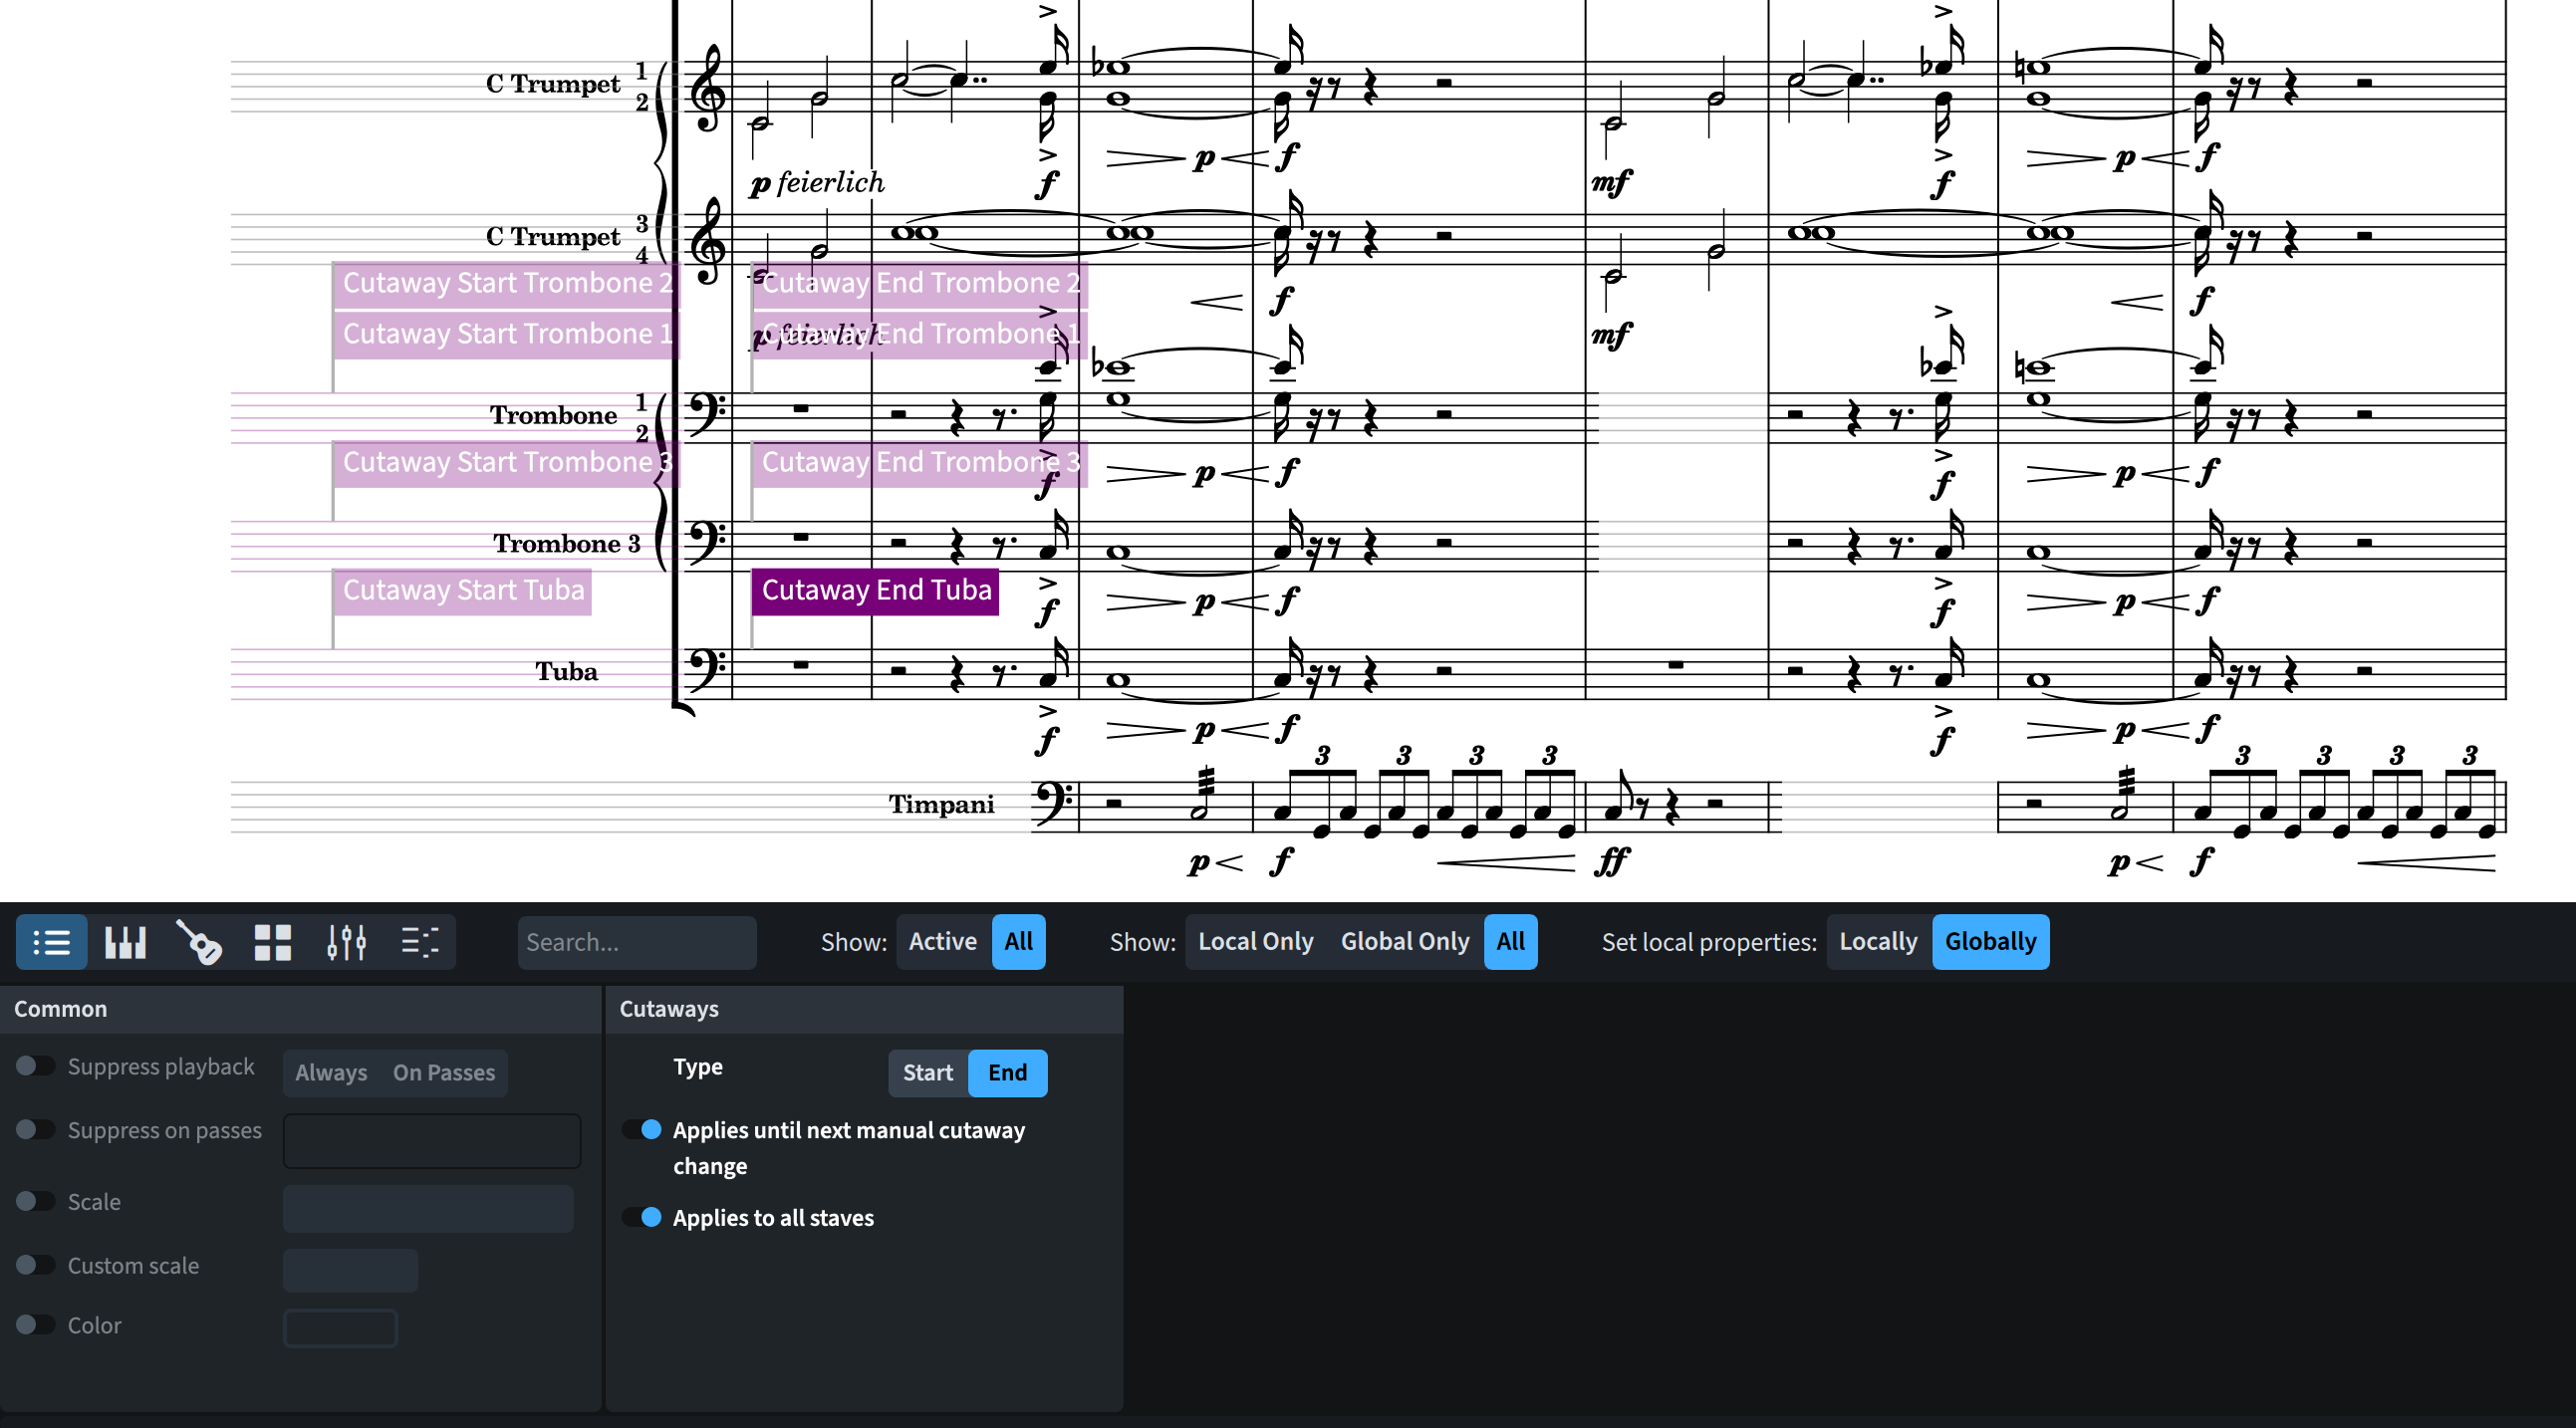
Applying manual cutaway changes overrides the automatic behaviour until the next change—be it manual or automatic. To make sure that the automatic way is turned off for that staff (and flow), select the cutaway signpost and activate the Applies until next manual cutaway change property.
Be mindful of the fact that if automatic cutaways are unchecked, creating a manual cutaway start will “remove” the rest of the staff, even if it contains music! Luckily, there is a new filter to allow you to select and delete all manual cutaways: Edit ▶ Filter ▶ Cutaways.
Finally, remember that cutaways will automatically work on entire bars: should you want to cut away only portions of specific bars, you will need to use manual cutaways.
Engraving options
As we have learned to expect from Dorico—or, should we say, as we have been spoiled to—, there is a wealth of Engraving Options to keep you awake even in the darkest of nights. Here’s the relevant page:
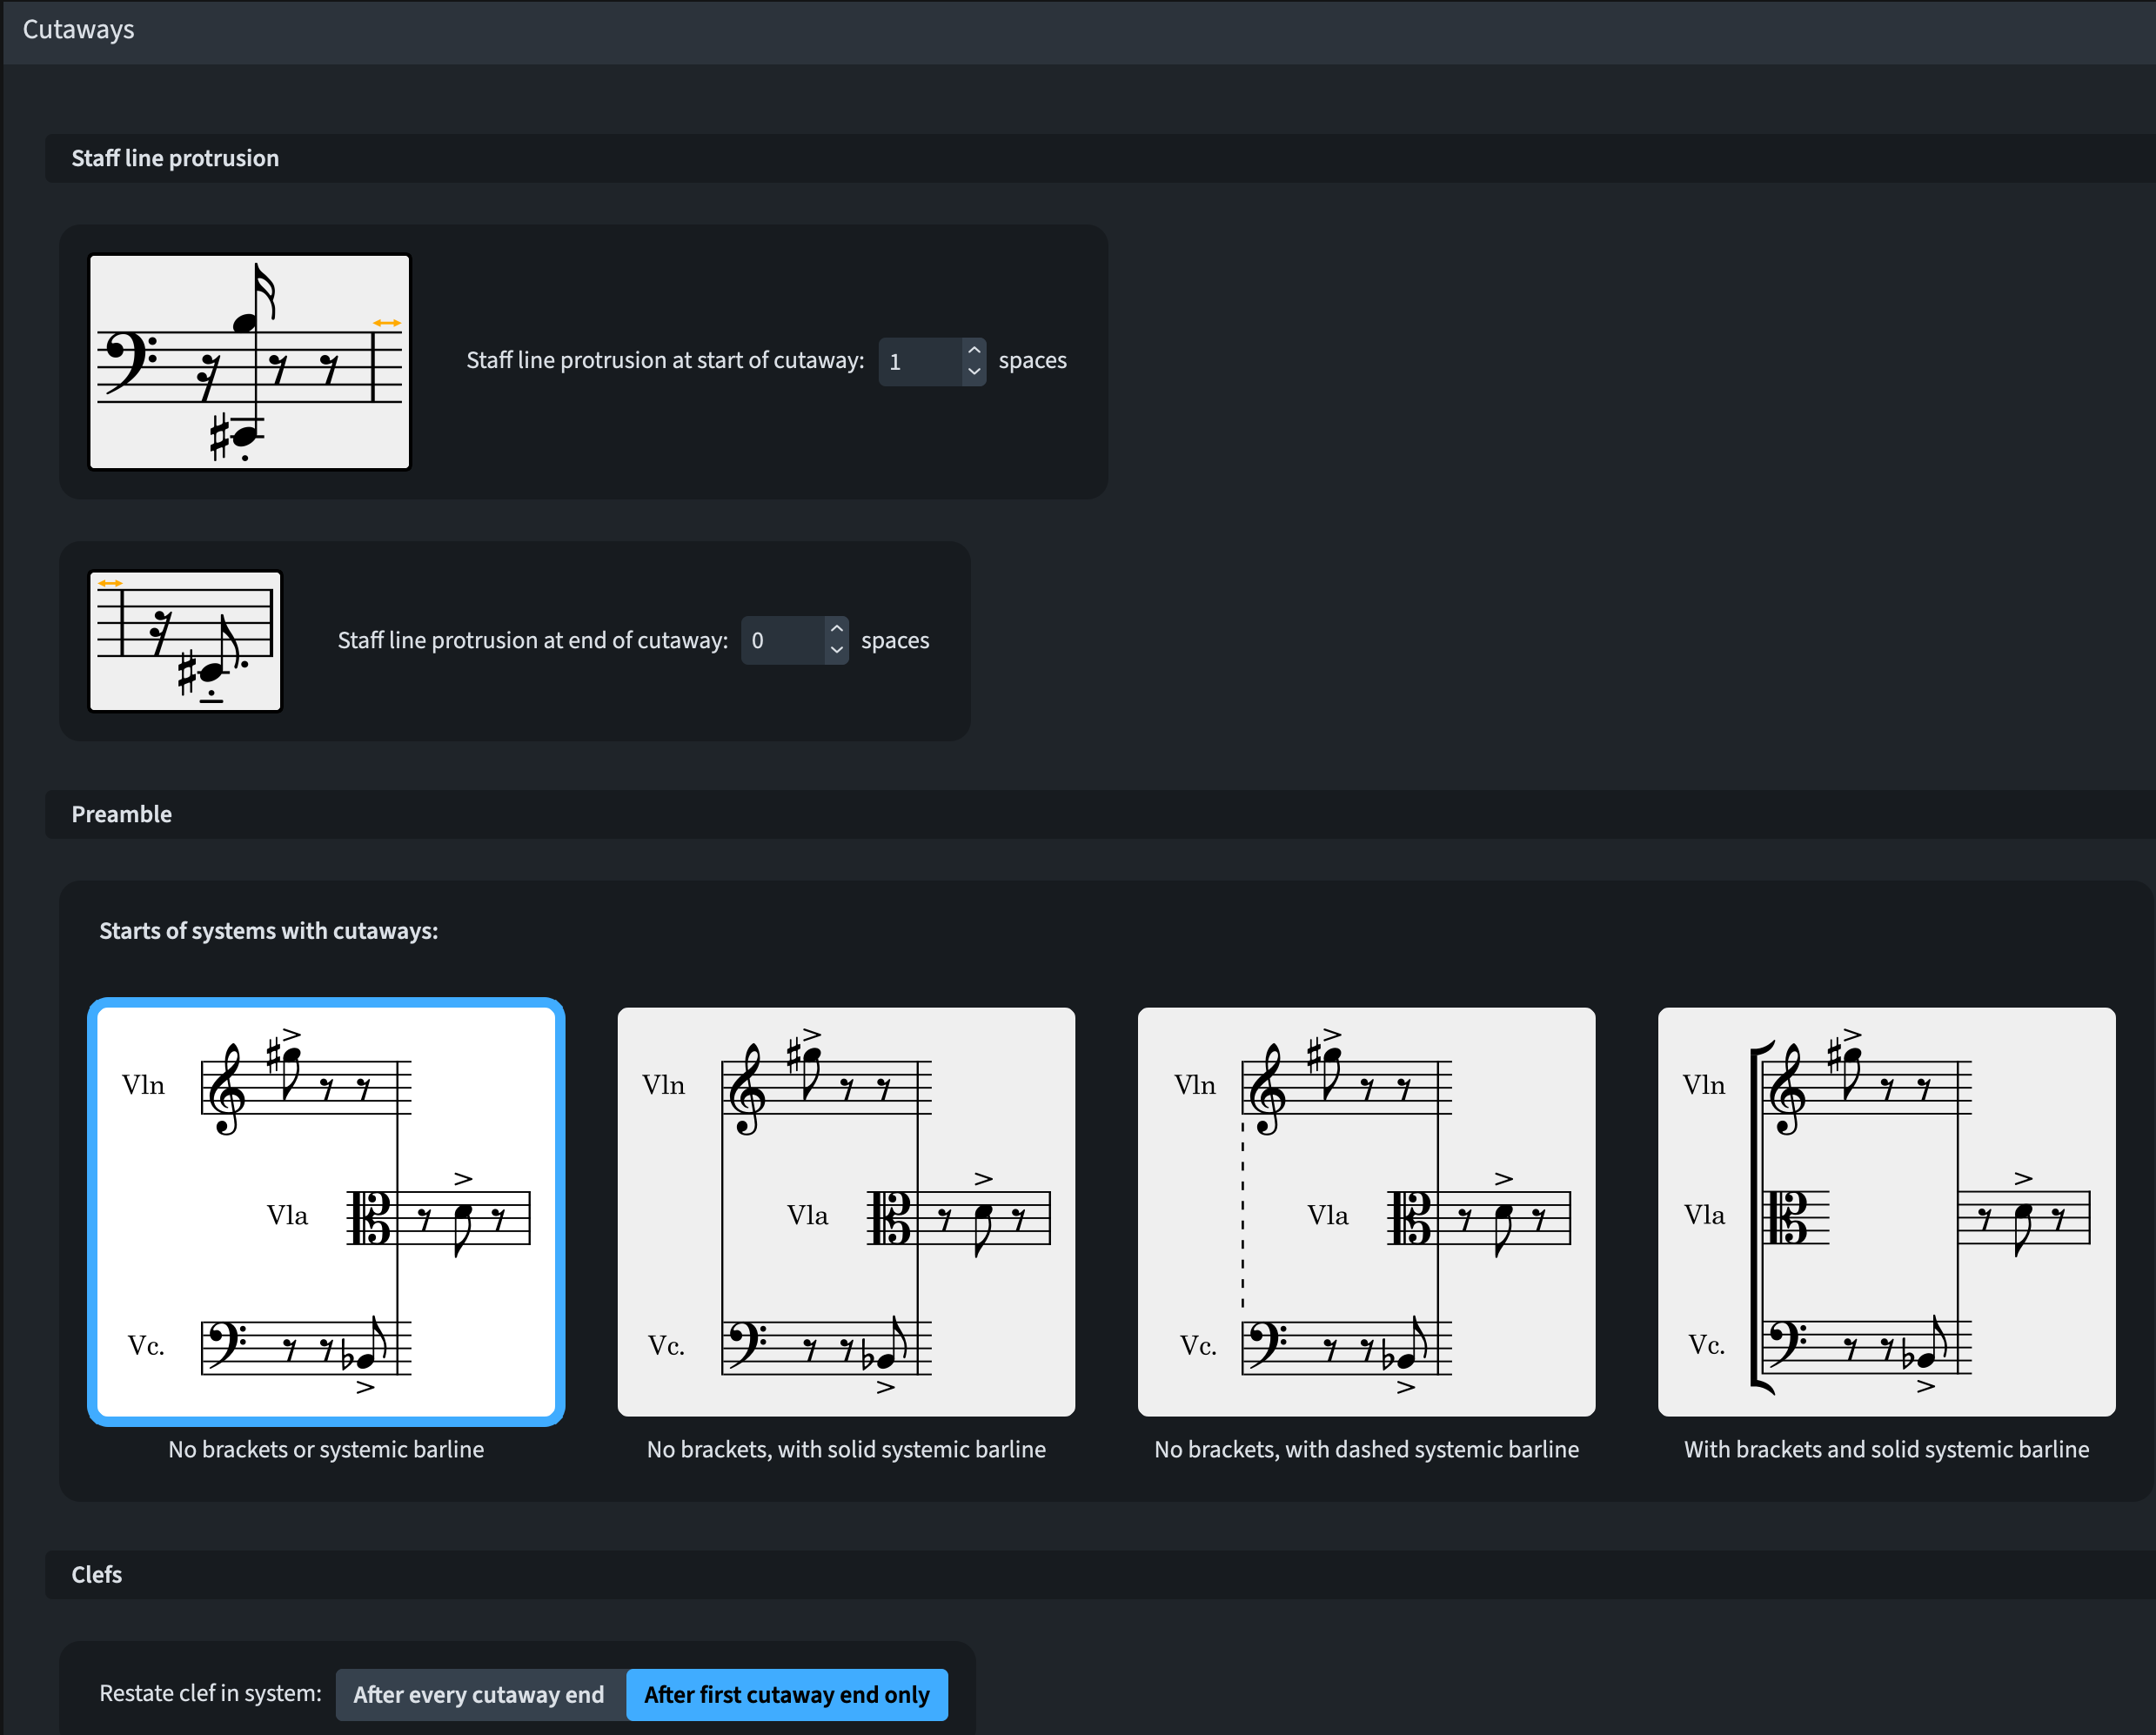
The Staff line protrusion defaults at 1 space for the start of a cutaway and at 0 spaces for its end. Personally, I prefer having both set at zero spaces, as it looks much more elegant. In case you would like to have a specific cutaway to bear a different staff line protrusion from the set amount, you can adjust it via a dedicated property (available only for manual cutaways and only in Engrave Mode).

At the start of the system, the instrument’s preamble (staff label, clef, etc …) is usually hidden in cutaway scores; some of them, though, show it regardless. There are four options to choose from in the Starts of systems with cutaways section shown above:
- No brackets or systemic barline (default)
- No brackets, with solid systemic barline
- No brackets, with dashed systemic barline
- With brackets and solid systemic barline
This last option shows a preamble for every staff, allowing staff labels, clefs, and all other starting details to appear at the leading margin of the page. The other three options shift the preamble to the first instrument entry, but they do not take up rhythmic space—which is very welcome!
The last engraving option concerns the showing of clefs at multiple cutaways in a given system. The default option is the most sensible one.
Staff & Player Group Labels
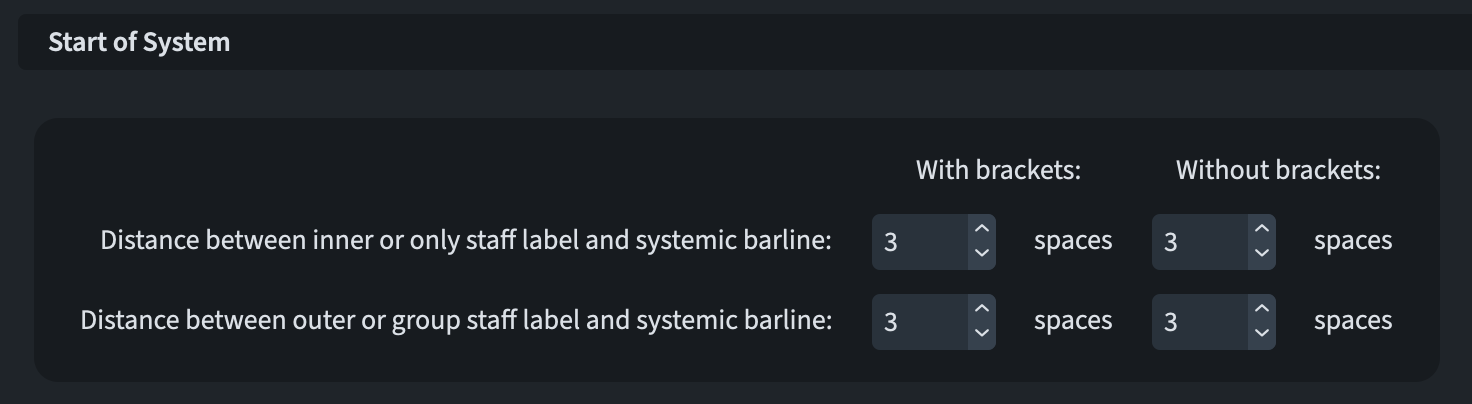
The distance between staff labels and the left-hand end of a staff is different according to whether a bracket is present or not. When using cutaways, an instrument appearing in the middle of a system may not show a bracket. To allow the necessary fine-grained control, the options for gaps between outer/inner staff labels and the systemic barline now offer independent values for With brackets and Without brackets.
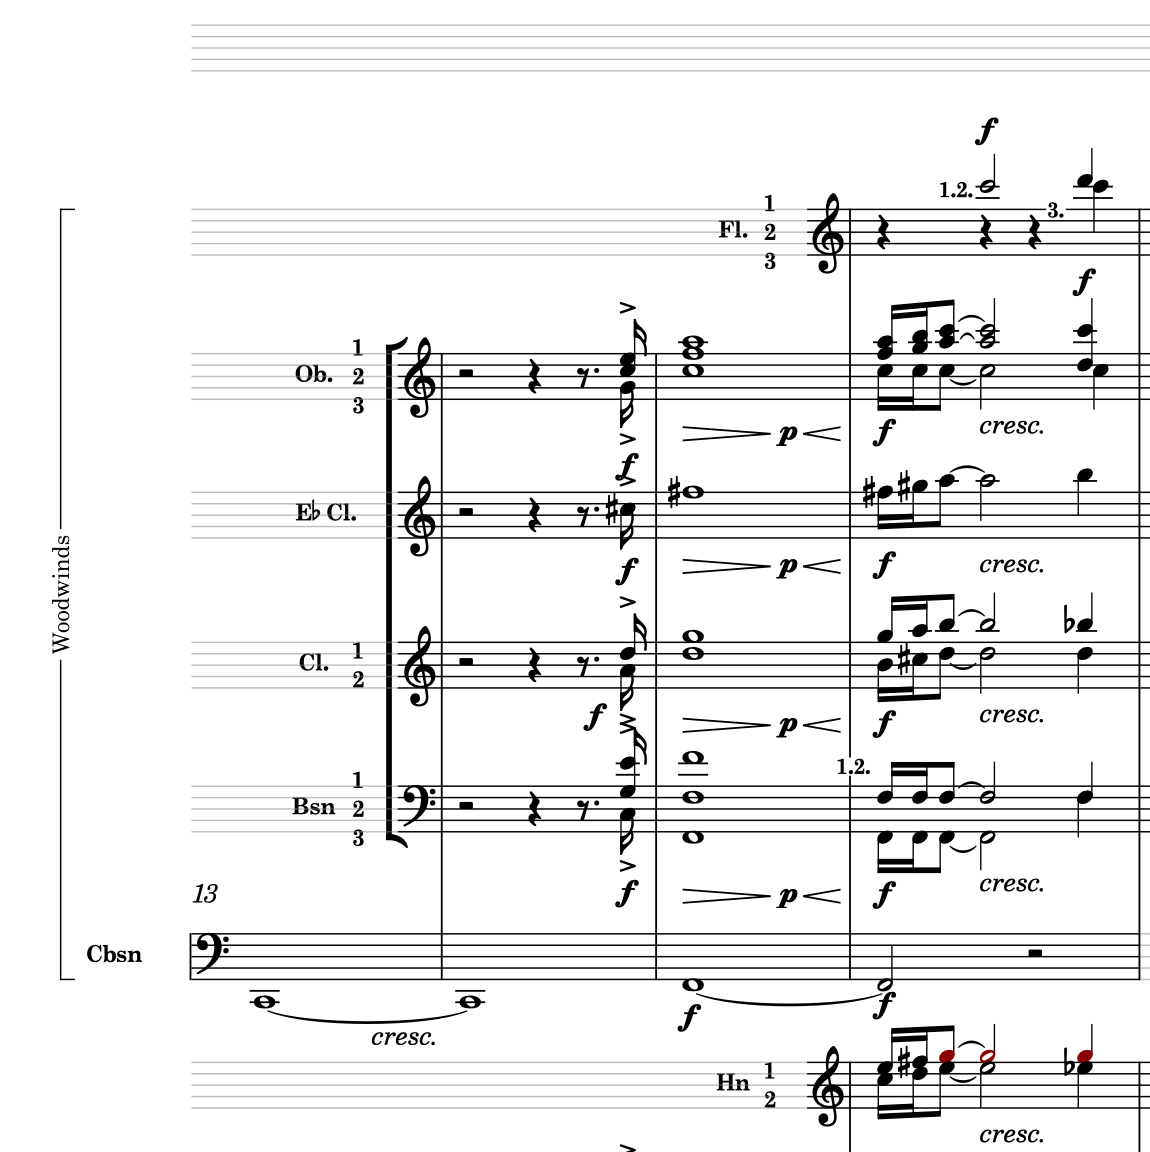
If players are grouped together, and their label is shown, Dorico will try to consolidate the group label even if their entrance is at different points in the system.
Coordination lines
While theoretically a separate subject, coordination lines are very helpful when used in concert with cutaway scores. They connect any two staves and can be drawn relative to notes or at barlines, choosing whether to align them to either the barline itself or to the time signature (if present).
Creating coordination lines
To create a coordination line, you need to be in Engrave mode, for the simple reason that they live in a specific layout and—on a slightly more complex level—in a specific frame chain. Besides, selecting barlines that span multiple staves can be done exclusively in Engrave mode.
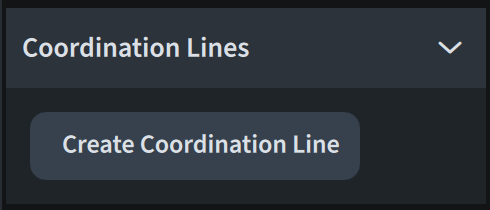
Select a note or barline where you want the top of the line to appear and click the Create Coordination Line button:
The new coordination line will be drawn from the selected staff to the next visible staff:

You can also connect notes with this, helping the conductor coordinate complex entries.
Customising the line’s appearance
Coordination lines are drawn using a dashed line by default, but this can be changed via the Coordination Lines page in Engraving Options.
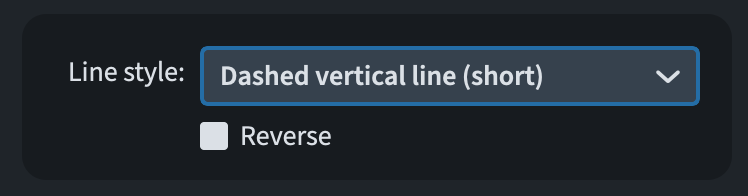
The dropdown list will also include your custom-created styles. The Reverse checkbox may be useful when using line styles with arrowheads. The line’s width will match the Thin barline thickness value found on the Barlines page of Engraving Options, given that coordination lines are most often drawn between barlines. Should you want to override this, uncheck the Use barline width if applicable box.

If the default settings are of your liking, but there is a specific line that you want to edit, you can always access its properties from the lower zone.

Aligning coordination lines
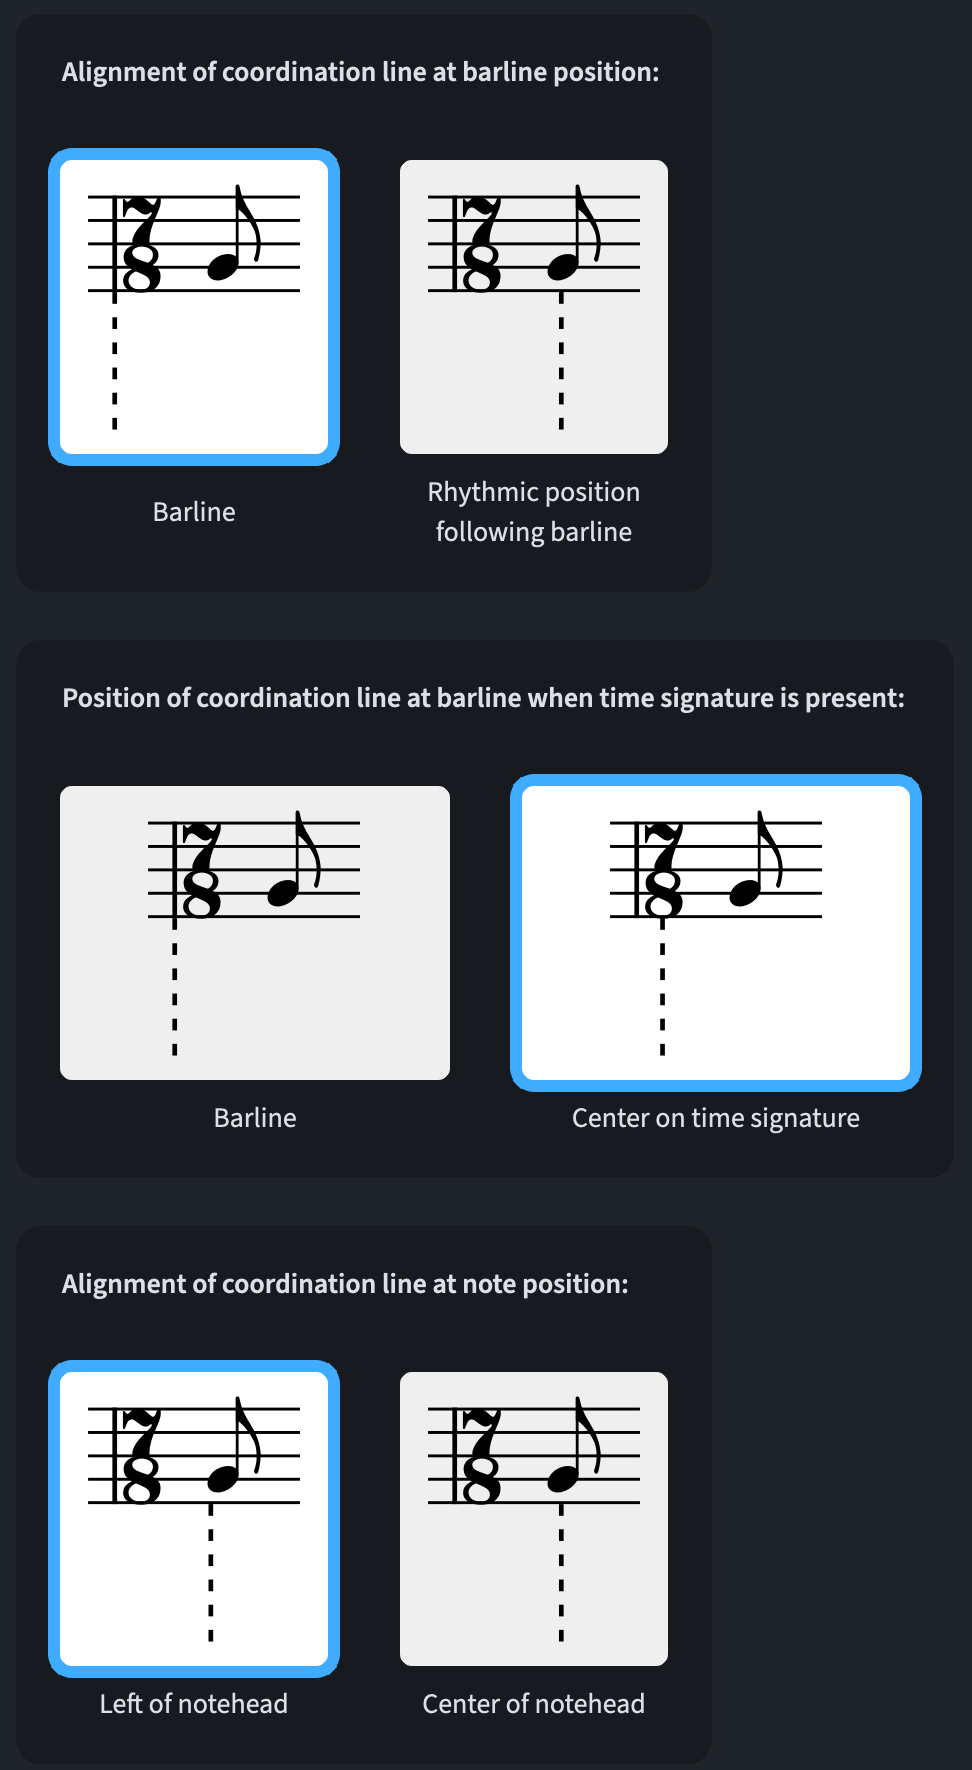
There are several options found on the Coordination Lines page of the Engraving Options dialog. They can be summarised as follows:
- Align on barline
- Align with the barline itself
- Align with a time signature (if present)
- Align on the first note/chord/rest of the bar
- Have it centred …
- … or left-aligned with the notehead
Finally, you can always make manual adjustments in Engrave Mode by dragging or moving the handles via key-commands. Bear in mind, though, that coordination lines always remain vertical.
iPad check
Time for a new iPad check. Sadly, for once, none of these features are available for Dorico on iPad. With the increase in power of the iPad as a device, and the leaps forward iPadOS 26 will bring to allow using an iPad as one’s only device, I hope we will soon see a Dorico Pro version for the iPad as well.
Bottom line
That’s it for today!
If you enjoyed it, please leave a like on this article, subscribe to get notified of upcoming articles, and don’t forget to do the same for Anthony’s video and for the Dorico YouTube channel.
Should you be interested in my other activities, please visit my website and consider joining my mailing list, where you will be able to follow my journey through music notation and independent music publishing!
Thank you for your time, and see you here in the next episode!
