This comes from the 100 Days of Swift initiative created by Paul Hudson (@twostraws on Twitter) (find the project here).
I am doing my best to follow the challenge but having no respite is really hard, especially when I am out of home all day.
This article is being written at the end of Day 19 and will most probably be finished either tomorrow or the day after that. I will try to keep it in a sort of diary form so that you can follow my learning path.
If you are following this initiative as well, please solve your challenges first and then compare them with mine, there is no point in cheating (at any level, but in the beginning especially!).
The creation of the project is quite straightforward: menu File > New > Project > iOS > Single View Application > Save it wherever you want > Done!
The only thing I changed is that I replaced the Project2 name with Guess the flag which is actually the name of this game. I find it very confusing for me to remember which project was what app. I am a musician, after all!
The setting up of the interface was pretty linear.
Drag three buttons, resize them, add some AutoLayout constraints and add the outlets from them to the ViewController.
The nice new part was the Shift button allowing us to select more than one constraint together and the Assets catalog part. Curiously enough, my Xcode imported also the standard resolution images. No idea why, but I guess this is not too important right now.
Creating and populating the array of flags
As we did in the previous project we created an array of Strings, that is a container for the data we will have to put inside our app. We also create a property to take note of the score the player is actually achieving.
Using the combined += operator we populate the array with the names corresponding to the flags.
After that, we create the askQuestion() method to start reflecting our desired into the storyboard. We discover that:
- buttons have a
setImage()method that let us decise what picture will go inside them but …- we want to use the two parameter version of this method so that we can specify both the name of the image (in form of an array and its index) and the state of the button (spoiler, the states are Default, Highlighted, Selected, Disabled)…
- …we will choose the .normal case of the enum (!)* which corresponds to the Default state of the button.
- we want to use the two parameter version of this method so that we can specify both the name of the image (in form of an array and its index) and the state of the button (spoiler, the states are Default, Highlighted, Selected, Disabled)…
As Paul brilliantly explains, the button state cases behave as if they were enums but in reality they are static properties of a struct called UIControlState. This comes from Objective-C, the language UIKit was written in, where this is an enum.
Borders, where are thee?
Building this version shows us that the flags have no border, as we didn’t specify one for our buttons. To solve this we learn about a new friend: CALayer (abbreviation for CoreAnimationLayer).
CALayer
This is a Core Animation data type responsible for managing the way our views look. Even if I am not sure I have understood this part, it is said that CALayer sits beneath all our UIView(s). This reminds me of the layers in Sibelius, where we can adjust the positioning of objects independently from others on other layers. In this case we have to set the button.layer.borderWidth property to 1 point (which will be translated in the right amount of pixels automatically).
Lower technical level?
This is something a bit harder to chew: does it mean that, hierarchically, CoreAnimation is below UIKit? This is interesting! It looks like a company: people who are below in the chain of command do not know —or at least are not required to know— what the ones in higher levels know.
So, UIButton knows what a UIColor is and can set the border’s color to lightGray and then convert it to a cgColor (literally a Core Graphics color, another framework that, this time, is sitting at the same level as Core Animation does).
Complex? Yes, but not conceptually! Only in its realisation. I admit, I would like to understand everything immediately but, well, a bit of humility goes a long way in learning, right?
Day 20!
Random numbers
This new days starts with getting to know random numbers. As I do not really know how difficult things are to do in Swift by now I would have chosen the first approach, that is picking three random numbers and then reading the flags from the array (something I will definitely try to do in a future version of the project). The suggested approach, though, is to shuffle the array in place and then still pick the first three elements of the array (in this way we do not have to erase something that we have already built and that it is functioning at least).
We then create a variable to hold the correct answer by assigning it to a random value between 0 and 2. In this way the app will show us three flags (the 0th, 1st and 2nd element of the just shuffled array) and then it will tell us which one to pick among those. Brilliant but, I still have to enter in the programmer’s mindset because I would have never thought it could be so brain-twisting.
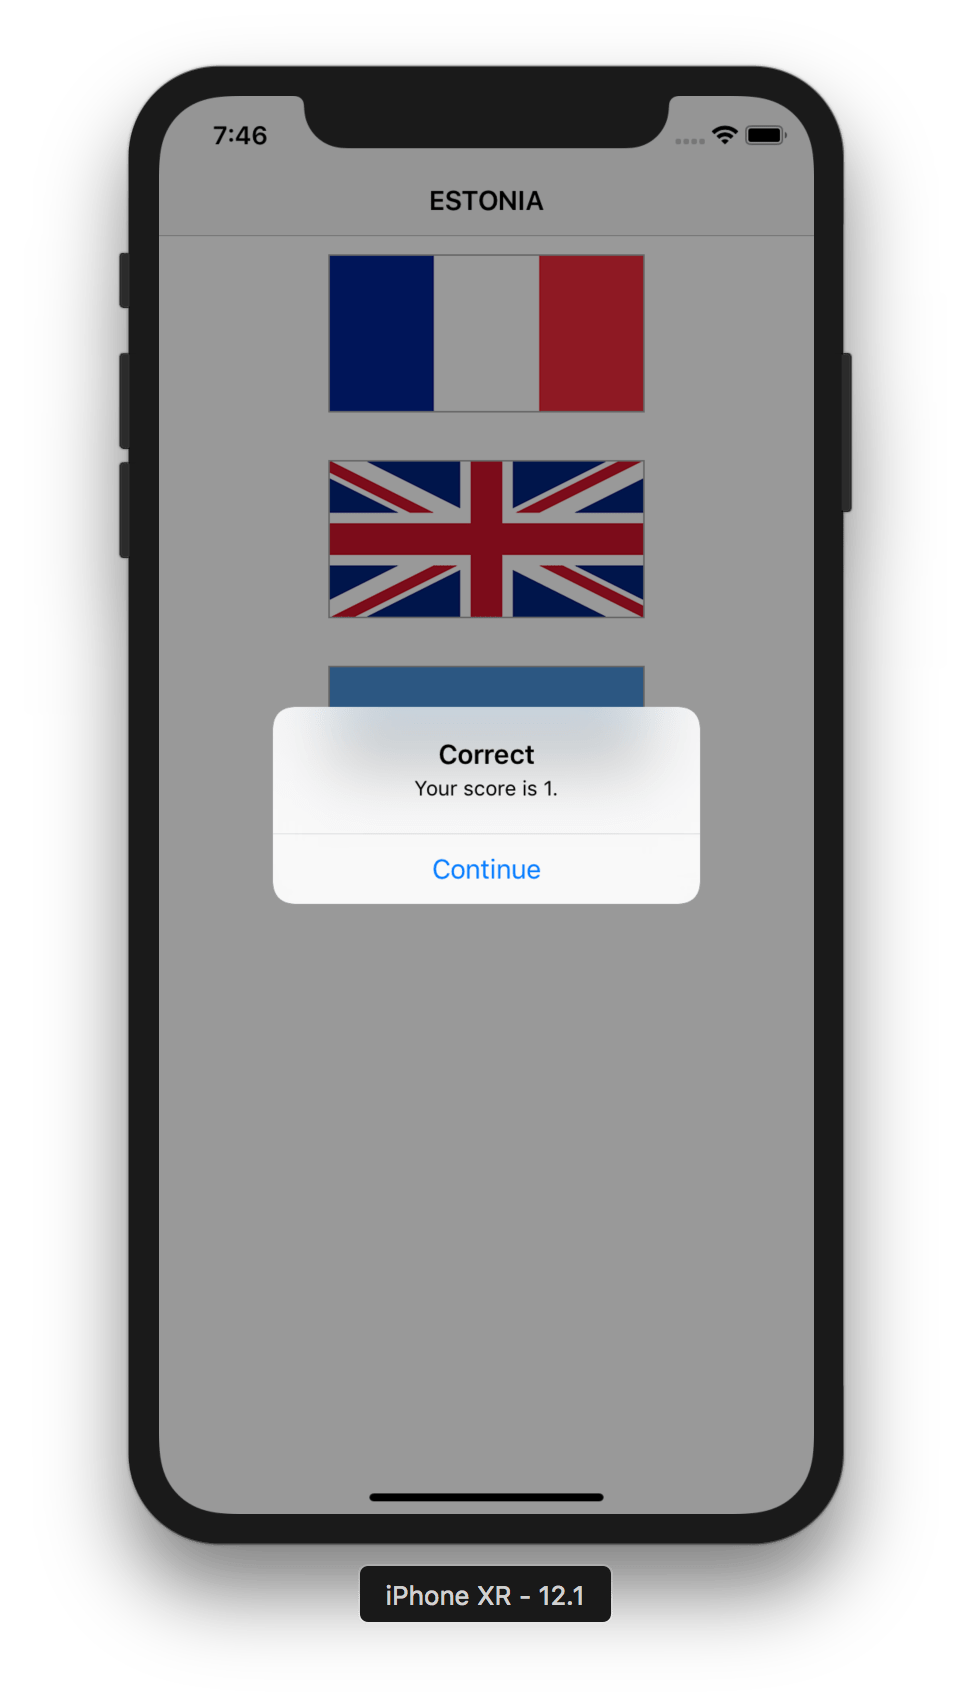
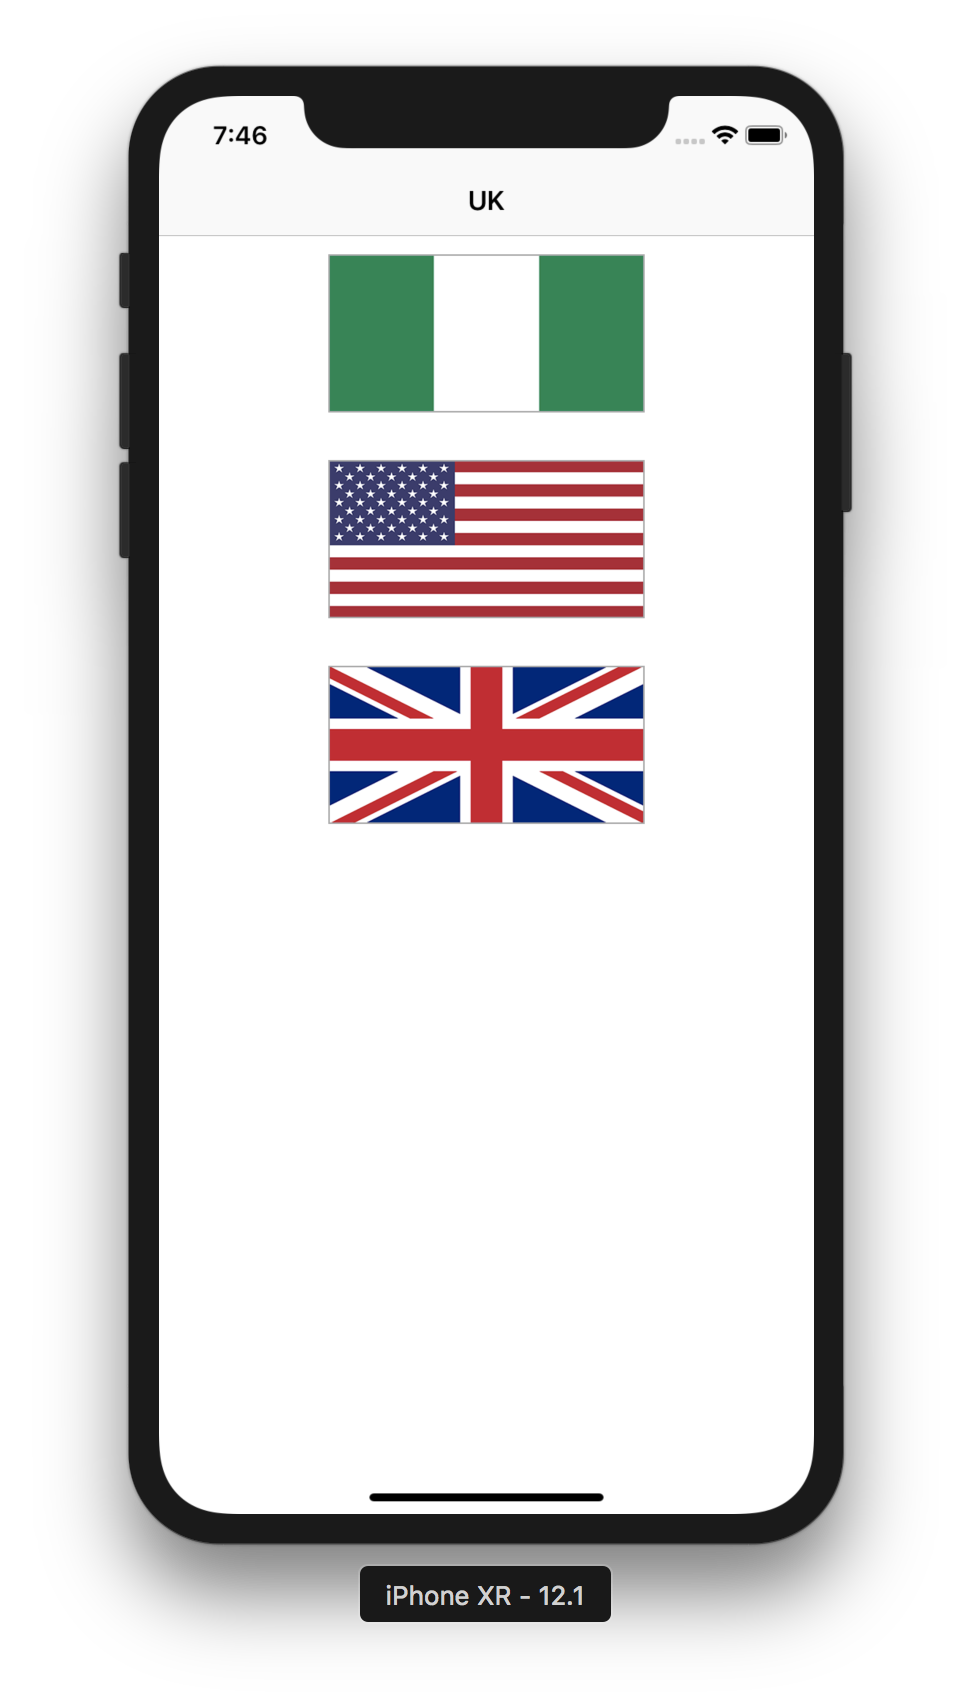
But how do we show the user which flag to choose? Well, it happens that every view controller has a title property that sets its title in the navigation bar. Therefore, calling title = countries[correctAnswer].uppercased() is quite straightforward —if you know the property to be there, of course!
The uppercase thing is to ensure that some countries’s names do not look silly.
Now on to the next bit, as tapping on the flags doesn’t actually do anything by now. Smelling of IBAction … sniff sniff!
IBAction
Interface Builder actions are methods that do something when an interface element in the UI is being interacted with by the user. To create one we Ctrl-drag from the first button to the ViewController.swift code in the Assistant Editor and create an Action called buttonTapped. There are plenty of ways of doing this but this is by far the most “tactile” one, as it makes you feel you are connecting something to a piece of code.
Then we repeat the step with the other two buttons but this time we instead connect them to the method directly. Another way would have been to Ctrl-drag from the filled circle next to the method to the other buttons or to Ctrl-click on the buttons themselves and interact with the Touch Inside Up event in there. So, plenty of options!
Tags
There are integer identifiers for view elements. We give the buttons 0, 1 and 2 to match the index they will have in the array. Brilliant!
Let’s tap this button!
We create a String variable called title which confuses me because there is already a title in the View Controller so why create unnecessary confusion? Well… because UIAlert also has a property called title, congratulations Apple!
Now, if the user tapped the image with the same tag as the random number between 0 and 2 generated before, the title will be set to something showing it is the correct answer, otherwise something chastising will be shown (kidding… of course). In addition, the score will be adjusted accordingly inside this method.
Alert the user…
Regardless of the geography knowledge of the user, if we do not tell her if she was wrong or not, there is no point in making a game, right? So here’s where the UIAlert functionality comes in. I think I have seen this code at least a hundred times and still I have the feeling I would not remember it if I had to write it on my own. I guess it is just a matter of being patient.
It is personal, but I do not like the short names Paul uses for variables but it is probably due to my first contact with Apple programming being their iBook Intro to App Development with Swift where everything was very long and very clear. When I was attending the CS50 class on edX (never finished, but this is another story…) I got to learn that every extra letter in a variable’s name is a waste of space and memory and performance but, well, I guess nowadays this may be less of an issue.
We choose the .alert version of the UIAlertController which makes it pop up from the center of the screen and we choose “Continue” for the title of the UIAlertAction. The handler enters in closure territory and I feel shivers in my spine, even if I was pretty good in the tests in the first days of February.
We use a shortcut to just call a method instead of writing our own closure, which is perfectly fine. I personally have the feeling that we are avoiding a minefield created by our own code, but to be honest, this is just our second app and we are not supposed to write perfect code. Also… I would not know how to write it in another way by now so, I feel content!
Can’t wait for tomorrow’s challenge! I hope it comes in the morning so that I have time to work on it!
Happy coding, everyone!
If you like what I’m doing here please consider liking this article and sharing it with some of your peers. If you are feeling like being really awesome, please consider making a small donation to support my studies and my writing (please appreciate that I am not using advertisement on my articles).
If you are interested in my music engraving and my publications don’t forget visit my Facebook page and the pages where I publish my scores (Gumroad, SheetMusicPlus, ScoreExchange and on Apple Books).
You can also support me by buying Paul Hudson’s books from this Affiliate Link.
Anyways, thank you so much for reading!
Till the next one!

One thought on “Hacking with Swift – Learning Project 2”