So, what is the best way not to lose your work? Save it before you publish right? I have decided to try a new tool (new for me at least) for managing all of my writing even if it will be a paid tool. I am now writing my articles using Ulysses for the next 7 days until the trial expires and see what can be done
Setting up
This project will teach us how to take a bunch of data from a website and translate it into useful information for our users. We will be learning about the following things:
UITabBarController- a data format called JSON (shorthand for Java-Script Object Notation)
As usual, we create a Single View App in Xcode and we can either call it Project7 as Paul suggests or, as I did, following the title of the app itself, Whitehouse Petitions. Let’s get started!
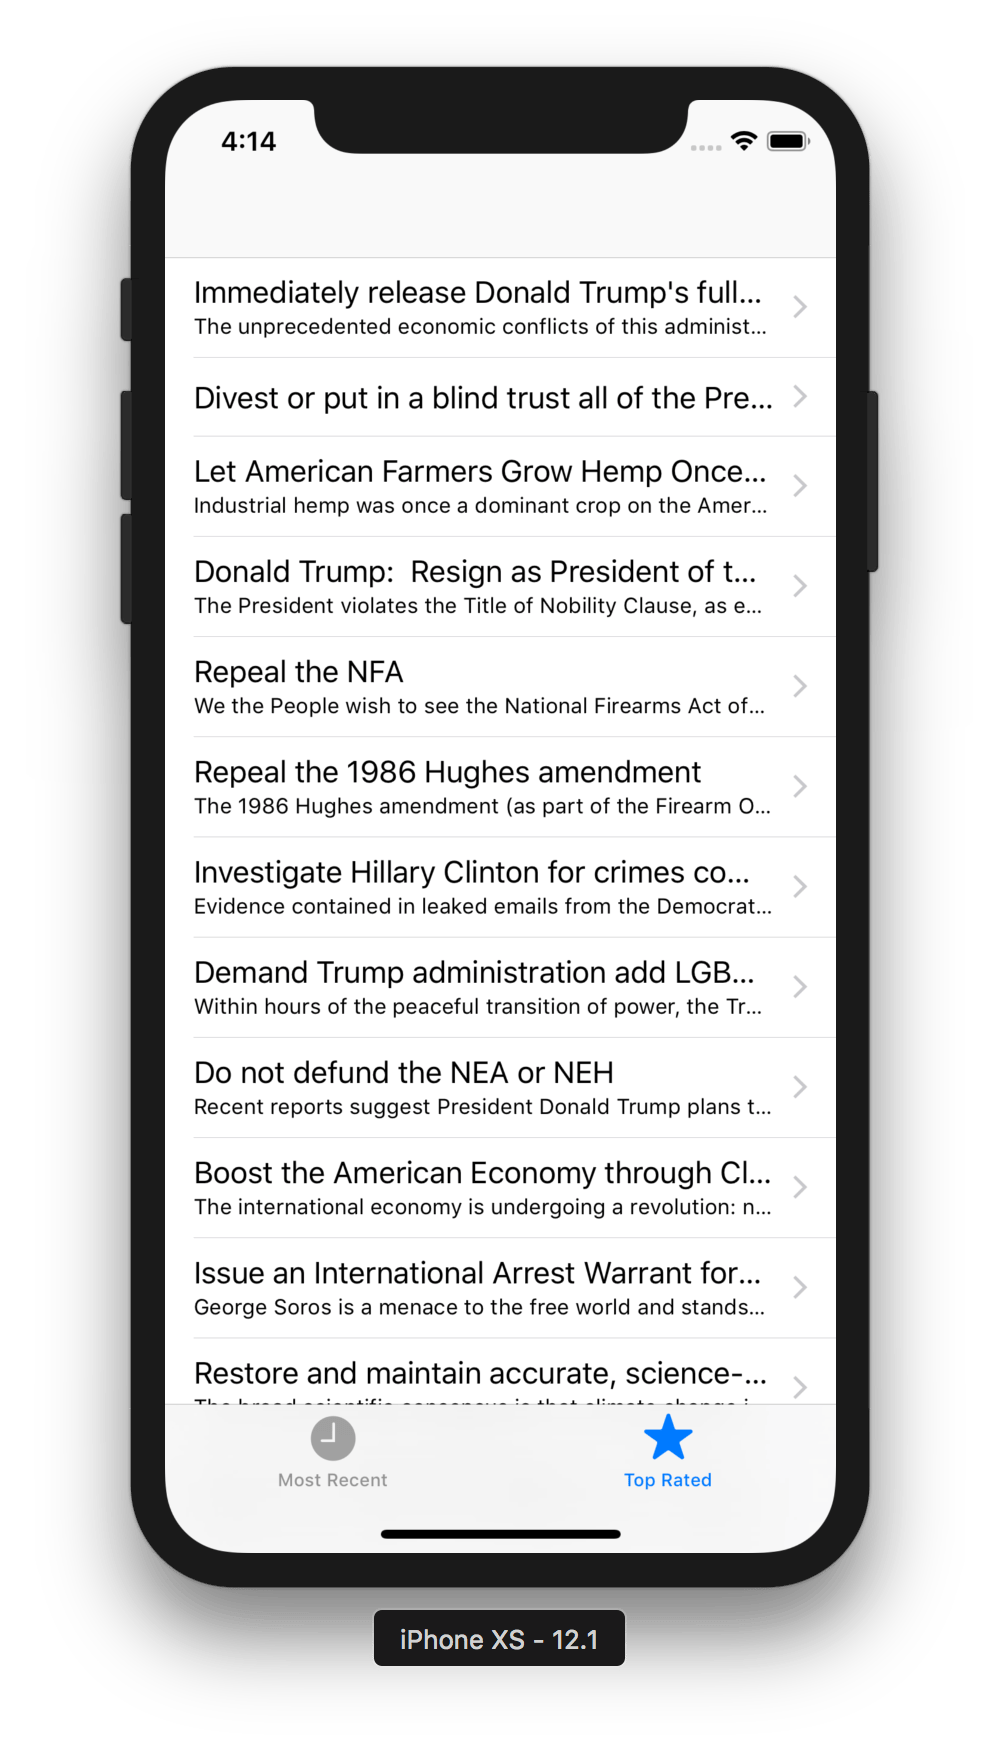
Creating the basic UI: UITabBarController
By now we know the basic drill of all this so let’s just summarise what we are going to do right now:
- inside
ViewController.swiftlet’s change the class’ inheritance toUITableViewControllerand reflect the same change in the Identity Inspector of the view controller in the storyboard. We also set this view controller to be the Initial View Controller - select the prototype cell and change its reuse identifier to be “Cell”.
- also change its Accessory to be “Disclosure Indicator” (that’s the small arrow pointing rightward) and its style from “Custom” to “Subtitle” (in this way we will have two rows of text, one bigger and another smaller).
- As usual we wrap this view controller into a Navigation Controller and this last one in a Tab Bar Controller, which will manage an array of view controllers.
- Change the
UITabBarItem’s system item to “Most Recent”. - Select the navigation controller and, in its Identity Inspector, change its Storyboard ID to “NavController”.
ViewController.swift
- Create a property to hold our data:
var petitions = [String]() - add the
numberOfRowsInSectionmethod and return the.countproperty of thepetitionsarray. - add and configure the
cellForRowAtmethod, with a small difference compared to previous times:
override func tableView(_ tableView: UITableView, cellForRowAt indexPath: IndexPath) -> UITableViewCell {
        let cell = tableView.dequeueReusableCell(withIdentifier: "Cell", for: indexPath)
        cell.textLabel?.text = "Title goes here"
        cell.detailTextLabel?.text = "Subtitle goes here"

        return cell
    }
Parsing JSON using the Codable protocol
Swift supports working with JSON by conforming to the Codable protocol.
Let’s create a struct called Petition in a new file also called “Petition.swift” and fill it with three properties: a title string, a body string and a signatureCount integer. Structs work wonder here because they give us a memberwise initialiser, that is a special feature that creates new instances of that structure automatically for us when we pass in values for it.
This is not enough, though: the array of petitions is actually inside a dictionary called “results” in the JSON data. To help Swift reading this we simply create a new file called “Petitions” and, inside, create a new struct also called “Petitions” which conforms to Codable and contains a property called results which is an array of our custom object [Petition].
Once this is done we also change the type of our petitions property in ViewController.swift to be an array of petitions itself.
Parsing the JSON
Inside viewDidLoad() let’s insert the following code:
  override func viewDidLoad() {
        super.viewDidLoad()

        let urlString = "https://www.hackingwithswift.com/samples/petitions-1.json"
        // try to convert that string into an URL
        if let url = URL(string: urlString) {
            // fetch that from the API
            if let data = try? Data(contentsOf: url) {
                parse(json: data)
            }
        }
    }
This does the following:
- it creates a new string made of the url to the Hacking with Swift server
- it tries to convert it into a real URL
- if this succeeds it tries to fetch the data and store it into a
dataconstant before finally trying to call theparse(json:)method which we have not written yet.
Here’s that method:
func parse(json: Data) {
        let decoder = JSONDecoder()

        if let jsonPetitions = try? decoder.decode(Petitions.self, from: json) {
            petitions = jsonPetitions.results
            tableView.reloadData()
        }
    }
- we create an instance of
JSONDecoder() - try to decode it the passed in data parameter
- store the results inside our
petitionsproperty - reload the table-view data.
The last thing to do to have a working first screen is to modify the cellForRowAt method like this:
override func tableView(_ tableView: UITableView, cellForRowAt indexPath: IndexPath) -> UITableViewCell {
        let cell = tableView.dequeueReusableCell(withIdentifier: "Cell", for: indexPath)
        let petition = petitions[indexPath.row]
        cell.textLabel?.text = petition.title
        cell.detailTextLabel?.text = petition.body

        return cell
    }
The second part of this project starts with Day34 of the 100 Days of Swift initiative. Todays topics are learning about charging HTML into a web view, getting confidence with UIStoryboards and adding tabs to a tab bar controller in code.
Rendering a petition: loadHTMLString
First thing to do: create a new detail view controller class to format the petitions’ content in a clean and nice way.
Let’s create a new Cocoa Touch Class file and name it “DetailViewController”. Inside we import WebKit, create a WKWebView implicitly unwrapped property (as it will be instantiated in viewDidLoad, create an optional Petition object and call the loadView() method with an instantiation of the WKWebView and the assignment of this last one to the view property of our view controller.
Copy-pasting the text of the petition in the web view will not work because it will just not look right, instead we have to use some HTML code inside viewDidLoad:
let html = """
        <html>
        <head>
        <meta name="viewport" content="width=device-width, initial-scale=1">
        <style> body { font-size: 150%; } </style>
        </head>
        <body>
        \(detailItem.body)
        </body>
        </html>
        """
We end all this part with a call to webView.loadHTMLString(html, baseURL: nil). This is slightly different from the call we were using in project 4 because we are not directly using a website for it.
Instantiate view controller (or else?…)
This time we do not need to instantiate the view controller as a downcast class from our Main.storyboard. Instead we just have to create an instance of the “DetailViewController” class inside the didSelectRowAt method, set its detailItem property to the appropriate petitions element for that IndexPath and then finally push the view controller! That’s it!
Finishing touches: didFinishLaunchingWithOptions
Two things are still needed now: add another tab to the UITabBarController and make our code a bit more resilient (that is showing the user some error message when needed). The first step is done in “AppDelegate.swift”, and precisely in the didFinishLaunchingWithOptions method, which gets called by iOS when the app has completed the loading process. Inside it we perform the following actions:
- downcast the
rootViewControllerof the view controller’swindowas aUITabBarController. Assuming everything goes well… - … we store our Main storyboard inside a constant called
storyboard - We instantiate a new view controller called “NavController” (now we understand!) and set its
.tabBarItemto be equal to aUITabBarItem(tabBarSystemItem: .topRated, tag: 1)(because the first one we had was tag 0 and those tab bar items are an array of items! - We append this view controller to the array of view controllers of the tab bar controller (a bit tong-twisting but nice!)
This code creates a duplicate view controller wrapped inside a navigation controller, equips it with a flashy new tab bar item so that it doesn’t get confused with the previous one and makes it visible.
Adding resiliency
To be complete our app need a bit more of safety and this is done by modifying slightly the string from where we fetch our data, like this:
let urlString: String

if navigationController?.tabBarItem.tag == 0 {
    // urlString = "https://api.whitehouse.gov/v1/petitions.json?limit=100"
    urlString = "https://www.hackingwithswift.com/samples/petitions-1.json"
} else {
    // urlString = "https://api.whitehouse.gov/v1/petitions.json?signatureCountFloor=10000&limit=100"
    urlString = "https://www.hackingwithswift.com/samples/petitions-2.json"
}
We also add a showError method to make the user know if something went adrift:
func showError() {
        let ac = UIAlertController(title: "Loading error", message: "There was a problem loading the feed; please check your connection and try again.", preferredStyle: .alert)
        ac.addAction(UIAlertAction(title: "OK", style: .default))
        present(ac, animated: true)
    }
The last thing to do is just to insert this method in an else statement in the URL summoning part!
This concludes our overview of Project7. As always do not forget to drop a hello and a thank you to Paul for his work on Twitter and to check his article where he explains in much greater detail what I covered here.
The GitHub repository for my version of this app is available here.
Thank you everyone!
If you like what I’m doing here please consider liking this article and sharing it with some of your peers. If you are feeling like being really awesome, please consider making a small donation to support my studies and my writing (please appreciate that I am not using advertisement on my articles).
If you are interested in my music engraving and my publications don’t forget visit my Facebook page and the pages where I publish my scores (Gumroad, SheetMusicPlus, ScoreExchange and on Apple Books).
You can also support me by buying Paul Hudson’s books from this Affiliate Link.
Anyways, thank you so much for reading!
Till the next one!
