
Welcome back and thank you for following this tutorial series! In this fourth episode, we will be diving deeper into Dorico’s way of handling tuplets, hopefully showing you something useful.
Moving tuplets rhythmically
If you have ever used Sibelius, you know that by pressing Cmd-Option-Left/Right arrow (that’s Ctrl-Alt-Left/Right arrow on PC) you can move any note left or right by a rhythmic position equal to its duration. If you try to do this with a tuplet, you will be greeted with this alert:
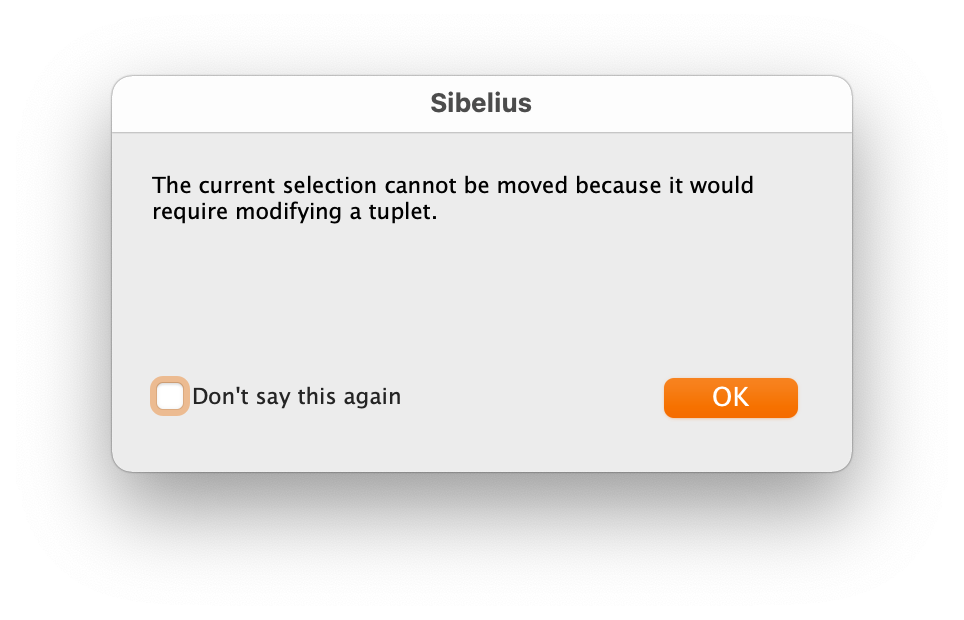
Dorico has now been around for five years and one of its goals, at least in the beginning and most probably for marketing reasons, was to take Sibelius’s weaknesses and to just smash them. Regardless of what you or I think of this practice, one of the areas that was exploited was the ability to move tuplets around rhythmically. Let’s give this a look.
First, be sure you are in Write mode, then select the tuplet(s) you want to move. At this point, keep the Option key pressed (that’s Alt on PC) and use the Left/Right arrows to move the tuplets. While this is just outstanding (as it will also cross barlines), you need to pay attention to a few details.
It is paramount that your selection includes the tuplet(s) ratio/number or bracket, otherwise when you move them out of their original rhythmic position they will become normal notes.

Moreover, please do not try moving tuplets around with the pointer (mouse/trackpad), as it will just not work. Here is, instead, an animation of a tuplet correctly moving around and even crossing a barline.
You will have for sure noticed how moving the tuplet erases the music which is following it. This is normal, and it would happen even if you were moving ordinary notes. To avoid this, you need to use the Insert tool, which we will look at in a separate tutorial.
A very interesting thing is that if you only select the tuplet’s bracket and move it, it will actually just move the rhythmic container, erasing all the notes it originally contained. A truly powerful, and responsibility rich, feature! Even more, if you select the tuplet’s bracket AND some notes inside it, only those will be moved around, truly brilliant!
Lastly, you will have noticed that my tuplet has moved right/left by 8th-note intervals; that’s because my rhythmic grid (that’s the small note with a ruler beside it at the lower left of the interface) was set to such value. Should you want to move them by any other interval, simply select a different note duration.
Deleting tuplets
Once more, we start by a comparison with Sibelius, simply because this is a true pain point in that software. In Sibelius, if you want to erase a tuplet while maintaining the notes inside it, you cannot do that. There are plugins that allow you to circumvent this but, for now, we are focusing on the raw software.
In Dorico, you have the possibility to either delete the tuplet, including all the tuplet notes, or to delete the tuplet brackets and number/ratio without affecting the notes inside it. Let’s see how we can do this.
Be sure you are in Write mode, then select the tuplet(s) you want to delete. To delete a tuplet AND all the notes that make it, select all those elements, otherwise only what you actually select will be deleted. Now press Delete or Backspace or, eventually, choose Edit > Delete. If you do not have Insert mode active, and delete the tuplet but not the notes, they will be redistributed according to their original duration. Here is an animation showing all this.

And here is what happens with Insert mode active:
Tuplet beams
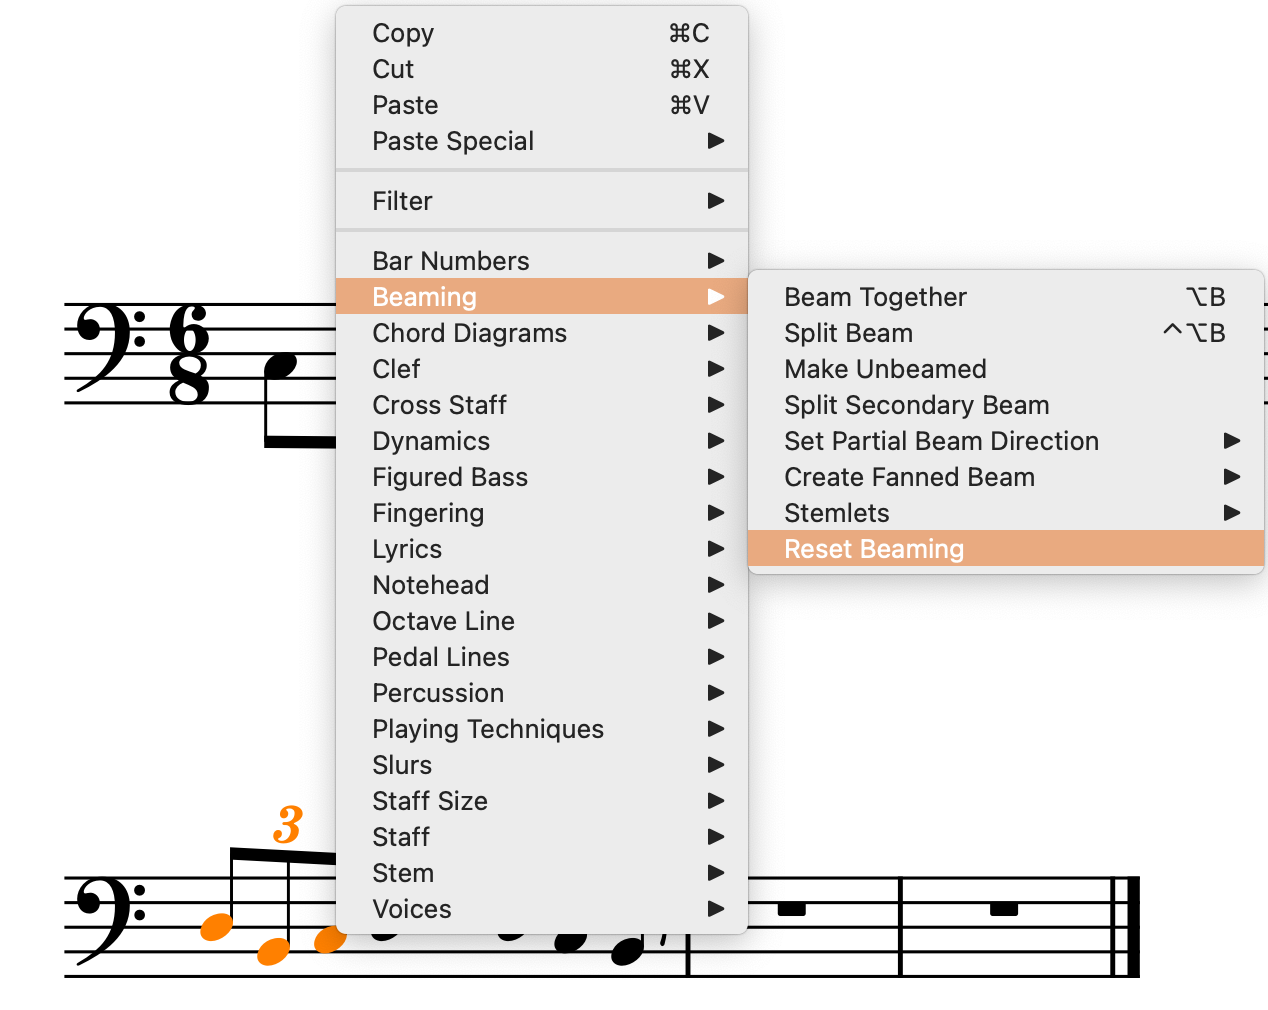
A quick word on tuplet’s beams: in the end they are just notes like all the others, so you can edit their beaming as you prefer. The options you get for beaming from the contextual menu are the same you would get for ordinary notes.
Tuplet brackets
We need tuplet brackets to make their influenced duration clear, for example when there are unbeamed notes or when there is a mix of beamed and unbeamed notes. Here are a few examples:
The first tuplet requires a bracket to show that the quarter note is also part of the group, while the second tuplet needs a bracket because there are no beams at all. In the past, you could find tuplet brackets made up to look like slurs, and it could sometimes be confusing. Modern practice, though, is to use straight brackets.
The bracket’s angle follows complex algorithms that react to the notes included in the group, and we will look at what can be done to edit those in the next episode, where we will face Engraving Options. If you really want to alter the bracket’s precise position and shape, you need to go into Engrave mode (Cmd/Ctrl-3), select the bracket and act on one of its four handles.
The two external handles allow you to alter the position of the start and of the end of the tuplet bracket, therefore changing its angle. The two internal ones, instead, allow you to lengthen the depth of the hook. For my personal taste, Dorico’s hooks are very short and, for my professional engraving projects, I tend to lengthen them to at least 1 space.
These handles allow you to edit the specific tuplet bracket, even if you have set it to be Always horizontal in Engraving Options.
Tuplets within beams
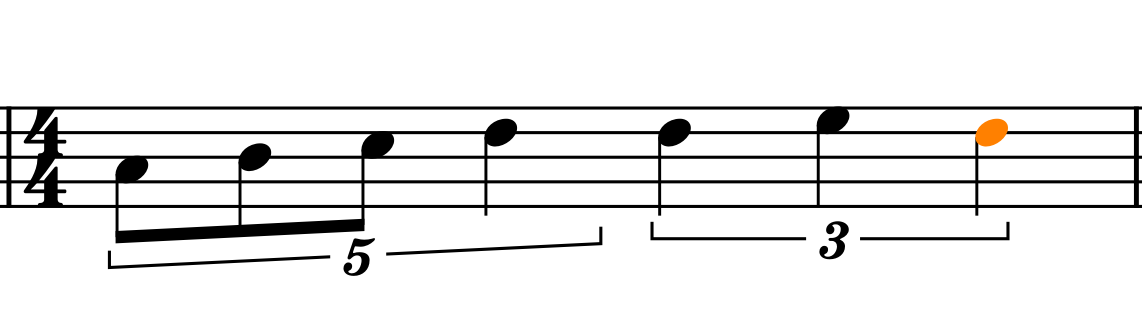
The last topic we will cover today is how tuplets react to beaming with other beamed notes next to them. We know that any note shorter than a quarter-note is subject to beaming, so it is natural that a triplet of 16th-notes will have its three notes beamed together. In a simple meter bar, such as 4/4, for example, such a 16th-note triplet flanked by two regular 16th-notes will trigger other beaming rules so that the two note groups will be beamed together.

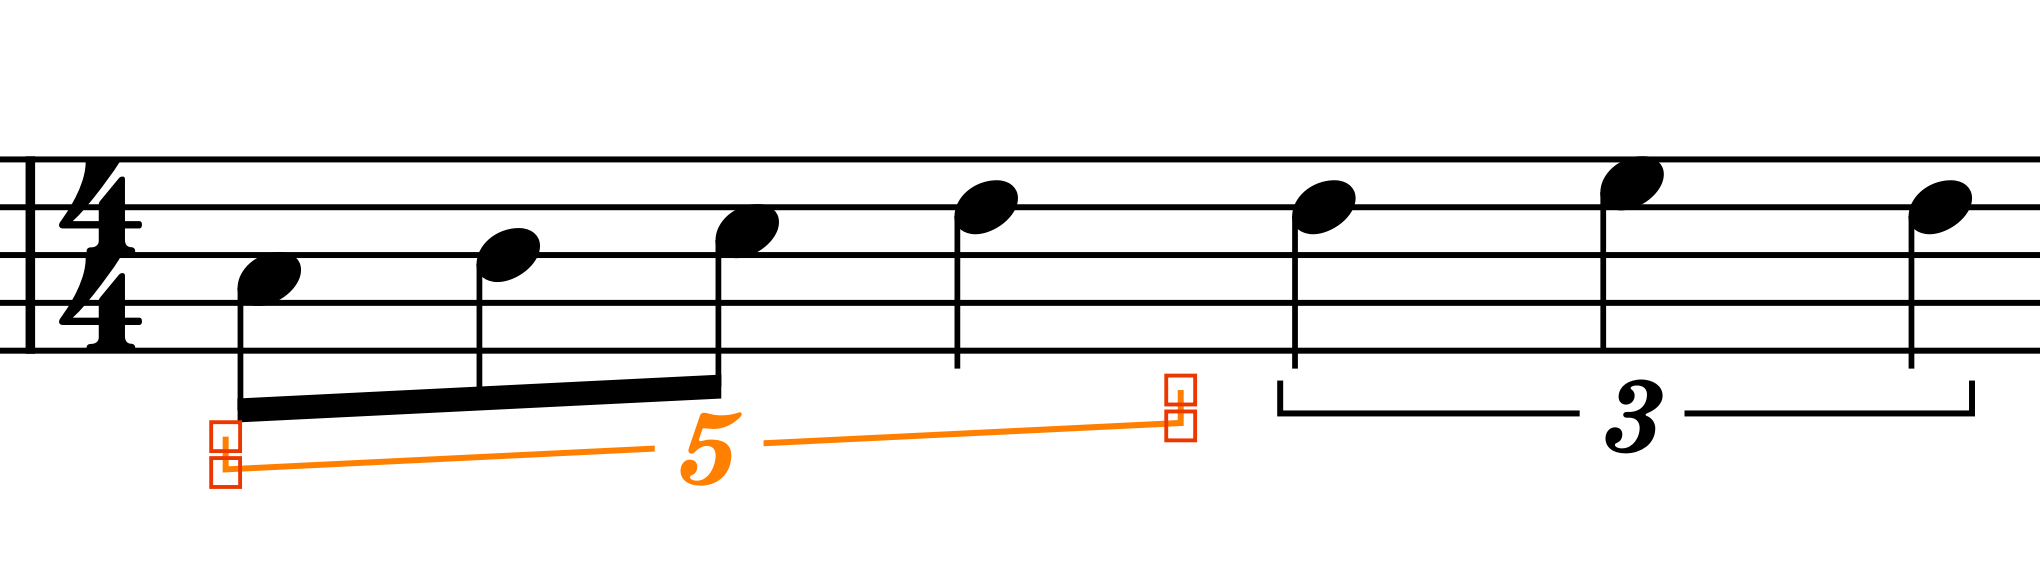
Be careful, though, because this example shows notes that have a primary and a secondary beam (one for the 8th and one for the 16th value). Should the two tuplets be double this value, so an 8th-note triplet and a couple of 8th-notes, they should normally not be beamed together (even if there are special rules for this as well).

Lastly, if you mix the two kind of beamed notes, you normally do not beam them, even if there are plenty of exceptions to make your everyday’s engraving experience exciting and unpredictable.

Bottom Line
And that’s it! Thank you for following this fourth episode in the series.
If you have any question or suggestion, please leave a comment below or contact me using the dedicated contact form. Assuming you do not already do so, please subscribe to my newsletter on Gumroad, to receive exclusive discounts and free products.
If you are looking to greatly enhance your Sibelius experience, please take a moment to consider my viewset for Metagrid that I have published back in February. Metagrid is an app for iPad that allows you to control your Mac or PC from your iPad. My viewset is optimised for Mac because that is what I use; it may work on PC, but I have had no way to test it so far.
I hope you found this article helpful, if you did, please like it and share it with your friends and peers. Don’t forget to follow me on this blog and to let me know what you think.
If you are interested in my music engraving services and publications don’t forget to visit my Facebook page and the pages where I publish my scores (Gumroad, SheetMusicPlus, ScoreExchange and on Apple Books).
You can also support me by buying Paul Hudson’s Swift programming books from this Affiliate Link.
Thank you so much for reading!
Until the next one, this is Michele, the Music Designer.
