
Reflections on Day 97
Yesterday was a really awful day. So many things happened in real-life that crying was the least thing one could do. Despair, rage, all together … it was so, so heavy. Then around 6pm I started facing the Consolidation Day and, if you followed me, you know I finished around 1am this morning. I do not know why I hated this project. Maybe because it was indeed simple but I didn’t feel comfortable at all.
We are doing so many different projects that I forget so many things in between. I still think this is a good path but that, with the time I can dedicate to this by now, I feel it too dispersive.
Once more, it is just a matter of time. Repeating things will help and, sooner or later, things will become automatic. Learning is absolutely the same in every subject, you can’t escape that.
Yesterday Adobe announced me that my subscription would renew next month for almost the double of the monthly price. By now I am not earning enough with those softwares to justify such an expense. I am sure I will possibly come back in the future but by now I need to master so many softwares that I already have that it seems pointless to pay for a subscription…
Now it’s time for Day 91 of the initiative, let’s see what Paul has in store for us!
Core Graphics Playground
Drawing Shapes
Rectangles
First create a rectangle that will determine the size of the rendered image, then declare a new UIGraphicsImageRenderer using the (bounds:) initialiser and passing in the just created rectangle. Third, create a constant equal to the result of the call of the image method on the renderer. This method will accept a closure as its last and only parameter so we can use trailing closure syntax, with a UIGraphicsImageRendererContext parameter.
Now we need to think as if we were painters: first we decide the color we will use to fill our shape, blue in this case, using the UIColor.blue.setFill() method call. Then we call the fill method on the Core Graphics Context of our ctx parameter (so that we can bridge the two frameworks together). Inside this method we use the CGRect initialiser, obtaining the first image in the playground.
Our first assignment consists in writing some code to draw a red box on top of the blue one, making it 200 x 200 and centred. The solution here is to set the fill color to red and then use the same code as before but with x: 400, y: 400, width: 200, height: 200). Here is the result:
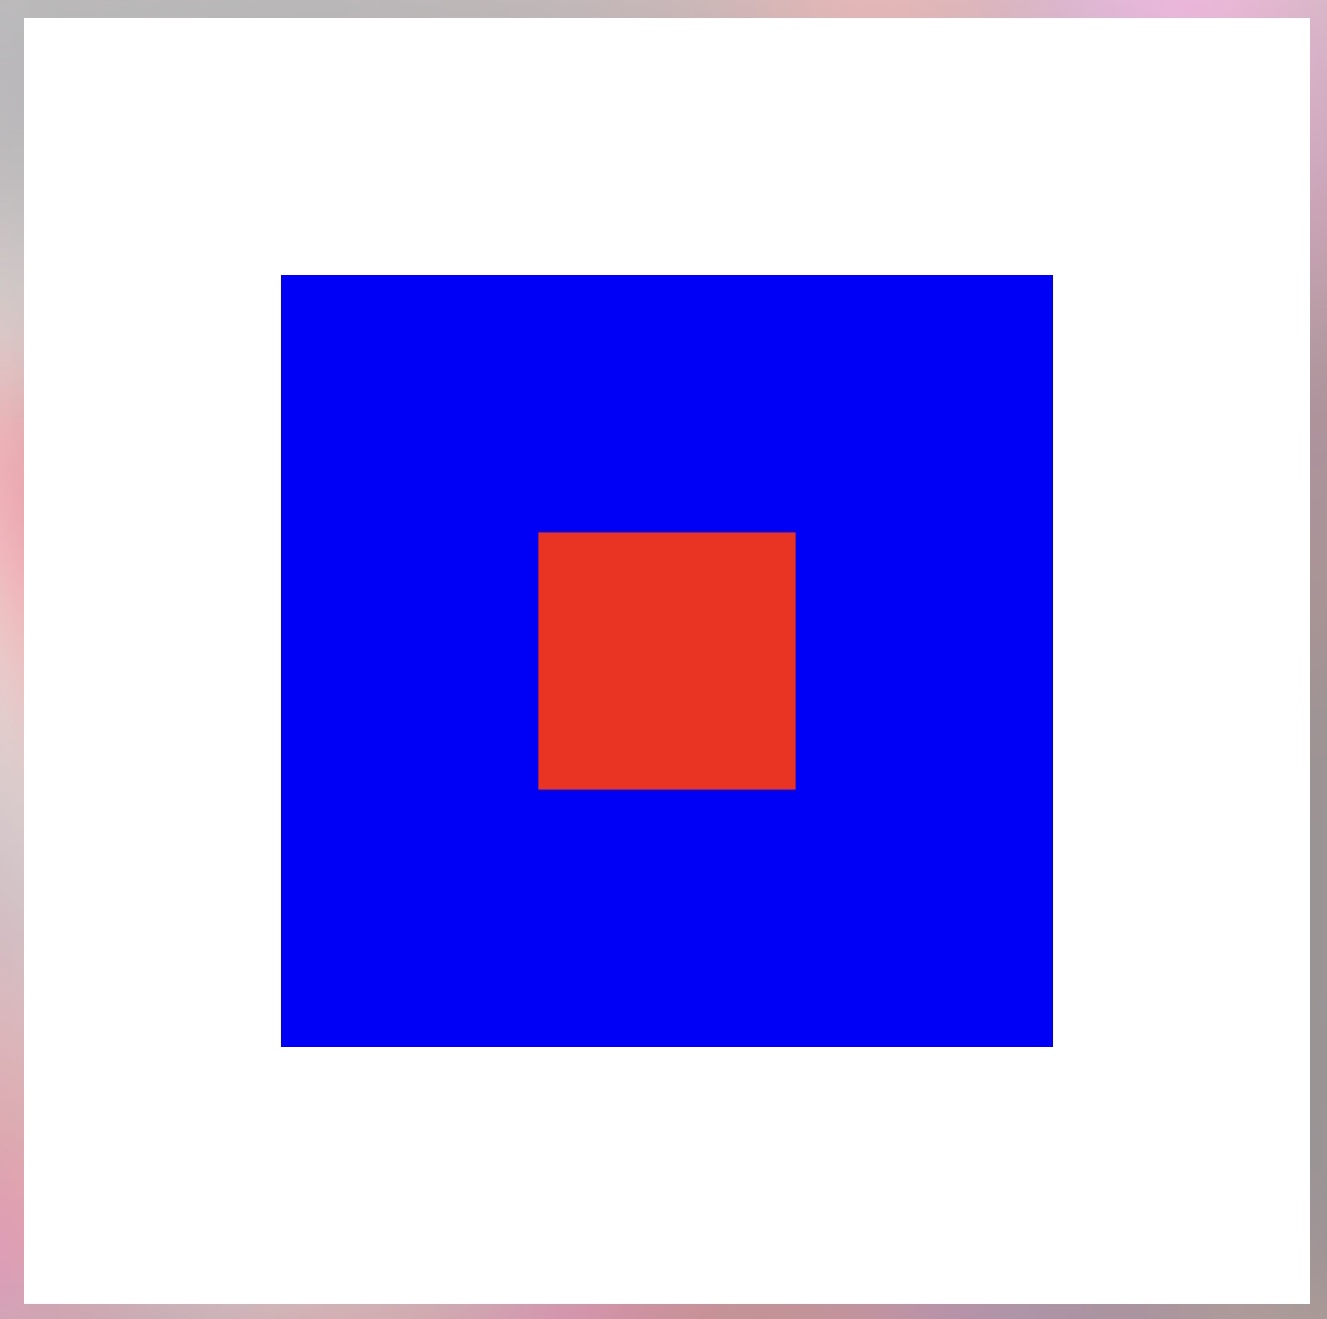
Strangely enough, this playground doesn’t let you know if you wrote the correct code nor it proposes you to go to the next page. Never mind, I will do this manually.
Stripes — Fixing the fade
This one was simply an extension of the previous exercise and we just needed to change the color for the setFill method and change the x value for the rectangle to be drawn. Here is the result:

Flags — One nation under Swift
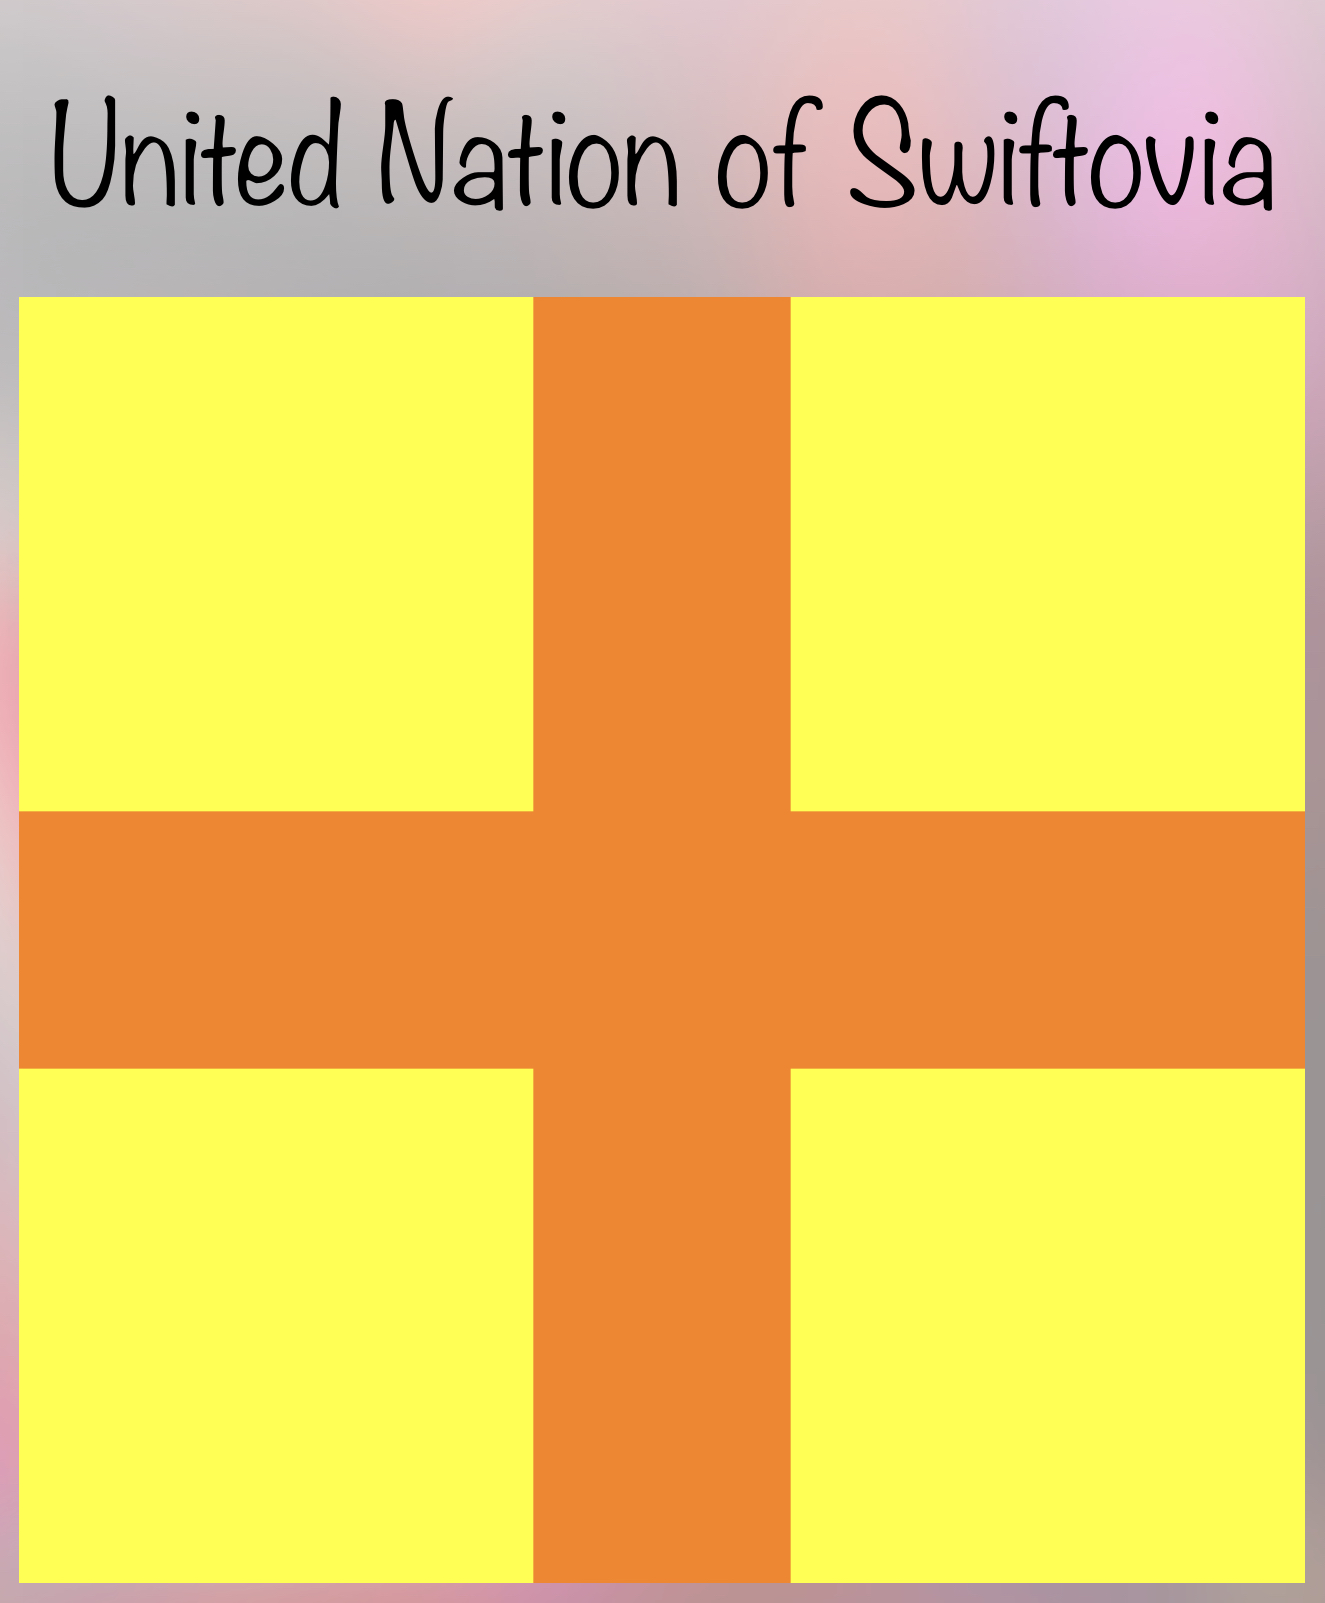
Also this one was an application of the previous principles but there was a nice trap laid down by our Lord Paul I the Great! The yellow background needed to be draw before the rest because drawing in Swift works from the bottom layer to the top one and whatever you draw after covers completely what is below. That’s it. Here is our Swiftovia’s flag!
Checkerboards — Rectangles in a loop
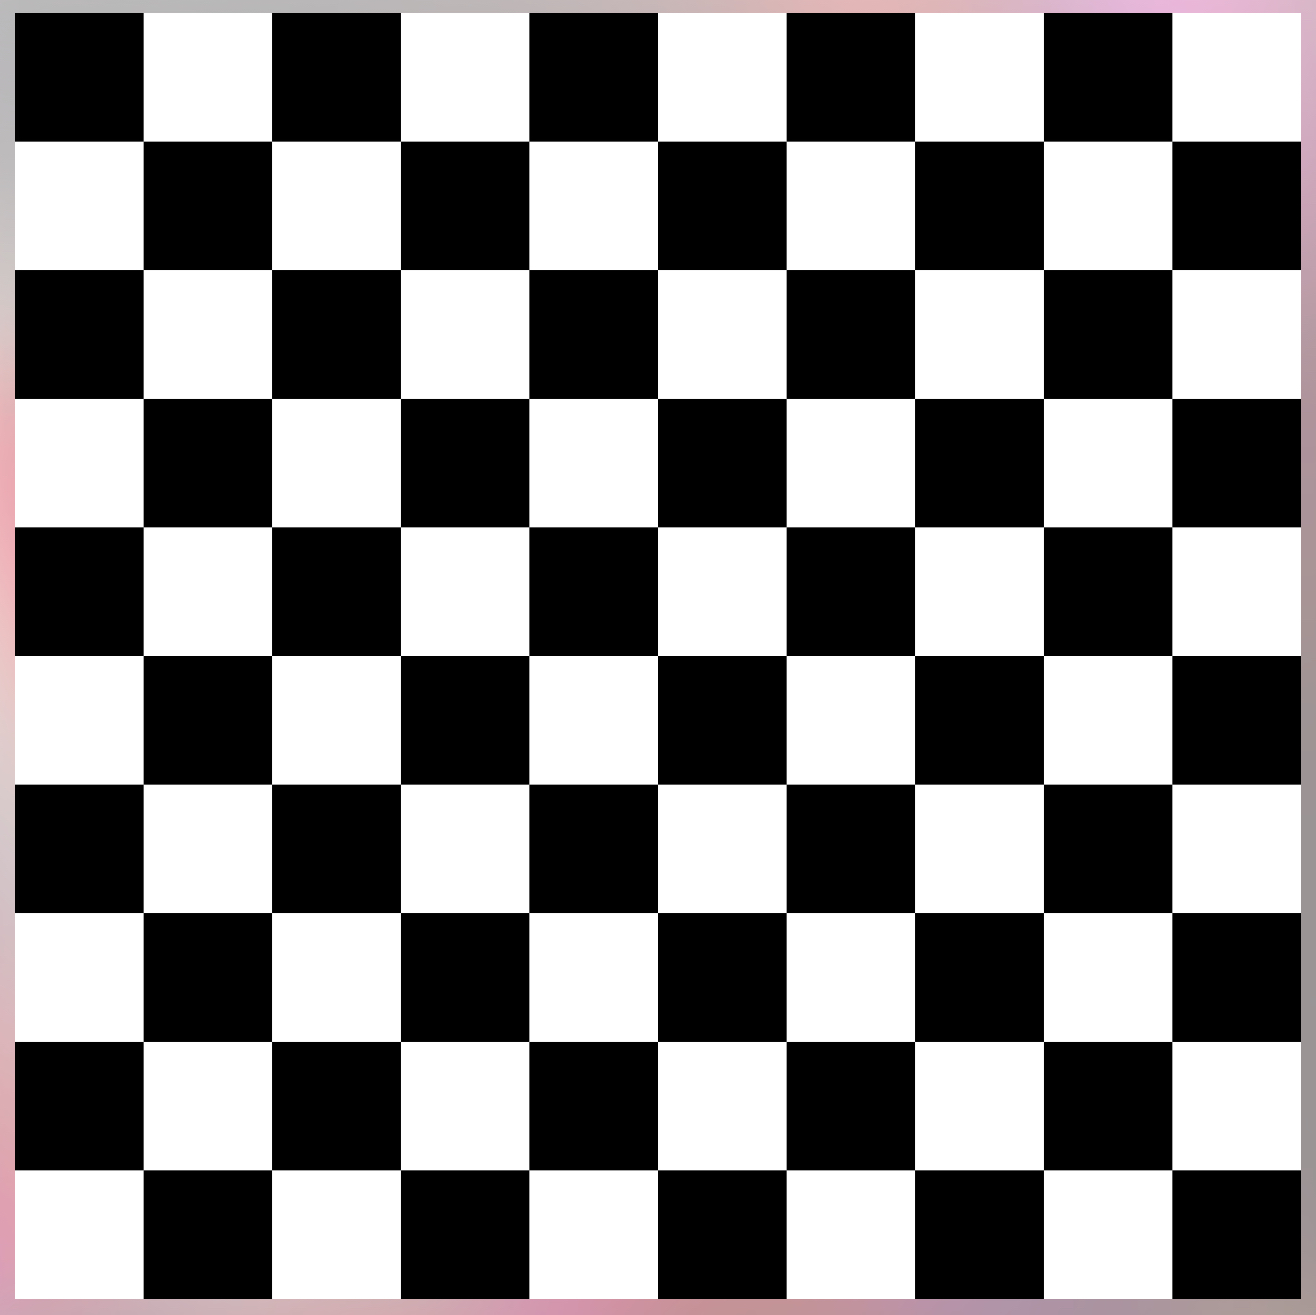
Here we are provided with a faulty code to correct. The provided one has too few rows and columns and the size of each square is too little. To solve it we need to increase the size to 100 and both upper bounds of the loops to 10. Here is the result:
Ellipses — Four circles
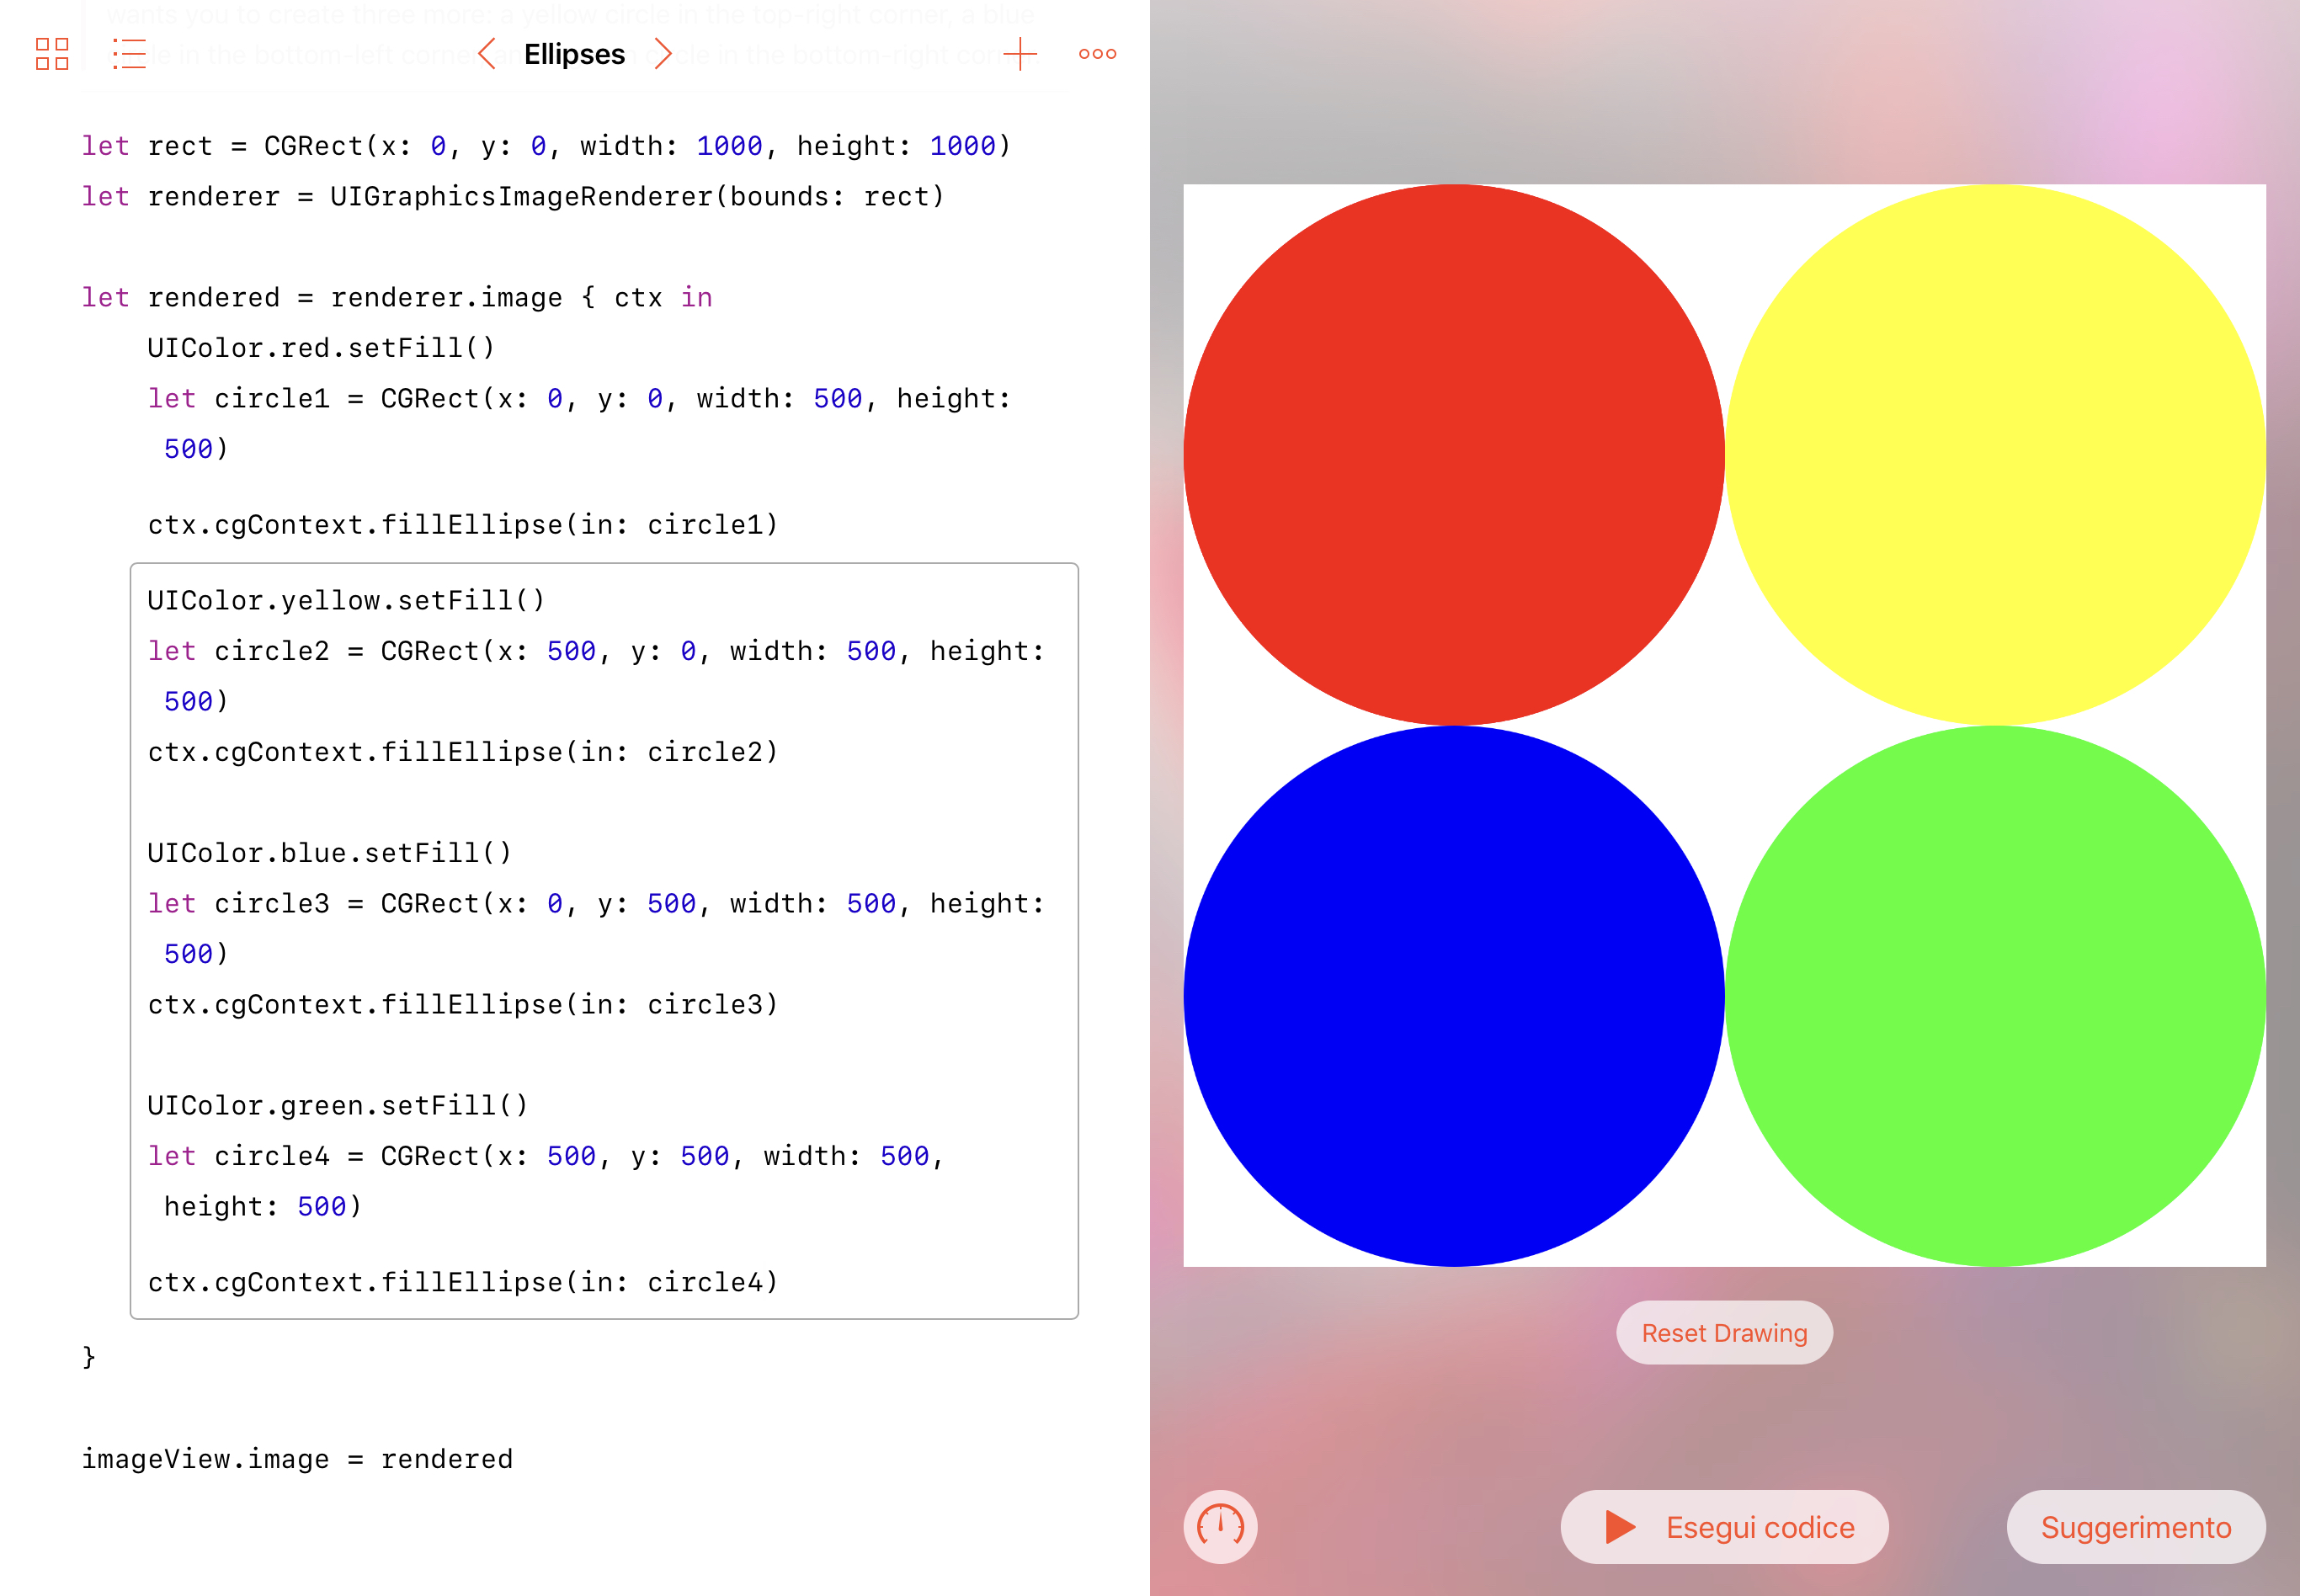
Like rectangles, ellipses are drawn by activating a colour then specifying a rectangle. We are given the usual 1000 x 1000 canvas and we are tasked with adding a yellow circle in the top-right corner, a blue one in the bottom-left corner and a green one in the bottom-right corner to the already existing red circle in the top-left corner. The code to create an ellipse is the same as the one for creating rectangles, just with an added extra line, which is ctx.cgContext.fillEllipse(in: CGRect)!
Here’s the code with the respective results:
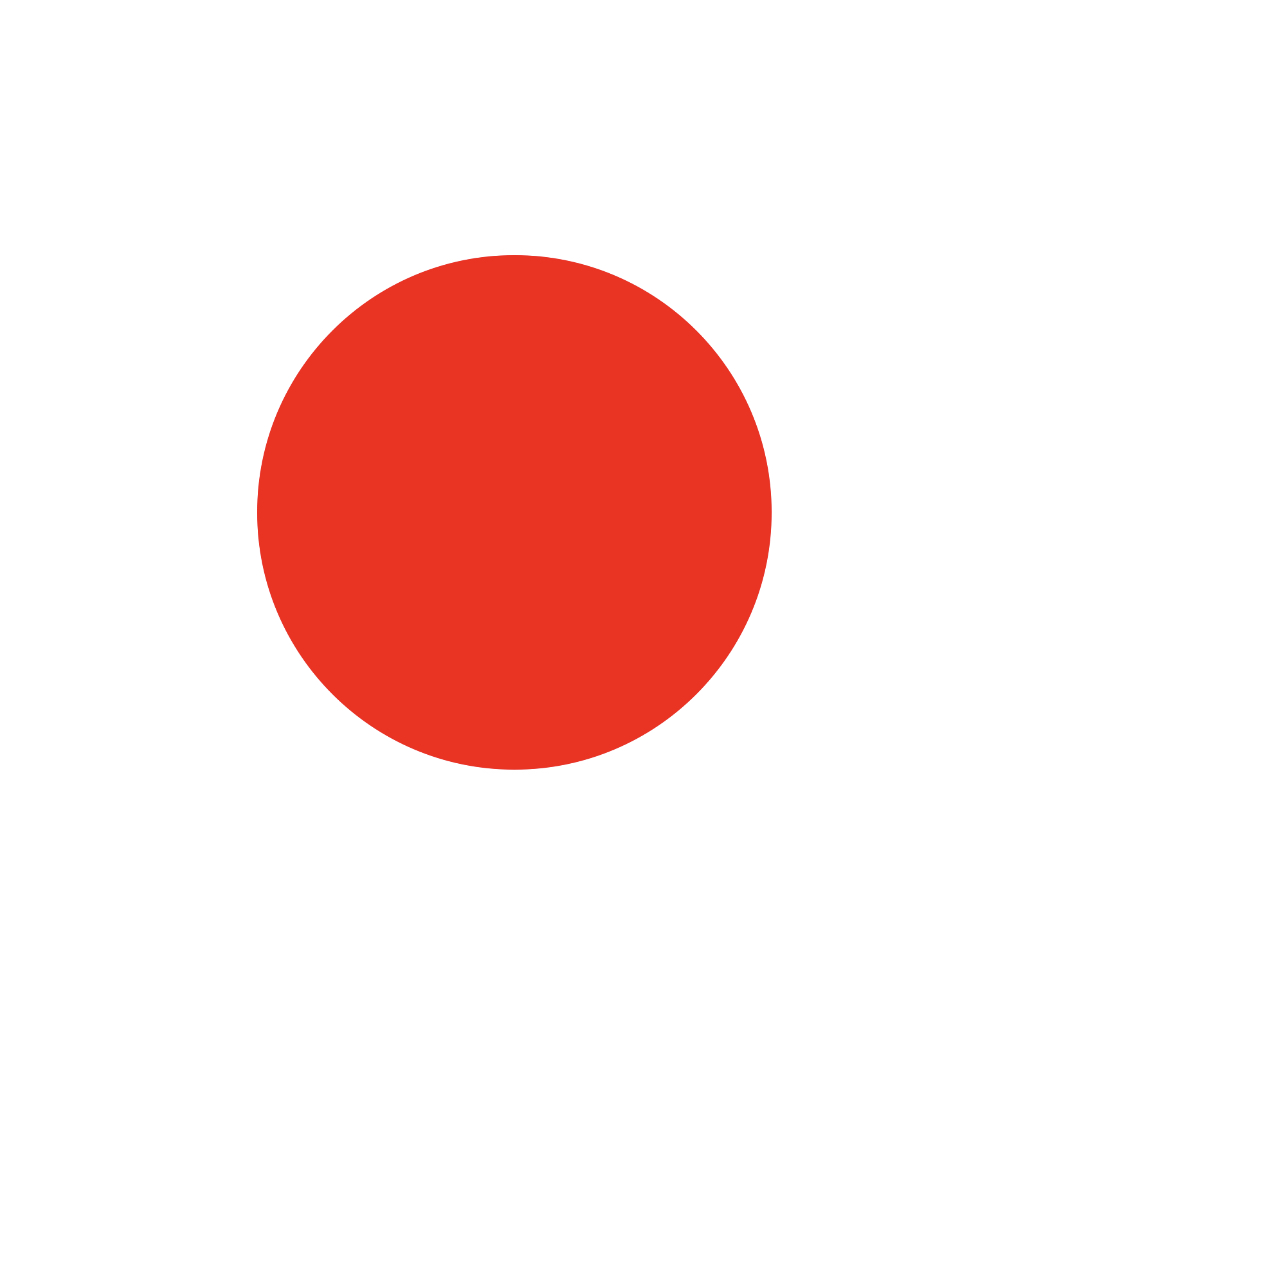
Flowers — The Poppyseed Bread Company
This is a step-up exercise from before and, once more, we need to correct the provided code. It was once more the festival of repetition but this makes me feel more sure that when I will need this I will know what to do. All what was needed was to have the x and the y of the rectangle oscillate between 100 and 400 while the central black circle would have been placed at 400, 400 with a 200 x 200 dimension.
Here is our mighty poppyseed logo:

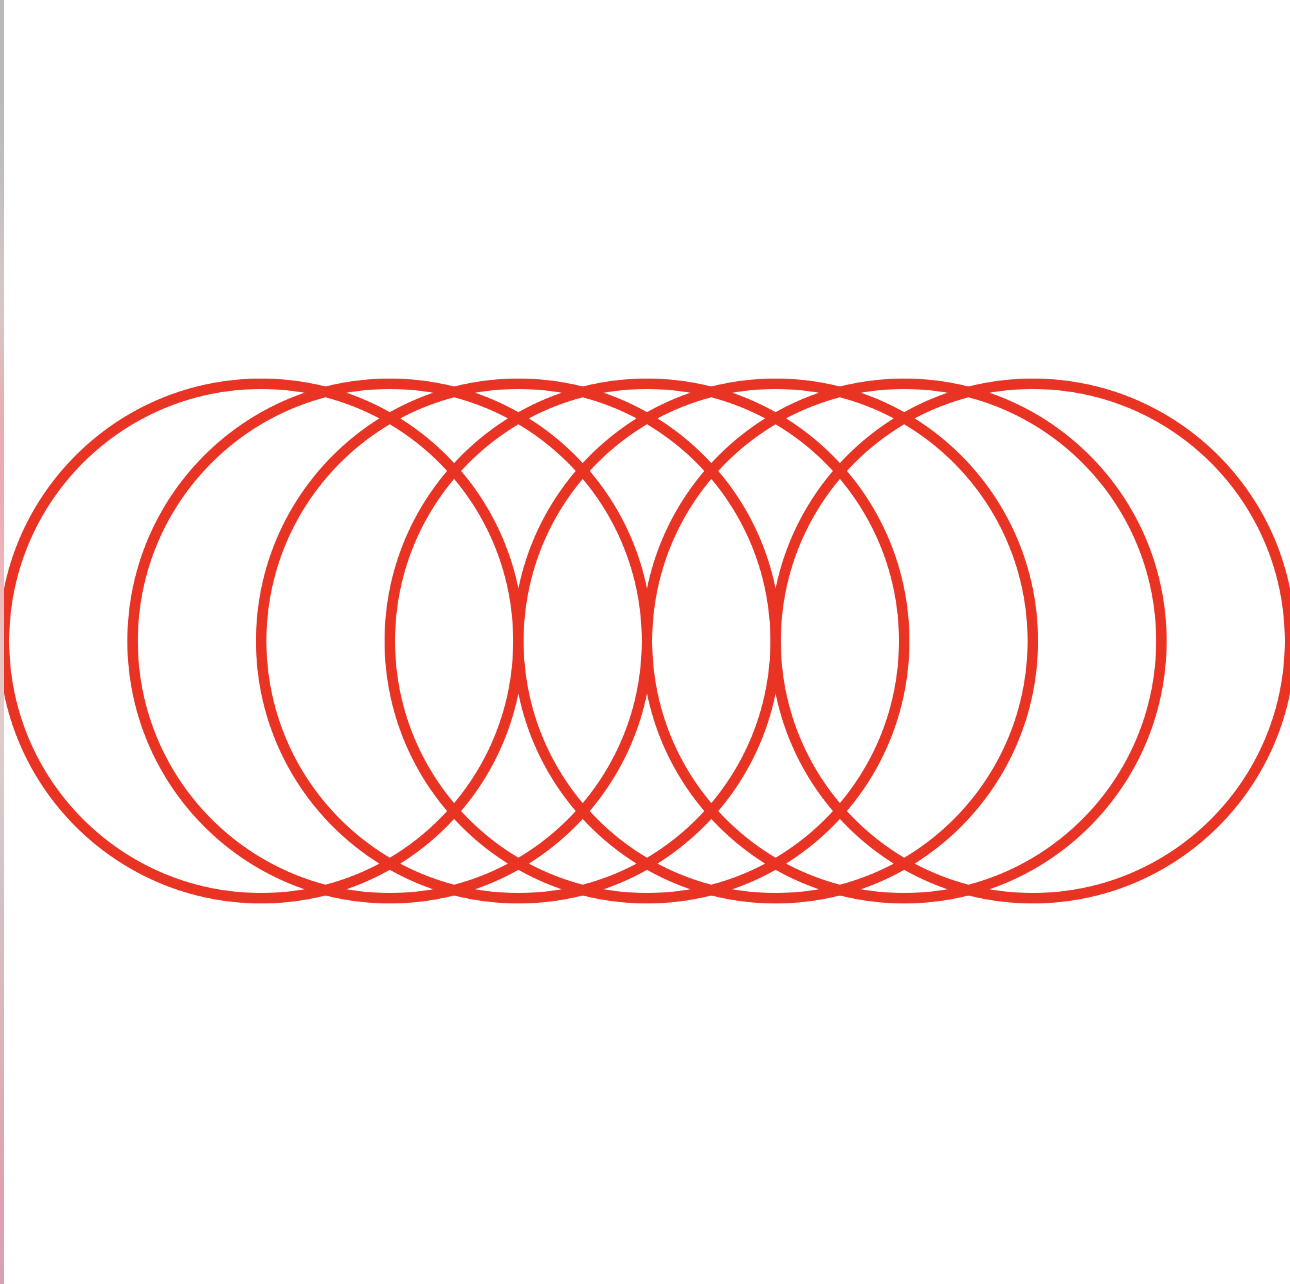
Strokes — Five red rings
Here we’re changing strategy. When we just want to draw a shape we can use fill() or fillEllipse() but when we want to specify both a shape and its outline stroke we need to use addRect() or addEllipse() to create a path for the drawPath() method to fill.
Again, as painters, we plunge our paintbrush for the fill in the red paint and our stroking brush for the outline in the black one. We choose a 40-point brush using ctx.cgContext.setLineWidth(40). Imagine you have all the brushes in the world and you just need to say a number to get them!
Once we have done that we need to create a bounding rectangle, place it, then add an ellipse inside it and then call the .drawPath(using: .fillStroke) on the context. My question now is … how do we move our context?! Let’s try and see if it is just much simpler!
Indeed it was. We need to set the line width to 10 only once, then declare the top circle rectangle at 400, 100 with a 200 x 200 size, add the ellipse in it and fill stroke. It seems the idea is that the stroke of the last drawn shape is filled. The other rectangles are at 100, 400, 400, 700 and 700, 400. Just don’t forget to call the correct one in the addEllipse method!
Here is our new logo:

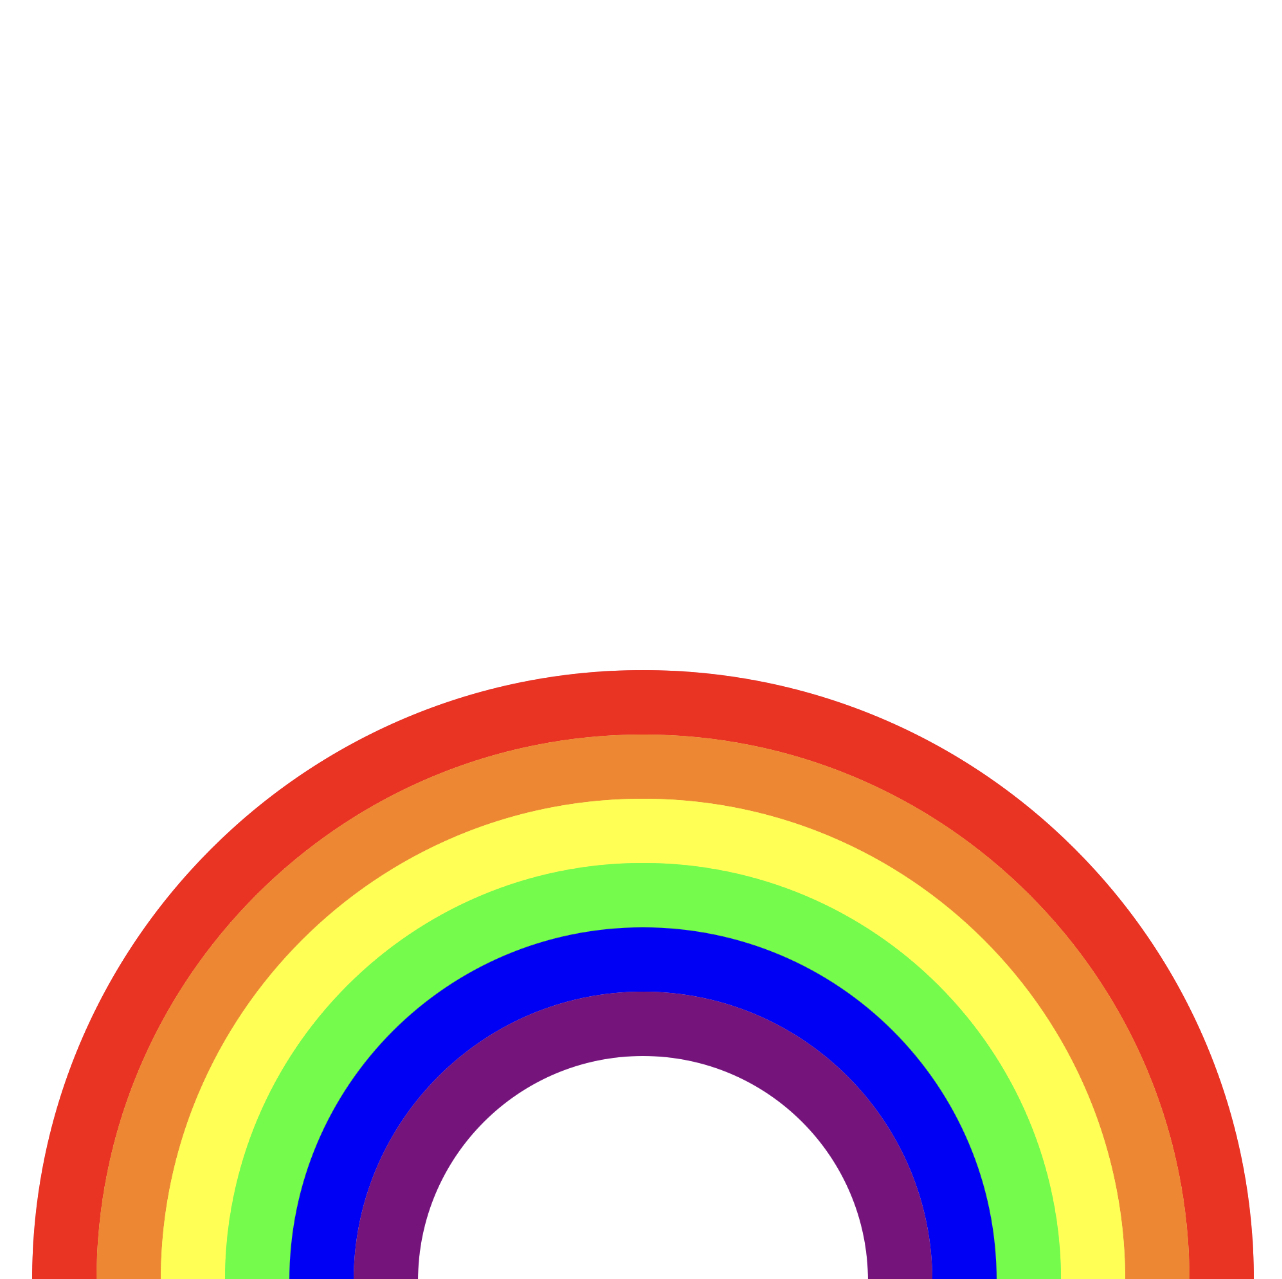
Rainbows — Taste the rainbow
This is again an application of what we learned until now, with a code to correct from the provided one.
From what I see the starting x-position is 0 but the first circle is clearly 25 points to the right, which doesn’t sound correct to me then. In the provided code we can only manipulate the loop.
Now that I think about it, I recall that the lines are drawn half on one side and half on the other one side of the circle. So, a line of width 50, like in our case, will be drawn 25 points to the left of x = 50 and 25 points to the right. This is what causes the 25 points gap to be there in the first place.
Talking about the code: we have an array of UIColors, containing 6 elements and 3 variables that look like integers but I feel they shouldn’t be, they should be CGFloats. Why there is no type annotation here? Maybe to keep the playground simple?
Whatever, for every element in the array we increase the xPos and yPos properties by 50 and we decrease the size property by 100. Then we create a rectangle with those components, call color.setStroke() to plunge our brush into the correct colour tin, and finally call strokeEllipse(in: rect). Here is our rainbow:
Emoji — O…M…G…
Yes… exactly… this is challenge 1 from two days ago… very clever, Mr. Fox! This is the final test in the Drawing shapes chapter.
This was of course a bit harder than the rest but nothing that we couldn’t face. For sake of brevity please find the code and the result below:

Advanced drawing
Text — Writing on the wall
This is a tiny bit different from how we managed NSAttributedStrings in Project 27. Here we use rect.offsetBy(dx:dy:), which confuses me as I do not see a real reason to do so. The drawing code is also simpler, not using draw(with:) but draw(in:). I guess in the end it comes down to practical reasons.
Here we have to draw a second sentence below the first one. We need to be careful here because Swift Playgrounds has not yet been updated to Swift version 5 and, therefore, the attributes dictionary will be of type [NSAttributedStringKey: Any] instead of [NSAttributedString.Key: Any]. A small change for sure, but a change nonetheless. Also, one thing that I find very irritating in these NSSomething types, is that auto-completion does not collaborate, one has to know by heart every single attribute. Anyway… I think it is enough if I paste here the code necessary to make the thing work:
let secondPosition = rect.offsetBy(dx: 0, dy: 400)
let secondText = "But the second mouse gets the cheese."
let secondAttrs: [NSAttributedStringKey: Any] = [
    .font: UIFont.systemFont(ofSize: 72),
    .foregroundColor: UIColor.red
]
let secondString = NSAttributedString(string: secondText, attributes: secondAttrs)
secondString.draw(in: secondPosition)
Lines — Lining it up
Here we need to draw the Scottish flag, using the move(to:) and addLine(to:) methods, in conjunction with the strokePath() one. We can also set the line’s width by calling setLineWidth() —before!.
This is the required code to add to achieve the desired result:
ctx.cgContext.setLineWidth(100)

ctx.cgContext.move(to: CGPoint(x: 0, y: 0))
ctx.cgContext.addLine(to: CGPoint(x: 1000, y: 1000))
ctx.cgContext.move(to: CGPoint(x: 0, y: 1000))
ctx.cgContext.addLine(to: CGPoint(x: 1000, y: 0))
The rest is provided, before or after these lines and here is our flag:

Images — Picture perfect
There is a nice lesson here to learn: the goal of this exercise is to create a frame effect on a picture so, we create a rectangle 1000 x 1000 as usuale, a renderer and then, before going on with the usual stuff, we declare and initialise an image with an image literal (quite curiously, Swift Playgrounds is unable to access my Camera Roll and only the albums are seen).
Once the picture is chosen go on with the renderer.image code, fill the context with dark grey color, then set the fill colour to black and create a new rectangle at x: 180, y: 180, width: 640, height: 640 and fill it with black. Then create a new rectangle for the picture but be careful, this is very important, the new rectangle is still drawn calculating from the first rectangle, so it will be x: 200, y: 200, width: 600, height: 600.
In the end, just call image.draw(in: imageRect) and the game is over! Look how nice is this cake from 2017’s New Year!

Translation — Getting a move on
This is more of a review after all what we have done before, but still: by default, Core Graphics considers x: 0, y: 0 to be the origin of the canvas, but using the translateBy() method we can move it and start drawing from there.
In this exercise we need to translate the context in order to have seven circles drawn and positioned correctly from left to right. The only part I found hard—mentally speaking—was to realise the needed amount of x-translation. Then I tried to do that physically: the first circle will go from x = 0 to x = 400, the last will have to go from x = 600 to x = 1000 so it is like saying for x in 0...6 which actually produces 7 values. Therefore the x translation amount needed was indeed 100. Here is the result:
Rotation — Spin class
This is a harder challenge, especially because I don’t want to look back at the code we have already written. Thanks to the tutorials I have followed I now know that rotation comes clockwise in Core Graphics (I say this because when I was studying trigonometry it was going counterclockwise but never mind!).
The solution here was to translate the context by 500, 500, then change the number of times the loop would run from 6 to 8, and adjust the rotation to be .pi / 4. Here’s how this looks:

Blending — Will it blend?
We are meeting .setBlendMode here, which is new. The first option we should check is the .xor option, which means the following: assuming two color sources A & B, if A has a colour and B doesn’t, use A’s one and viceversa, if both have it, draw nothing (that is erase what should be there and leave the background). This is the result for the .xor option:

I would still like to understand in which order things are calculated because if they would be made all together then we would have much more white space. It seems that the first ellipse is rendered, then, when the second is drawn, the common area is erased. Then, when the third one comes in, the common area is erased but in some of it now there is nothing so it gets drawn back. Finally, the fourth one should complete the thing.
I experimented with this by commenting out the 2nd, 3rd and 4th circle and then reimplementing them one by one. Here is the result, as expected:


This concludes my trip inside this great playground.
The last page, called Sandbox, is a summary of what we have done so far so there is no need to cover it here. I will for sure use it to go back and practice!
Please don’t forget to drop a hello and a thank you to Paul for all his great work (you can find him on Twitter) and be sure to visit the 100 Days Of Swift initiative page. We are learning so much thanks to him and he deserves to know of our gratitude.
He has written about 20 great books on Swift, all of which you can check about here.
The 100 Days of Swift initiative is based on the Hacking with Swift book, which you should definitely check out.
If you like what I’m doing here please consider liking this article and sharing it with some of your peers. If you are feeling like being really awesome, please consider making a small donation to support my studies and my writing (please appreciate that I am not using advertisement on my articles).
If you are interested in my music engraving and my publications don’t forget visit my Facebook page and the pages where I publish my scores (Gumroad, SheetMusicPlus, ScoreExchange and on Apple Books).
You can also support me by buying Paul Hudson’s books from this Affiliate Link.
Anyways, thank you so much for reading!
Till the next one!
