
A review of the improvements brought by Dorico 6.1 and 6.1.10
This is the second article in the series covering the improvements introduced by the fourth and fifth patch updates to the Dorico 6 cycle, 6.1 and 6.1.10, announced and released respectively on September 26 and October 9, 2025 (find the first article here — ). I will take care of updating existing articles in the broader Dorico 6 series to make sure nothing gets abandoned alongside our path.
PART 2 — Other improvements (Chapter 1)
Arpeggio signs
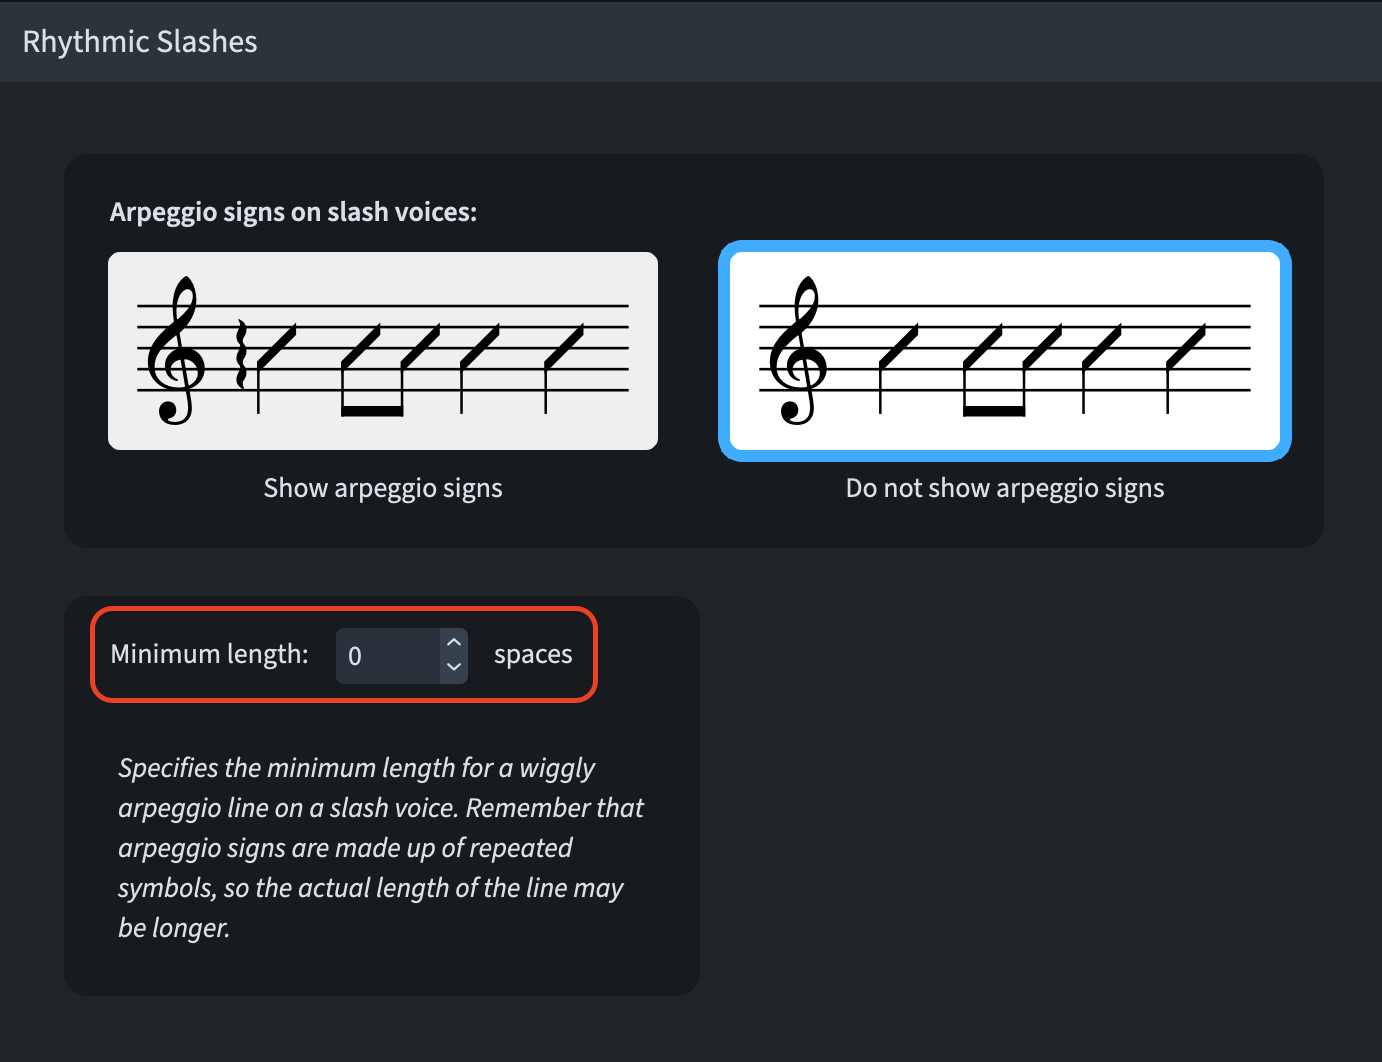
Minimum length for slash voices. The Arpeggio Signs page found under Library ▶ Engraving Options lets you control whether arpeggio signs are displayed on slash voices. A new Minimum length setting is now available within the Rhythmic Slashes section, letting you define the arpeggio sign’s minimum length, measured in spaces. New projects default to a value of 3 spaces, whereas existing projects are set to 0 by default, in order to keep their current appearance unchanged.
Articulations
Staccatissimo design
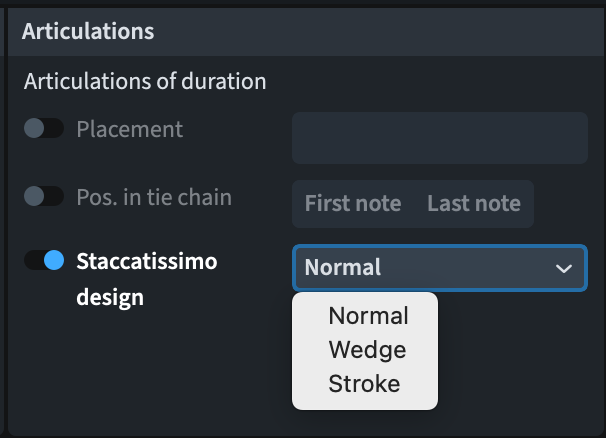
The Articulations group within the Properties panel now includes a new Staccatissimo design property, which lets you override how a staccatissimo articulation appears for an individual note or chord, with a choice among Normal, Wedge, and Stroke.
Staccatissimo positioning inside the staff
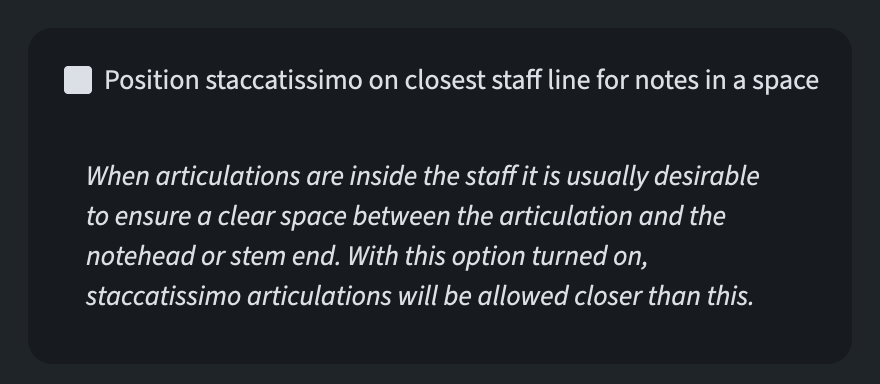
The Vertical Position section of the Articulations page in Engraving Options, under its Advanced Options subsection, now features a new setting called Position staccatissimo on closest staff line for notes in a space. Normally, when articulations fall within the staff, it’s preferable to maintain a clear gap between the articulation and the notehead or stem end. Enabling this option permits staccatissimo articulations to sit closer than that standard spacing would otherwise allow.
Audio engine
Detecting changes in available devices. Should an audio device be plugged in or unplugged while Dorico is running, the device list found in Edit ▶ Device Setup will automatically update to show what’s currently available, eliminating the need to restart the application in order to switch to a device that’s just been connected.
This is a massive improvement for when one is connecting bluetooth headphones and would like to switch Dorico’s output to those immediately.
Barlines
Repeat barlines
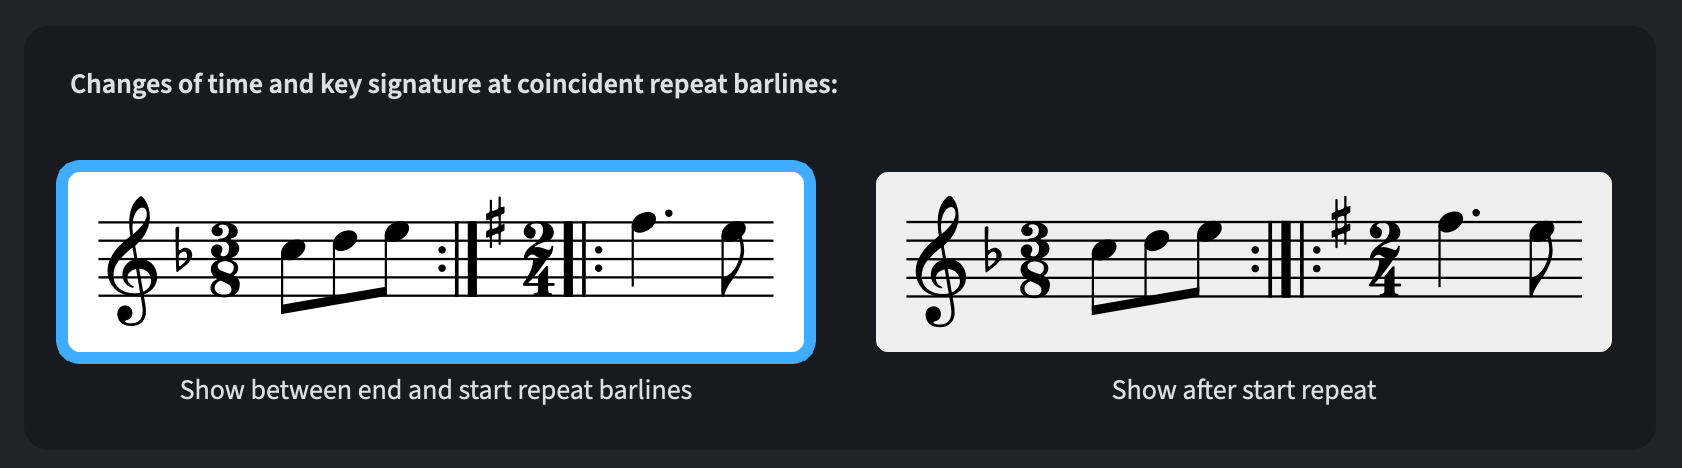
The Repeats section of the Barlines page within Engraving Options now offers a new setting, Changes of time and key signature at coincident repeat barlines. This lets you choose whether clef, key, and time signature changes should be placed between the end and start repeat barlines—which has always been Dorico’s default behaviour—or positioned instead to the right of the combined end-start repeat barline.
Double barlines at the start of single-staff systems
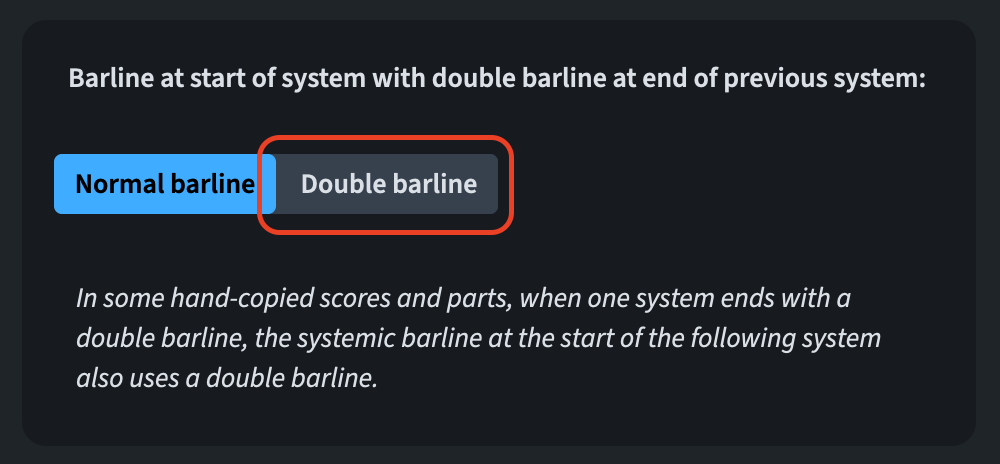
With Barline at start of system with double barline at end of previous system set to Double barline on the Barlines page of Notation Options, Dorico will now display a double barline at the beginning of a system whenever the preceding system concludes with an end repeat barline.
Bar numbers
Selecting bar numbers
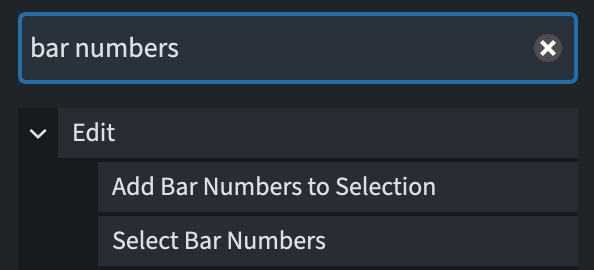
Two new commands have been introduced under the Edit category on the Key Commands page of Preferences, designed to simplify the selection of bar numbers. These commands can be assigned custom shortcuts, or alternatively triggered through the jump bar.
When bar numbers are displayed on every single bar, or at 5- or 10-bar intervals in particular, you may sometimes need to reposition them relative to items located mid-bar or at barlines. The trouble is that selecting bar numbers in Engrave mode to adjust their placement isn’t always straightforward, since elements such as slurs and ties often have control-handle click zones that overlap with the bar numbers themselves. To get around this, you can now make a selection covering the area where the desired bar numbers are located, then run Select Bar Numbers. Doing so wipes out the prior selection and instead selects every bar number contained within that original range.
Along the same lines, Add Bar Numbers to Selection works by simply incorporating any bar numbers found in the selected range into the current selection, without clearing what was already selected beforehand.
Chord diagrams
Choice of chord diagrams
Whenever Dorico selects a particular chord diagram fingering for a chord symbol, it pulls from its built-in library of chord shapes. Rather than relying on fixed shapes tied to specific chords, Dorico instead maintains a database covering all sensible fret-position combinations across the fretted strings, considering what’s physically achievable for the human hand. As a result, even if you have a particular shape in mind for a given chord, Dorico may not select that shape first—and in some cases, it might choose shapes you’d rather avoid entirely, for instance when working with student players who haven’t yet mastered trickier fingerings. While it has always been possible to create your own custom chord shapes via Library ▶ Chord Diagrams (and Dorico will favour these user-defined shapes whenever applicable), there hasn’t been a way to exclude specific default shapes so that Dorico never selects them.
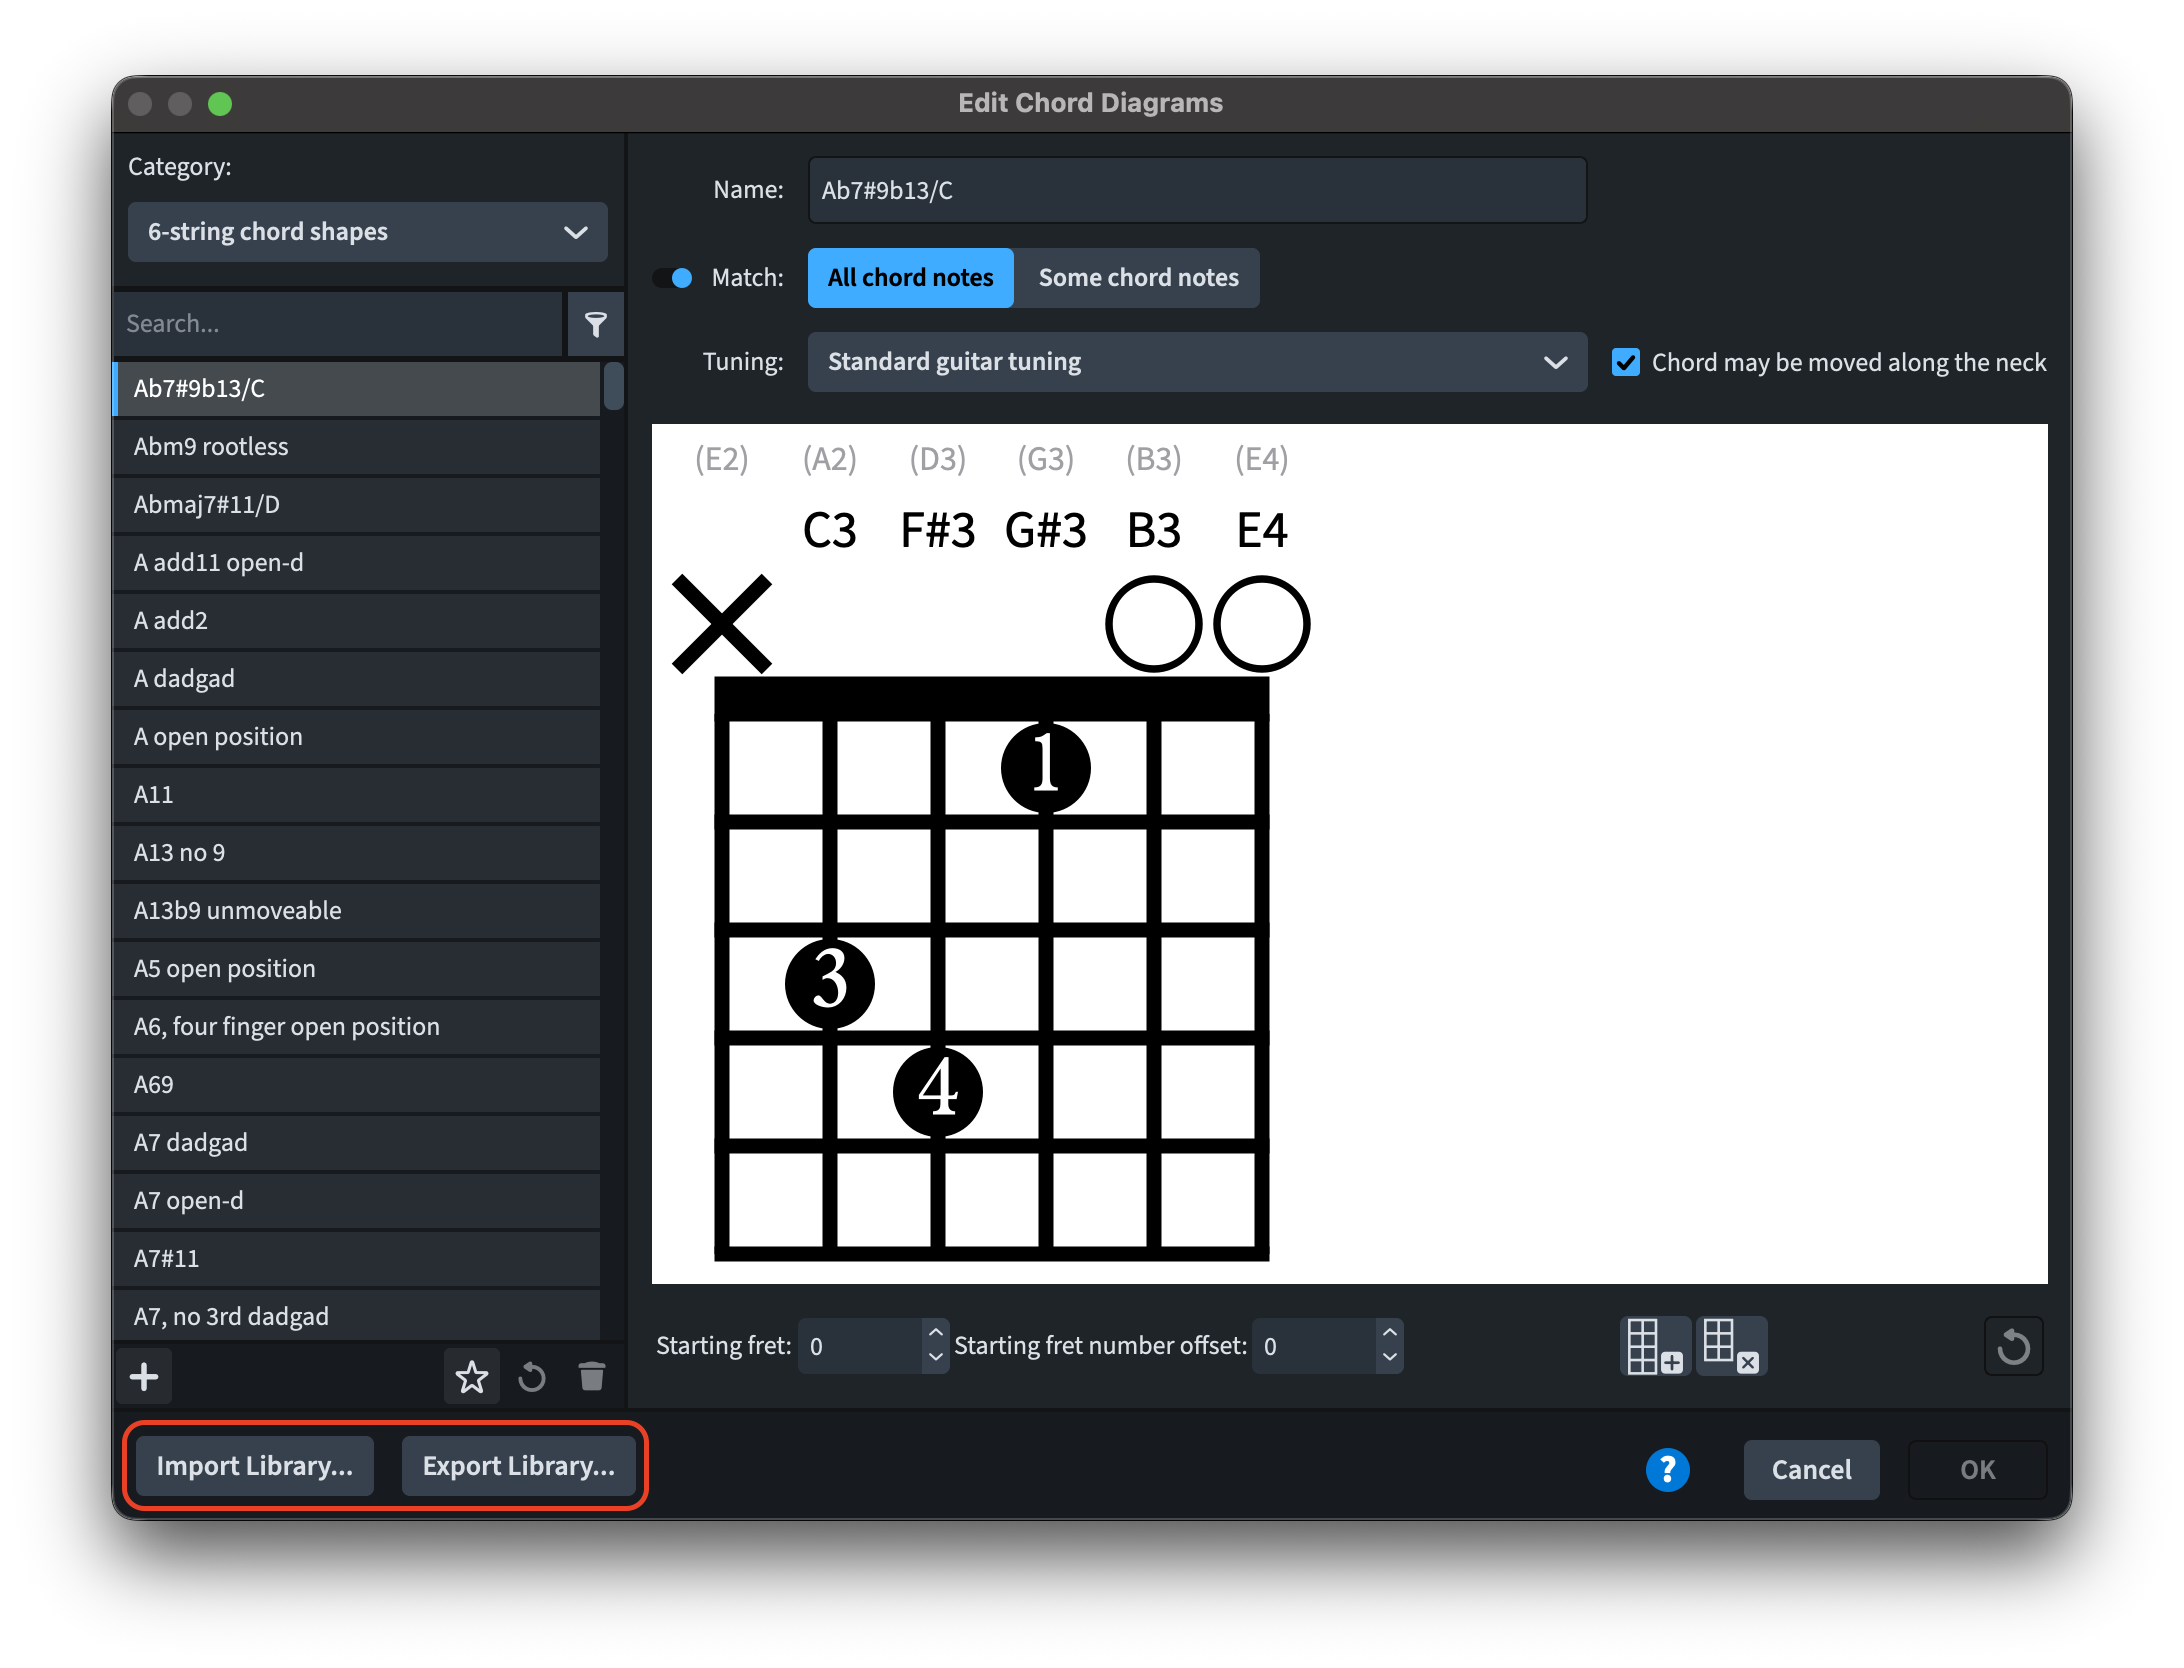
You can now control this on a per-shape basis from within Library ▶ Chord Diagrams: should you want to remove a particular shape from consideration entirely, just switch off the Match toggle. Once Match is deactivated for a given chord shape, that shape will no longer be offered up as a candidate diagram. Alternatively, you can fine-tune how Dorico applies a specific shape: when Match remains active, you’re given the choice between matching All chord notes or only Some chord notes.
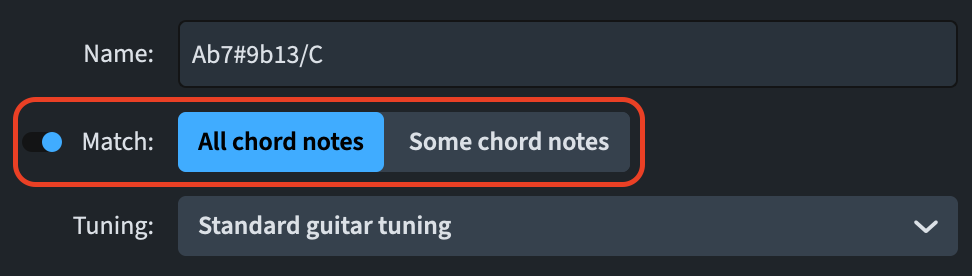
With All chord notes selected, Dorico will only pick that chord shape if the diagram accounts for every note in the requested chord, with no extra notes included. The settings found on the Chord Diagrams page of Library ▶ Note Input Options still come into play here—for instance, they may permit the root to be left out, allow notes apart from the lowest one to be omitted, or permit certain notes to be skipped in extended chords. With Some chord notes selected instead, Dorico is permitted to choose the chord diagram, even when it represents only part of the notes found in the requested chord. This is the default behaviour applied to user-defined chord shapes.
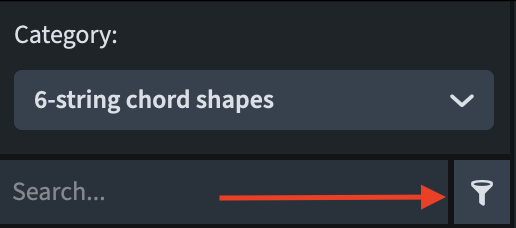
Lastly, a new filter button has been added alongside the list of chord diagrams on the dialog’s left-hand side. Turning this filter on will remove from the list any chord shape for which Match has been switched off.
Library management
You can now export the chord shapes belonging to your project, making it possible to bring them into other projects or to build separate chord diagram libraries tailored to different purposes.
From Library ▶ Chord Diagrams, clicking Export Library produces a library file that bundles together every chord diagram used in the project, all diagrams stored as defaults, plus any modifications made to factory chord diagrams (such as whether Match has been turned on or off).
To bring a chord shape library into a different project, open that project, navigate to Library ▶ Chord Diagrams, and click Import Library to select the library file you wish to bring in.
Root notes on instruments with fewer than five strings
With fretted instruments that have fewer than five strings, locating chords where the root sits on the lowest string can sometimes be impossible—particularly when you’d rather keep chord shapes clustered near a specific fret position rather than shifting extensively up and down the neck. While this constraint becomes easier to meet as the number of strings increases, on instruments like the ukulele it can leave certain chord symbols unable to produce a valid chord diagram at all.
To resolve this, a new setting—For instruments with fewer than five strings, if root is included in chord—has been added to the Chord Diagrams page under Library ▶ Note Input Options.
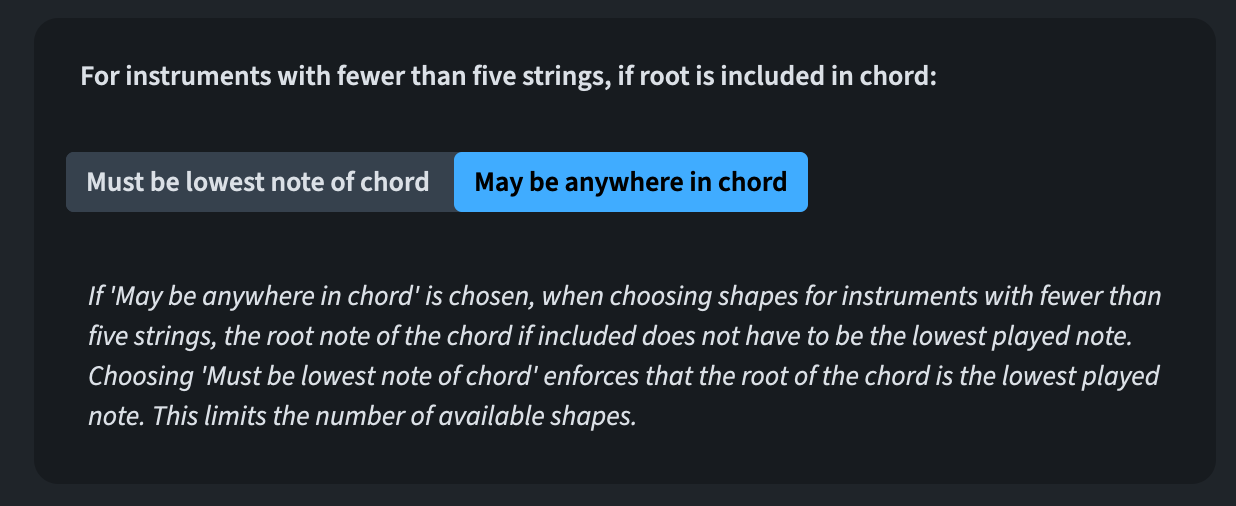
In new projects, this is configured to May be anywhere in chord by default, loosening the restriction and making it easier for Dorico to locate a suitable chord shape.
Bottom Line
That’s it for today! Come back next time for the continuation of this glorious series, covering all novelties introduced in Dorico 6.1.
If you enjoyed this post, please leave a like, subscribe to get notified of upcoming articles, and don’t forget to do the same for Anthony’s video and for the Dorico YouTube channel.
Should you be interested in my other activities, please visit my website and consider joining my mailing list, where you will be able to follow my journey through music notation and independent music publishing.
Thank you for your time, and see you here in the next episode.
 Music Preparation Services
2 thoughts on “… but it is true!”