
New day, new journey! Today is the turn of a technique project! I was in a big hurry yesterday and today is not looking any better. It is 2.35pm as I’m starting to write this entry in the diary-blog and I feel as if everything is tremendously late!
Reflections on Day 91
Yesterday’s project was fun but in the end when it comes to SpriteKit I need a lot more of inspiration (or copying?!, if you want to call that so) before reaching the goal. I do not feel sure at all about that code even if, when I look at it, I kind of remember what needs to be done. I agree with Paul that we do not need to memorise every line of code but I wish that my brain just clicked faster.
All this learning is making me a much more thoughtful and relaxed teacher when I do my everyday’s music teaching job as I am seeing the same struggle my students are facing from another perspective: mine! The only thing that I still tend to scold them about is when they just do not practice because they are lazy! That is not part of the ruleset! You commit to something, you practice, you study and I, your teacher, have the task of making your learning experience smooth and enjoyable, telling you exactly what you have to do so that I am effectively cutting your road!
The idea behind having a teacher is that if he took 10 hours to figure out something you will have to take only 5 hours, or even less, to achieve the same goal. There will still be struggle, as there is no learning without struggle, but at least there will be for sure less frustration.
I would really like to have a coding mentor and I am seriously starting to look for one that will help me after these 100 Days. I already have many things in mind about what I would like to do and in which order, but maybe a teacher could help me more.
Anyway, enough talk, let’s move straight to the next project!
Hacking with Swift – Learning Project 27
Setting up
Create a new Xcode project based on the Single view app template, call it “Core Graphics” and set the device to be iPad only all the while unchecking also the portrait and upside down orientations. Once done, add the “mouse@2x.png” image from the resource folder to the asset catalog.
Creating the sandbox
In Main.storyboard drag and place an image view so that it fills the entire space available and a button so that it is horizontally centred and aligned with the bottom of the safe area. Using Interface Builder’s help, reset to suggested constraints (Editor > Resolve auto-layout issues > Reset to suggested constraints). Change the title of the button to “Redraw” then switch to the Assistant Editor. Create an outlet for the image called imageView and an action for the button called redrawTapped.
Add a property to the class called currentDrawType and set it to 0. Below the empty action method create another empty method called drawRectangle and call it in viewDidLoad so that when the app launches it actually does something. Inside redrawTapped increase the value of the currentDrawTypeproperty by 1, set it back to 0 if it is greater than 5 and switch on its value so that, for case 0, it will call drawRectangle and by default, it will break out of code execution.
Drawing into a Core Graphics context with UIGraphicsImageRenderer
Inside drawRectangle create an instance of the UIGraphicsImageRenderer class with a size of CGSize(width: 512, height: 512), bearing in mind these are points, not pixels!
The UIGraphicsImageRenderer class is a graphics renderer for creating Core Graphics-backed images, in short a bridge between UIKit and Core Graphics. It can be used to accomplish drawing tasks, without having to handle configuration operations such as color depth and image scale, or manage Core Graphics contexts (which are the canvas where the drawing happens).
After this, create a UIImage constant that calls the image() method on the renderer. This method accepts a closure which wants a ctx parameter of type UIGraphicsImageRendererContext (which, as said, is the drawing environment associated with the renderer) in order to provide a set of drawing instructions as the block argument, before returning the resulting UIImage object.
Inside the closure, initialise a CGRect struct placed at x: 0, y: 0 and of the same size of the renderer itself. As Core Graphics sits at a lower level than UIKit, it needs some joining steps to work properly. After the rectangle creation call the setFillColor method of the cgContext property of the ctx parameter and pass it the initialiser UIColor.red.cgColor. All this is necessary even if the result is quite: ctx.color = .red (even if one cannot write it that way!). The reason for the last cgColor property is due to the fact that setFillColor wants a CGColor parameter. Then, in a similar way, set the stroke color to be black and the line width to be 10. Bear in mind that the line used to draw the rectangle is centred so it will draw 5 points on one side and 5 points on the other. Finally add the rectangle to the context and draw the path using the .fillStroke CGPathDrawingMode.
A few clarifying steps: the .drawPath(using mode: CGPathDrawingMode) method draws the current path (the just created rectangle) using the provided drawing mode, while the drawing mode is an enumeration with Int32 raw values with five cases: .fill, .eoFill, .stroke, .fillStroke, .eoFillStroke.
The .fill and .fillStroke cases draw the area or fill and stroke it using the non-zero winding number rule. In mathematics, the winding number of a closed curve in the plane around a given point is an integer representing the total number of times that curve travels counterclockwise around the point. The winding number depends on the orientation of the curve, and is negative if the curve travels around the point clockwise.
In two-dimensional computer graphics, the non-zero winding rule is a means of determining whether a given point falls within an enclosed curve. For a given curve C and a given point P: construct a ray (a straight line) heading out from P in any direction towards infinity. Find all the intersections of C with this ray. Score up the winding number as follows: for every clockwise intersection (the curve passing through the ray from left to right, as viewed from P) subtract 1; for every counter-clockwise intersection (curve passing from right to left, as viewed from P) add 1. If the total winding number is zero, P is outside C; otherwise, it is inside. The winding number is effectively a count of how many full counter-clockwise revolutions (‘windings’) the curve makes around P without doubling back on itself (credits).
The .eoFill and .eoFillStroke cases, instead, draw the area or fill and stroke it using the even-odd rule. This rule determines the “insideness” of a point on the canvas by drawing a ray from that point to infinity in any direction and counting the number of path segments from the given shape that the ray crosses. If this number is odd, the point is inside; if even, the point is outside (credits).
After all this set the image property of the imageView outlet to be the returned image.

Ellipses and checkerboards
Next, add two new cases to the switch block, case 1: drawCircle() and case2: drawCheckerboard().
The method to draw a circle is practically the same as the one used to draw a rectangle except for the need for insets of 5 points to avoid looking as if it would be drawn partially outside of the area and using the .addEllipse(in: rectangle) call instead of the previous .addRect method.

The method to draw the checkerboard will instead be different. Start always from the same renderer and from the same call to the image() method with the ctx parameter. Inside set the fill colour o black and then, with a nested loop (for row in 0..< 8 { for col in 0 ..< 8 {) if the sum between the index of the row and the index of the column is an even number, fill the context with a CGRect with x equal to the column index times 64, y equal to the row index times 64 and with width and height equal to 64.

Transforms and lines
Add two extra cases to the switch block, case 3: drawRotatedSquares() and case 4: drawLines().
For the method to draw the rotated squares translate the context of the drawing by 256 points x and y. This is because Core Graphics rotates from the top left corner of the context and not around the center as UIKit affine transforms. Moving it halfway with the translateBy method effectively changes the origin of the user coordinate system in the context.
Set the amount of rotations desired to 16 in a constant and the amount of the rotation to be the Double version of pi (3.1415……) radians (i.e.: 180 degrees) divided by the amount of rotations we want to make (also in their Double version). The only doubt remaining here would be why one is not using the full circle rotation divided by 16. The simple answer is that half of the squares would overlap, effectively creating half the amount of elements visible on screen. Once this is set, create a loop from 0 up to and excluding the rotations, make the context rotate by the amount determined before and then add a rect with an origin of x: -128, y: -128 (that is, half-way up from the center of the context) and a size of 256 by 256. Last but not least, set the stroke colour to black and call the strokePath() method. There is no need to set the line width because the default is 1 and that is exactly what is needed.

For the drawLines method, the center of the coordinate system needs to be moved once more to the center of the canvas, then a Boolean needs to be set to true to manage a different behaviour if the drawn line is the first one. Set a length variable to the CGFloat value of 256 then loop from 0 up to and excluding 256, rotating the context by 90° (.pi / 2), then checking if first is true. In this case the context should be moved to a point equal to x: length, y: 50 and the Boolean be set to false. From there, using the addLine method, draw a line up to the point of those same coordinates, bearing in mind that, with each rotations, the x and y will both have changed. The move(to point: CGPoint) method begins a new subpath at the specified point and, in the second iteration of the loop, once the first variable is false, the addLine method draws a line from the beginning of the new subpath to the new destination point and moves on from there. Outside of the loop, multiply the length property by 0.99 so that it becomes progressively shorter with every iteration of the loop. Finally, set the stroke color and call the strokePath method.
Obviously, all these methods have the setting of the image property of the imageView outlet to the result of the rendering, just to be overly clear!

Images and text
Add one last case to the switch block called case 5: drawImagesAndText().
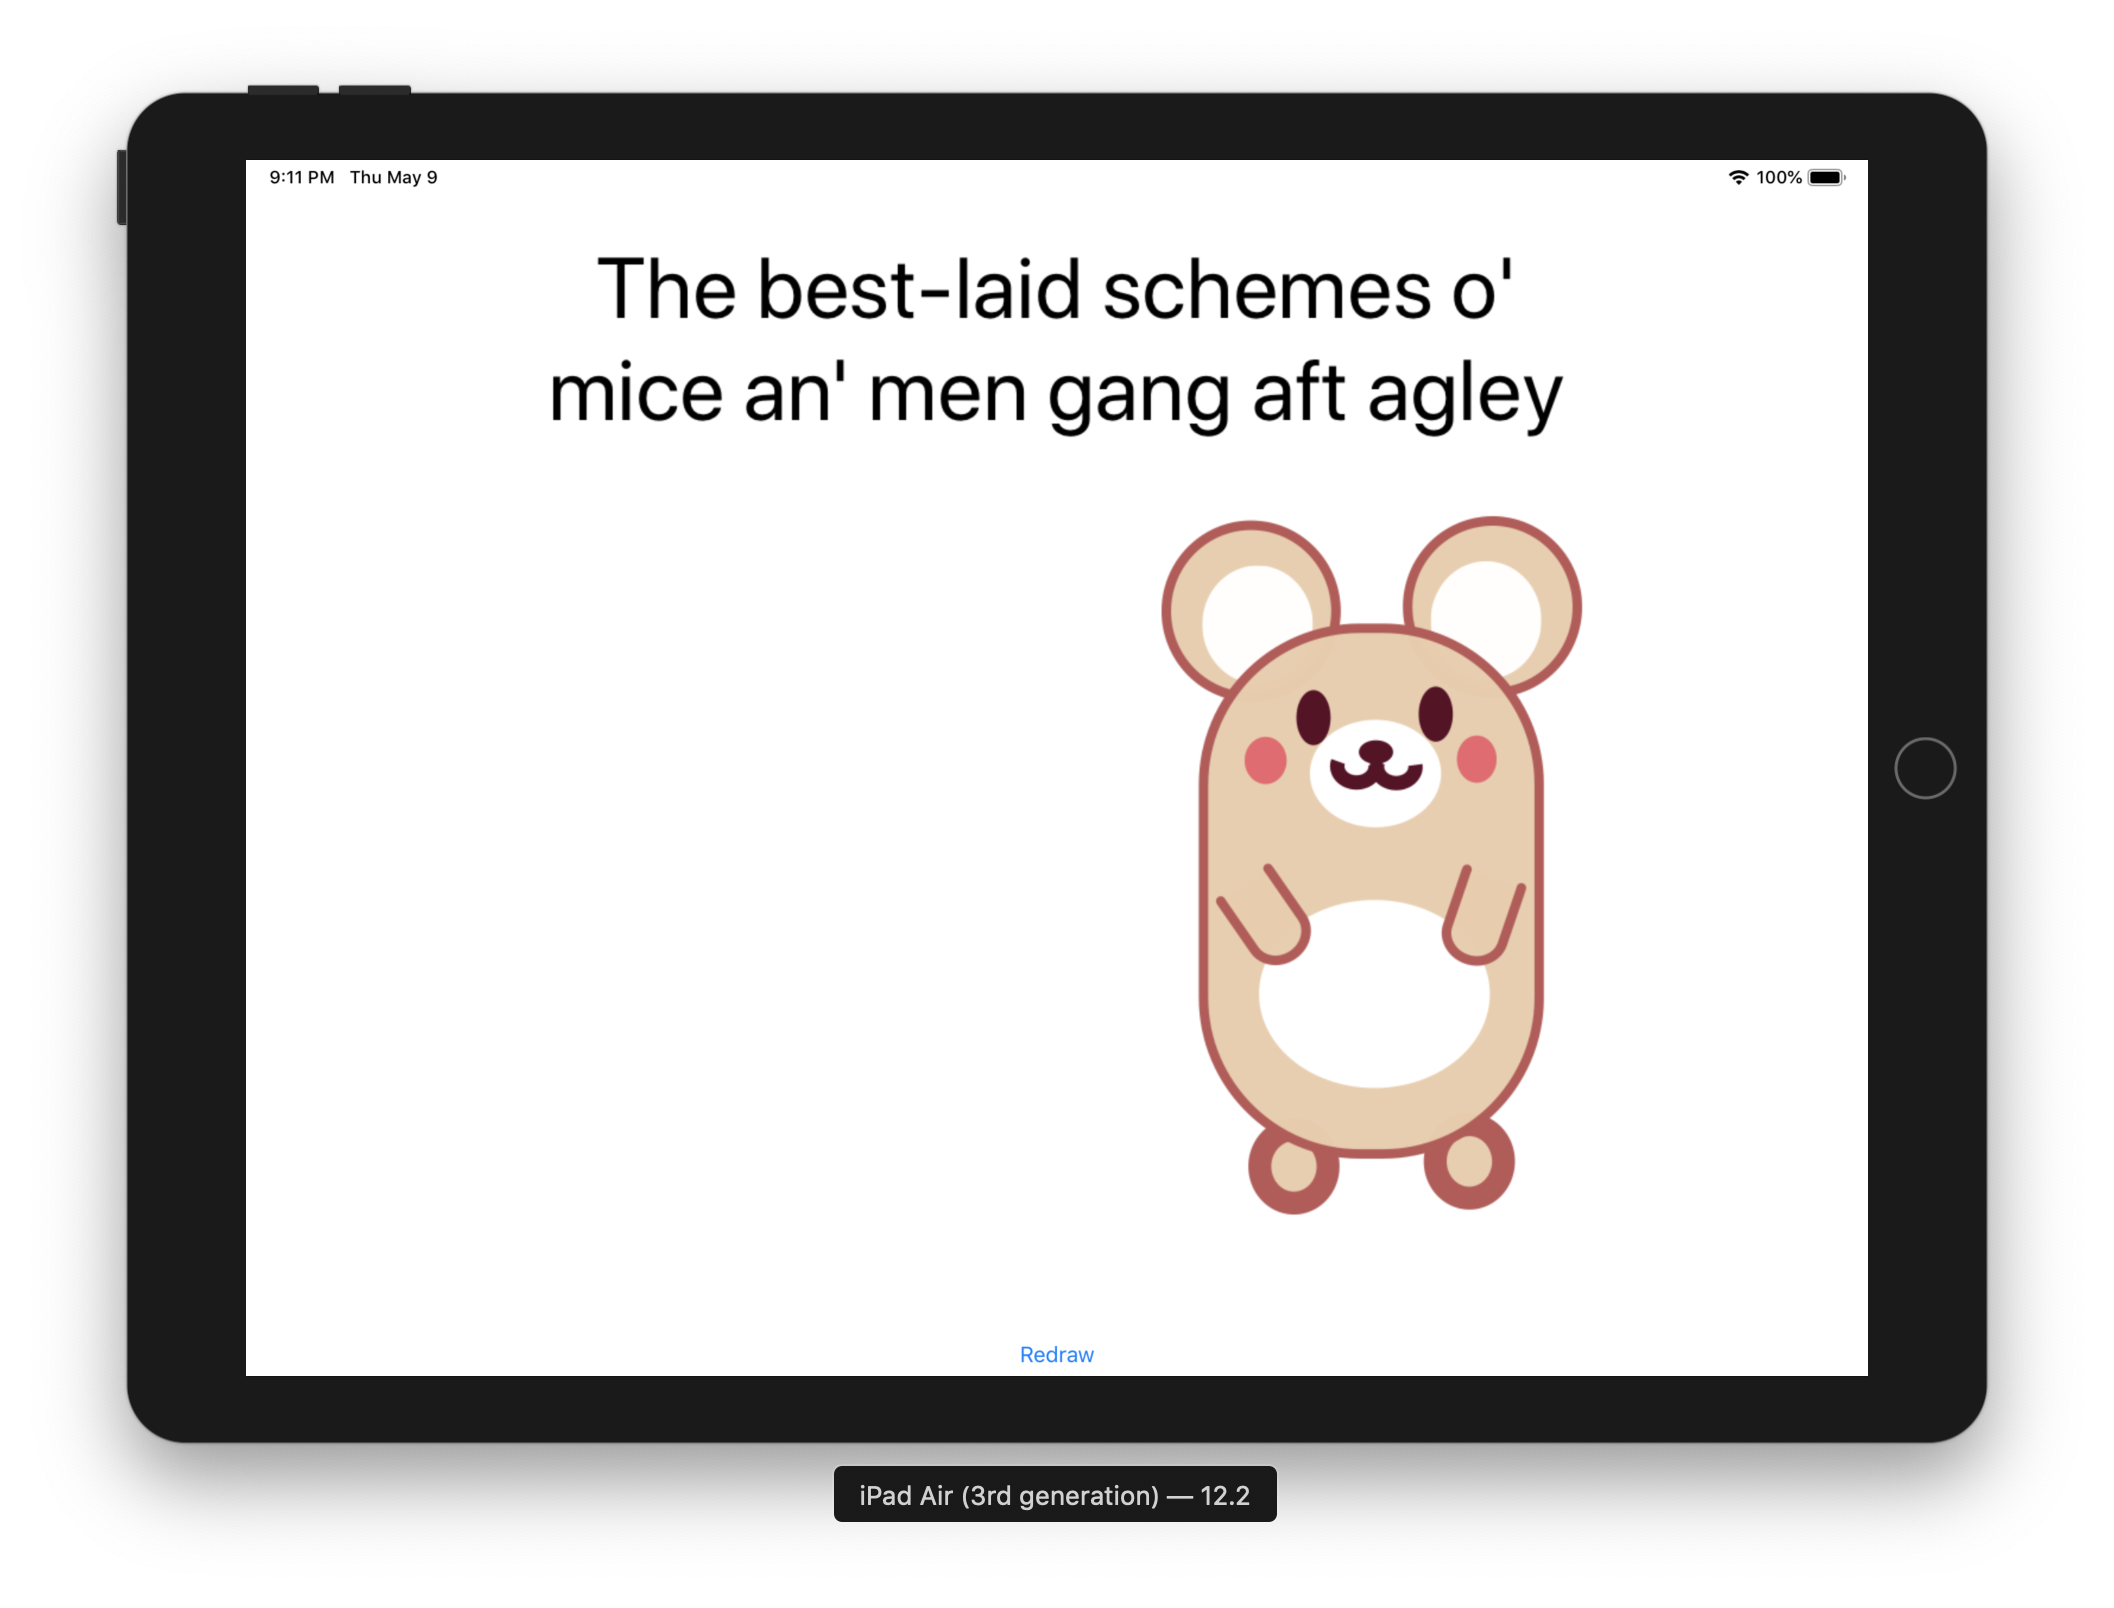
This method creates the renderer at the correct size as before and, inside the closure of the image() method, defines a new paragraph style as an instance of the NSMutableParagraphStyle class. Once this is done, dot notation on this object makes a whole lot of options available. Select .alignment and set it to .center. Create a dictionary of type [NSAttributedString.Key: Any] with two elements inside: a .font: UIFont.systemFont(ofSize: 36) and a .paragraphStyle: paragraphStyle, which corresponds to the paragraph style created before.
Now create a string with an appropriate sentence related to mice, then an NSAttributedString with that string as first parameter and the attributes dictionary as second one, then call the .draw method on it with x: 32, y: 32 as coordinates, 448 for both width and height, .usesLineFragmentOrigin as options and nil as context. The .usesLineFragmentOrigin is part of the NSStringDrawingOptions structure, which contains constants for the rendering options for a string when it is drawn. Quite curiously, this class is so called on iOS, tvOS and watchOS while on macOS—where one would most expect the NS prefix—it is called DrawingOptions… Of the six available options, two are deprecated, which means they are going to be removed in one of the upcoming versions of Swift, but the one that is used above describes that the specified origin is the line fragment origin, not the baseline origin. Quite cryptic but somehow clear.
This concludes Project 27 and prepares us for tomorrow’s challenges!
You can find the finished code for this project here.
Please don’t forget to drop a hello and a thank you to Paul for all his great work (you can find him on Twitter) and be sure to visit the 100 Days Of Swift initiative page. We are learning so much thanks to him and he deserves to know of our gratitude.
He has written about 20 great books on Swift, all of which you can check about here.
The 100 Days of Swift initiative is based on the Hacking with Swift book, which you should definitely check out.
If you like what I’m doing here please consider liking this article and sharing it with some of your peers. If you are feeling like being really awesome, please consider making a small donation to support my studies and my writing (please appreciate that I am not using advertisement on my articles).
If you are interested in my music engraving and my publications don’t forget visit my Facebook page and the pages where I publish my scores (Gumroad, SheetMusicPlus, ScoreExchange and on Apple Books).
You can also support me by buying Paul Hudson’s books from this Affiliate Link.
Anyways, thank you so much for reading!
Till the next one!
