
Reflections on Day 92
I loved yesterday’s program, Core Graphics is really something I feel very near to what I want to do. It is very complex, but mathematics was my high school love and I hope I will one day find the time to get back my skills which—at the time—where very high.
When I was 18 and about to choose a university path I was in between choosing Engineering and Music and… well… you know the story. I do not regret the choice but had I known the state of the industry to be that same choice would have been much easier. I would have for sure continued to practice my cello but, probably, I would have gone down another route. Again, seeing where I am now in my life—professionally, emotionally, socially— I do not regret a single choice made, because all those hardships made me much stronger!
Let’s now move to the review for project 27 and to the challenges.
Hacking with Swift — project 27, review!
Here is what we learned yesterday:
- CTM stands for Current Transformation Matrix.
- We can render an
NSAttributedStringto a Core Graphics canvas. They have several built-indraw()methods to make this easy. - CTM transformations are cumulative, so if we rotate it twice the two rotations are added together. It’s possible to save and restore states during drawing, which allows us to rotate then return back to the previous transformation. …starting to go down the rabbit hole…
NSMutableParagraphStylelets us add paragraph-level options such as text alignment. It also has options for line height, indenting, and more.- We can render a
UIImagedirectly to a Core Graphics canvas. They have adraw()method that makes this easy. - When drawing an
NSAttributedStringwe can have it wrap text across multiple lines automatically. We just need to give it a rectangle to draw into andNSAttributedStringwill take care of the rest. I mean… isn’t this amazing? - We can add a line break to a string by writing
\n. Alternatively we can use multi-line strings. …this is the classical question that makes you jump and say: “Wait, where’s the catch?!” And then you discover that he just wanted to check how awake you were! - Using the
insetBy()method on aCGRectwill cause each of its edges to be moved inwards by whatever amount we specify. This makes our code clearer, because it means we write size and padding separately. - The default behaviour of rotating the CTM is to rotate from the top-left corner of our canvas. If you want to rotate from a different position you should add a translation first.
- When drawing a path we can choose whether to fill it, stroke it, or do both. Both fill and stroke have different color settings.
UIGraphicsImageRendererautomatically adjusts its sizes for the pixel density of the current screen. There are options to change this, but the default works best most of the time.- Core Graphics can render to PDFs or to screens. This is what’s meant by being “device-independent”.
That’s it! Let’s move on to the challenges!
Hacking with Swift — challenges for project 27
Challenge 1: pick any emoji and try creating it using Core Graphics. You should find some easy enough, but for a harder challenge you could also try something like the star emoji.
I am not understanding the assignment … what should we do? Emoji are pieces of text in theory but what do we have to do here? Creating an emoji as a draw with each line, shape, fill, colour etc. … or should it be an attributed string?
Looking at only the pictures of what people have done with this on Twitter it seems that it is indeed a matter of drawing. So let’s get started… It is going to be quite long, hurrah once more for the one hour mark ahah!
I chose this emoji to get started: 😀 … and I have no idea where to start from, as usual!
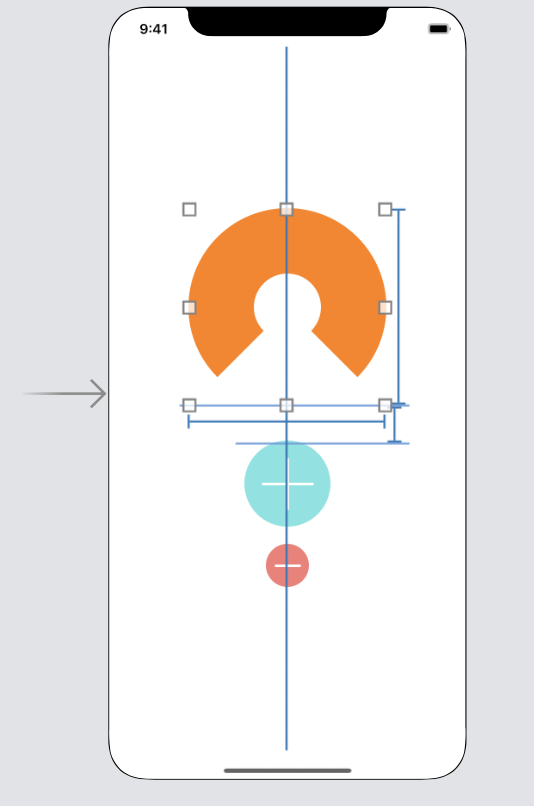
After a good two hours I got this far:
… which is quite ugly, right?
I looked for resources, for learning materials, but I found only lists of methods to use, not how to do things… This is what I find most frustrating of all this, that even if we want to learn, we are not given the resources … so what we do not know remains something we cannot know…
I will leave this here by now, and maybe come back at it once I receive some guidance, any guidance…
Fortunately, I have a Ray Wenderlich video subscription and there are some tutorials there for me. I will report back once I have completed them.
What am I learning in these tutorials:
There are three fundamentals to know about paths:
- A path can be stroked and filled.
- A stroke outlines the path in the current stroke color.
- A fill will fill up a closed path with the current fill color.
Each UIView has a graphics context, and all drawing for the view renders into this context before being transferred to the device’s hardware.
… day 94 from here onwards …
iOS updates the context by calling draw(_:) whenever the view needs to be updated, which happens when the view is new to the screen, other views on top of it are moved, the view’s isHidden property is changed or if our app explicitly calls the setNeedsDisplay() or setNeedsDisplayInRect() methods on the view.
UIBezierPath is a wrapper for a CGMutablePath, its “equivalent” in Core Graphics.
When drawing an arc, use the UIBezierPath(arcCenter:radius:startAngle:endAngle:clockwise) initialiser, bearing in mind that when drawing these arcs we need to point the compass not to the full radius of the circle but to half the radius minus half the width of the “pen” we will use, that is the .lineWidth property we will set before drawing. This is so hard for the brain but so fascinating at the same time! Look at this:
Now I managed to get to the end of this tutorial on the Ray Wenderlich website. I will go on and finish this series before coming back, trying to realise the star emoji and then moving on to the next challenges. In any case people are finishing the 100 Days today while I am 6 days behind in attendance and 11 days behind in progress so, at this point, there is really no reason to rush.
In the second part of this tutorial we will learn more about Core Graphics CGContexts and transformations. We are greeted with an image from Apple Documentation (where was it?!) which explains more in depth the concept of high level and low level framework:

UIKit is described as the top layer and also the most approachable.
Drawing a gradient!
Here is an example of a draw method used to create a gradient inside a very simple rectangular view with some comments explaining a few procedures:
import UIKit

@IBDesignable class GraphView: UIView {
    // 1. set up the start and end colours for the gradient as @IBInspectable properties, to be able to change them in the storyboard
    @IBInspectable var startColor: UIColor = .red
    @IBInspectable var endColor: UIColor = .green

    override func draw(_ rect: CGRect) {
        // 2. CG drawing functions need to know the context in which they will draw, so you use the UIKit method UIGraphicsGetCurrentContext() to obtain the current context. That's the one that draw(_:) draws into.
        let context = UIGraphicsGetCurrentContext()
        let colors = [startColor.cgColor, endColor.cgColor]

        // 3. all contexts have a color space. This could be CMYK, grayscale, RGB...
        let colorSpace = CGColorSpaceCreateDeviceRGB()

        // 4. the color stops describe where colors in the gradient change over. The stops are between 0 and 1
        let colorLocations: [CGFloat] = [0.0, 1.0]

        // 5. create the actual gradient, defining the color space, colors and color stops.
        let gradient = CGGradient(colorsSpace: colorSpace, colors: colors as CFArray, locations: colorLocations)!

        // 6. draw the gradient.
        let startPoint = CGPoint.zero
        let endPoint = CGPoint(x: 0, y: bounds.height)
        context?.drawLinearGradient(gradient, start: startPoint, end: endPoint, options: [])
    }
}
…day 95 from here onward!
I am now continuing this tutorial to get some clearer grasp on the Core Graphics framework. After learning (not that I will remember any of this tomorrow!) about how to make gradients and how to create clipping zone so that only an area would be affected by the gradient, we move on to learning about Context States.
Graphics contexts can save states. When we set context properties, such as fill color, transformation matrix, color space or clip region, you’re actually setting them for the current graphics state. Calling saveGState() and then restoreGState() before and after doing some extra graphical work will prevent some strange and undesirable effects.
All of this is quite new to me and also quite complex but I guess, as Paul said, it just needs its faire amount of time.
Anyway, after a bit more than an hour, at the end of the second tutorial, here is how the app looks like:
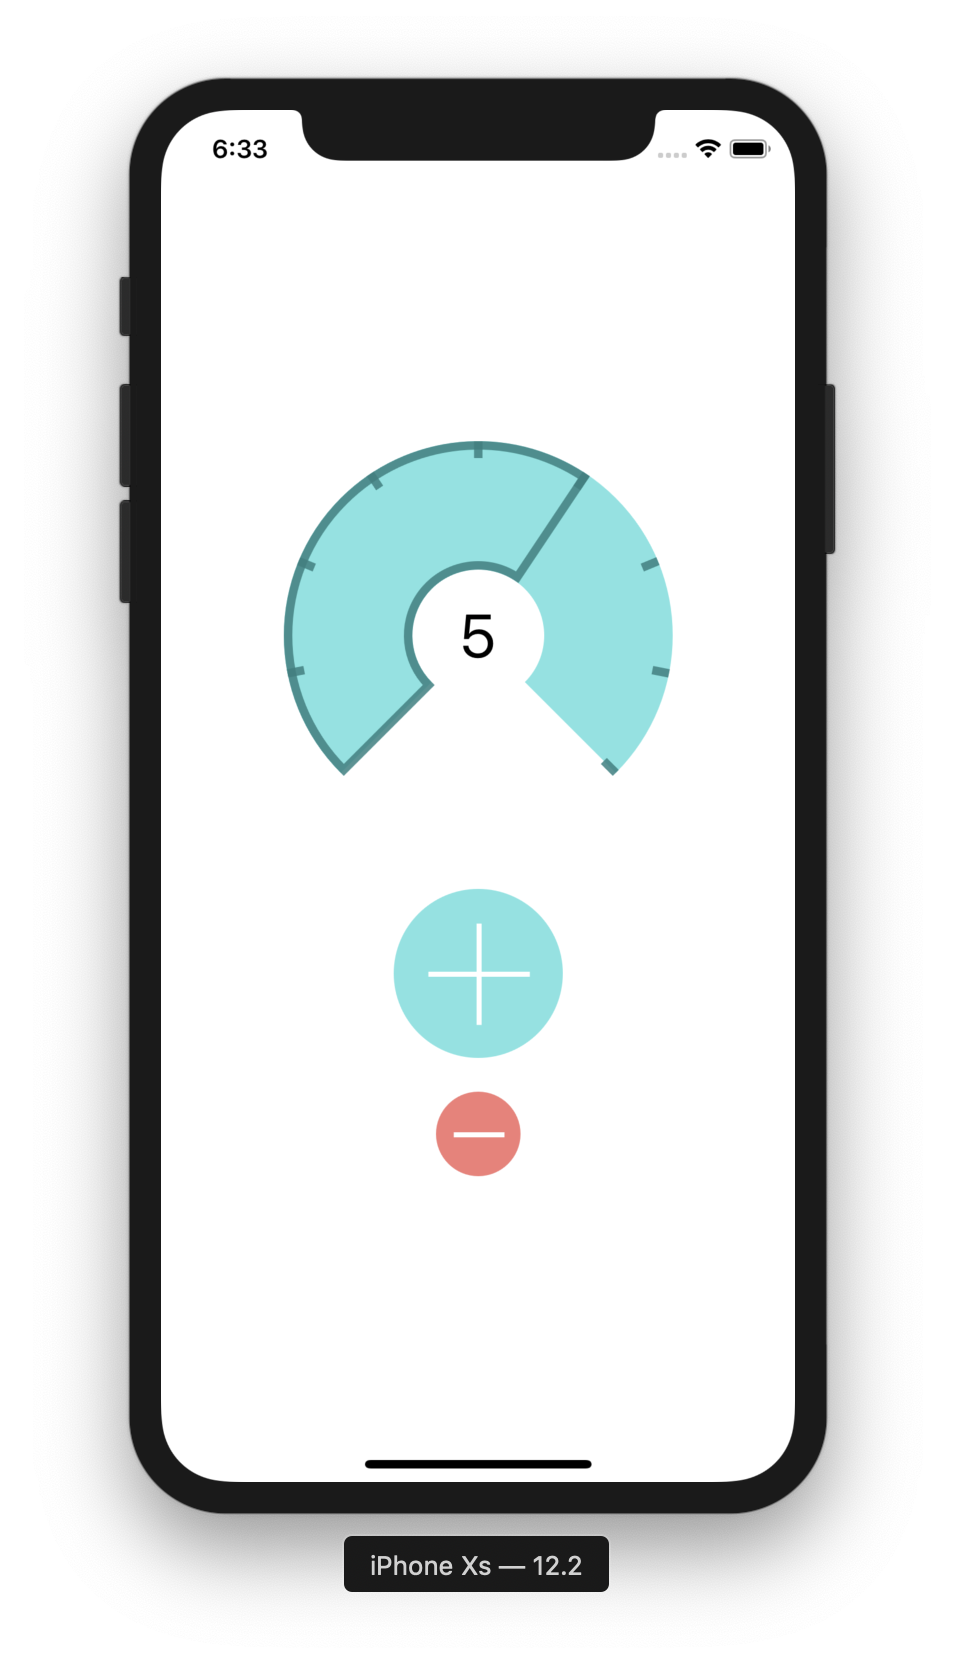

In the third part of the tutorial we will create a repeating pattern for the background and draw a medal from start to finish to award the users for successfully drinking eight glasses of water a day.
As I’m just reporting on the most interesting parts of these tutorials I like this:
move(to:)is just like lifting your pen from the paper when you’re drawing and moving it to a new spot.
To be able to repeat a pattern, we need to create an image outside of the context, then use that image as a pattern in the context.
To create a shadow, we need three elements: color, offset (distance and direction of the shadow) and blur.
I completed these three tutorials which, all considered, were fascinating. They are marked for an intermediate level but I could more or less understand everything code related which was explained in there. In general, now that I have seen the two worlds, I like to follow a written tutorial because it allows me to have a personal pace, but, in general, Paul’s teaching is still miles ahead. He may not explain everything but neither does the author of these tutorials. Actually, he explained much less than was needed to understand the topic.
Overall now I feel more comfortable with the subject but I do not think I could reproduce those things without the code under my eyes and the mathematical side of things really need some review from my part. I think Khan Academy will be my next stop very soon.
Now on to the next challenge!
Challenge 2: use a combination of move(to:) and addLine(to:) to create and stroke a path that spells “TWIN” on the canvas.
Oh but I loved this challenge!
Apart from the basic setup of the previous challenge I translated the context by an amount determined at the end of the drawing so that the writing would be completely in the middle of the screen. Then it was simply what Paul suggested: move to, add line. I used a whole lot of constants so that editing the spacing would be much easier in general.
As always the code will be in the repository on GitHub, in the branch “Challenge27-2”. Here is the result, by the way:

Challenge 3: go back to project 3 and change the way the selected image is shared so that it has some rendered text on top saying “From Storm Viewer”. This means reading the size property of the original image, creating a new canvas at that size, drawing the image in, then adding your text on top.
This was a lovely challenge once more. I required quite a few minutes to get my brain started on what was needed but, in the end, as Plato (or was it Socrates?) said (maybe not in these precise words, but the concept is that), if you properly read the question you have already half of the answer.
In project 3, in DetailViewController.swift, add a method at the end and—really, call it as you want!—name it renderTextOnImage. This method will accept no parameter and return an optional UIImage. Optional because we need to cope for erasing the guard statement in the activity view controller code above.
Inside this we need to check that we have an image otherwise return nil, store its size and create a new canvas (via the UIGraphicsImageRenderer(size:) initialiser) of that size. Then we use the image method of the renderer to draw the image at 0, 0, set up an NSMutableParagraphStyle, set its alignment to .left, set its attributes to be “system font 48”, “white foreground color” and using the just created paragraph style, create the desired signature string, create a new attributed string from it with our attributes and, finally, draw it. I chose to draw it in the top-left corner at 32, 32 in a 300 x 150 rectangle.
I have not yet found how to use different fonts from the system one but, by now, this is more than enough. Here is the result.
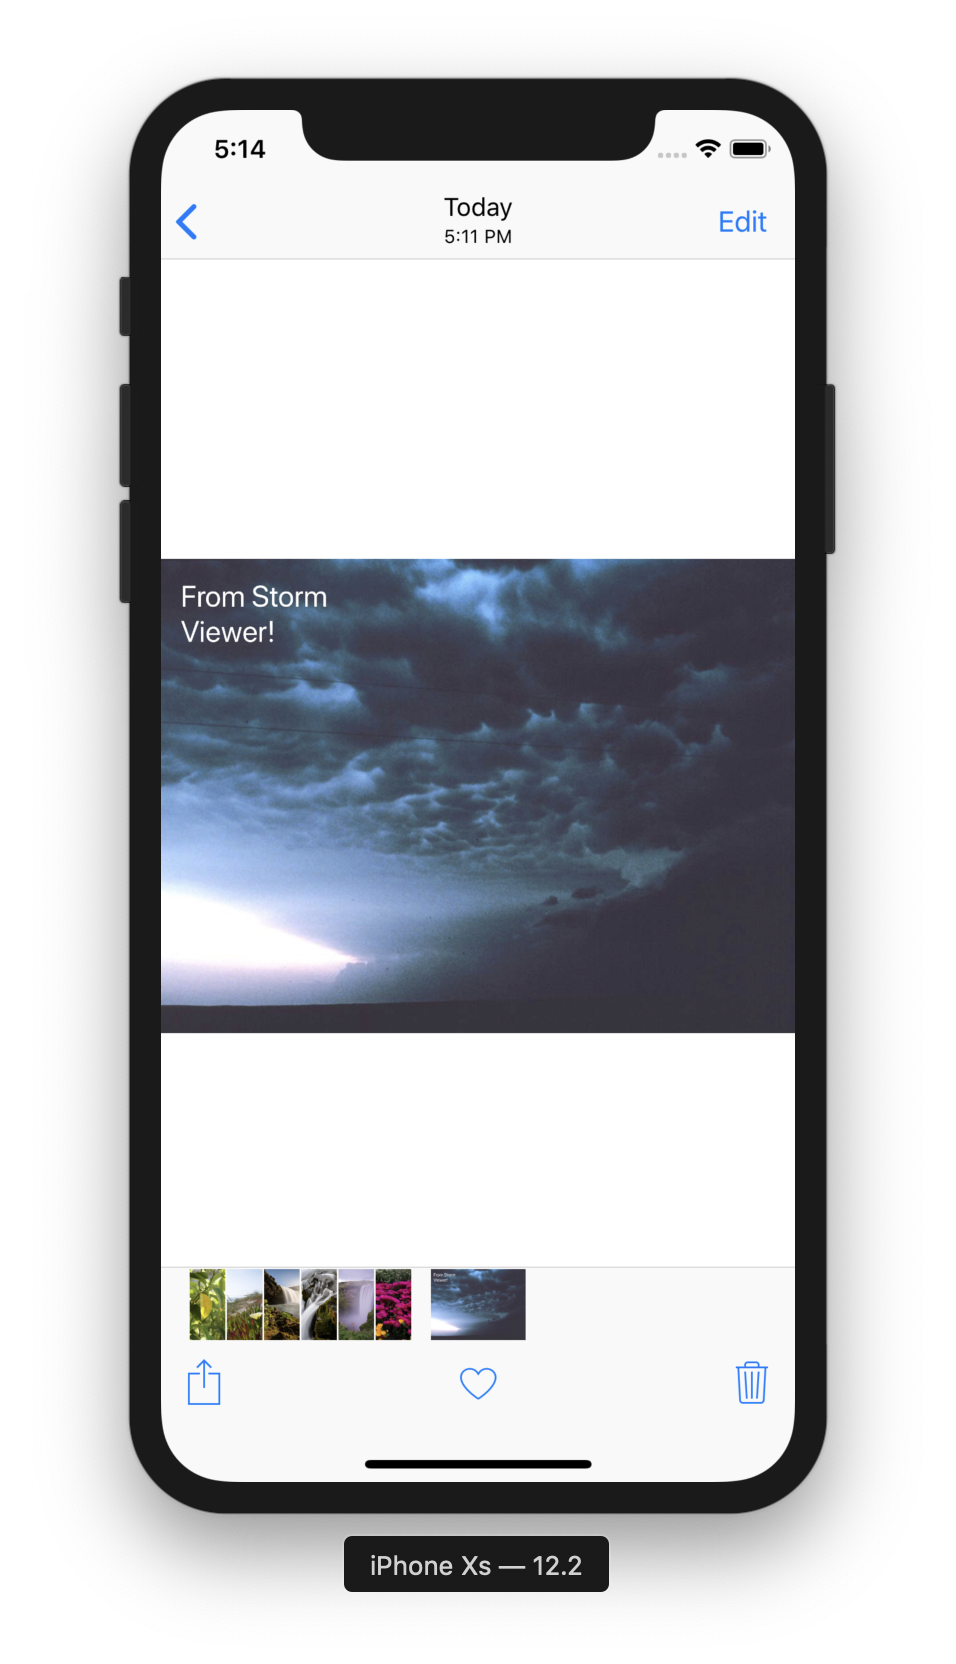
Not bad at all, I would say! For sure improvable, as always, but I feel proud!
That’s it for this huge report! Actually, not that huge, just it took me 4 days!
You can find the finished project here (project 27) and here (project 3).
Please don’t forget to drop a hello and a thank you to Paul for all his great work (you can find him on Twitter) and be sure to visit the 100 Days Of Swift initiative page. We are learning so much thanks to him and he deserves to know of our gratitude.
He has written about 20 great books on Swift, all of which you can check about here.
The 100 Days of Swift initiative is based on the Hacking with Swift book, which you should definitely check out.
If you like what I’m doing here please consider liking this article and sharing it with some of your peers. If you are feeling like being really awesome, please consider making a small donation to support my studies and my writing (please appreciate that I am not using advertisement on my articles).
If you are interested in my music engraving and my publications don’t forget visit my Facebook page and the pages where I publish my scores (Gumroad, SheetMusicPlus, ScoreExchange and on Apple Books).
You can also support me by buying Paul Hudson’s books from this Affiliate Link.
Anyways, thank you so much for reading!
Till the next one!
